In the previous part of this mini how to series on vSphere Data Protection, we deployed and configured a VDP appliance. In this post we will take a closer look at the backup and restore process in vSphere Data Protection.
Backup Window
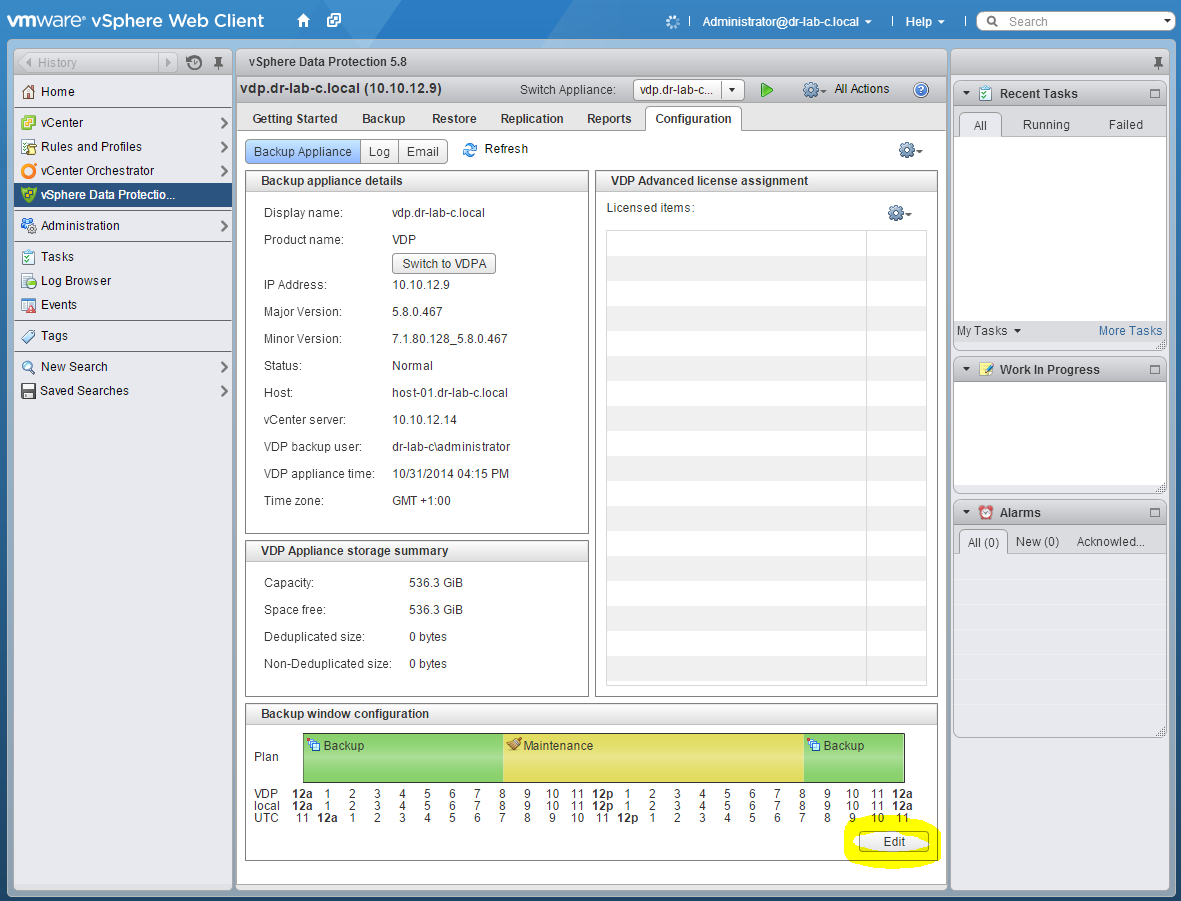
First, before you configure your backups, you should edit the backup window configuration and set up the maintenance window. The maintenance window is reserved for performing routine VDP maintenance activities such as integrity checks etc.
- Open the vSphere Web Client and log in to the vCenter Server.
- Click on the vSphere Data Protection located in the right pane. Select the Configuration tab and then the Backup Appliance
- At the bottom of the page, under the Backup window configuration, click the Edit button.

- Adjust the Backup start time and duration, click Save.
- Click OK to confirm the settings.
Backup
Let’s create a simple backup job for one of my SQL servers.
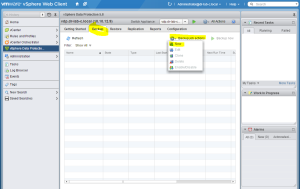
- With the vSphere Web Client still open, select the Backup tab and from the Backup job actions menu, select New.
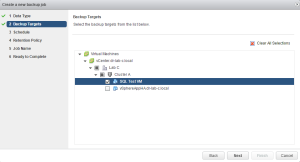
- You can choose if you want to backup a full virtual machine or just one of its disks.
- Next, expand the Virtual Machines tree and select the virtual machines you want to backup with this job.
- Choose the schedule for the backup and click Next.
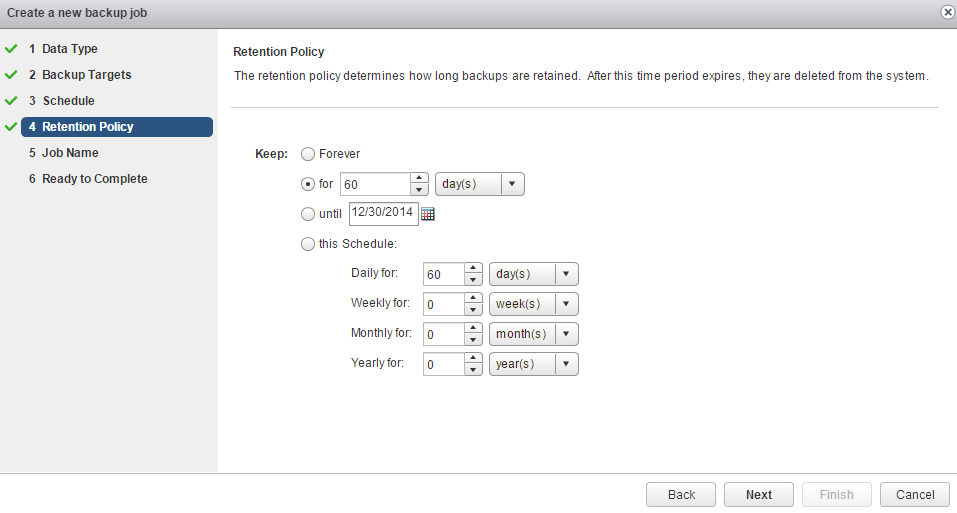
- Select the retention policy for this backup job and click Next.

- Enter a name for this job and click Next.
- Review the settings and click Finish to complete.
- The backup job will now be visible in the backup jobs window.


Restore VM
Now we have a backup of the SQL server, let’s try to restore it using the backup.
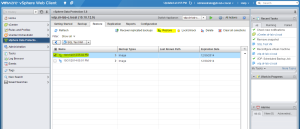
- With the vSphere Web Client still open, select the Restore
- Click the Refresh button to refresh the backup jobs.
- Select a backup job to expand it and select the appropriate date. Click on the Restore button.
- Verify that the correct backup is selected and click Next.
- Select the restore options as desired and click Next.
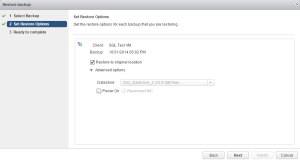
- Click Finish to start the restore process.


Restore File
The standard edition of VDP also supports File Level Restore but the procedure is a bit different.
- Login to the VM you want to restore. In my case, I use RDP and log in to my SQL server.
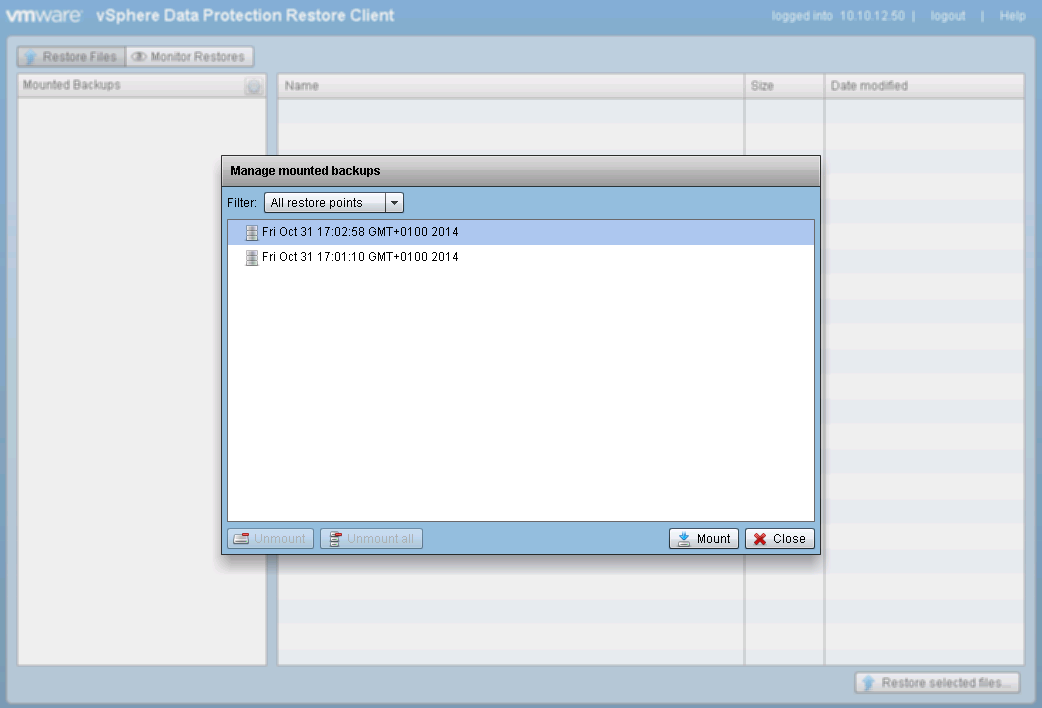
- Open a web browser and navigate to https://<IP_or_FQDN>:8543/flr of the VDP appliance.
- Login with the vCenter Server Administrator credentials or the Domain Administrator account.
- Select a mounted backup and click Mount.

- Click Close to close the window.
- Under the Mounted Backups in the left pane, expand the mount point and the disk of the VM. Select the files you want to restore and click Restore selected files.
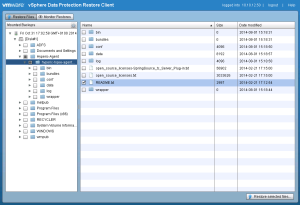
- Next, select the destination folder for the files and click Restore.
- Click Yes to initiate the restore process.
- Click OK to close the restore initiation message.

You can track the progress of the restore procedure under the Recent Task pane in the vCenter Server.
This concludes the second and final part of the vSphere Data Protection how to series. The vSphere Data Protection standard edition is included in the vSphere Standard license and considering its features it is perfectly suitable for small firms.
Cheers!
– Marek.Z
Be the first to comment