How To
Customizing IP addresses for VM’s in SRM 5 – Part 3
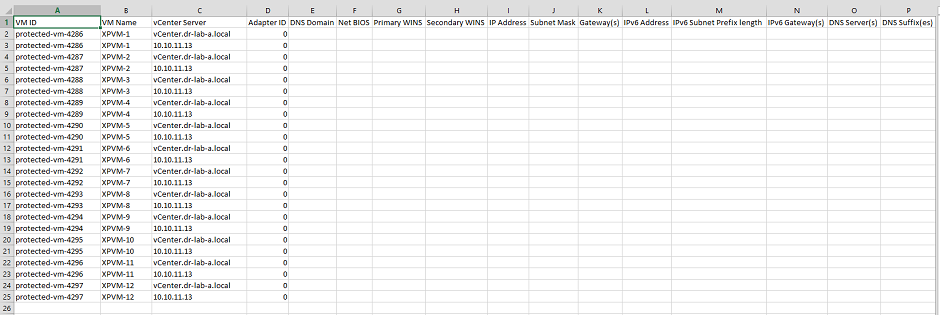
In the previous part we had a closer look at customizing the IP addresses of multiple virtual machines in SRM using the IP customization rules. In this final part of […]
In the previous part we had a closer look at customizing the IP addresses of multiple virtual machines in SRM using the IP customization rules. In this final part of […]
In the previous part we configured the inventory mappings in the Site Recovery Manager to map the resources at the Protected Site to the resources at the Recovery Site. In […]
In the previous part, we had a look at the virtual machine replication options that are available in the vSphere Replication from the vSphere Web Client. This part of the […]
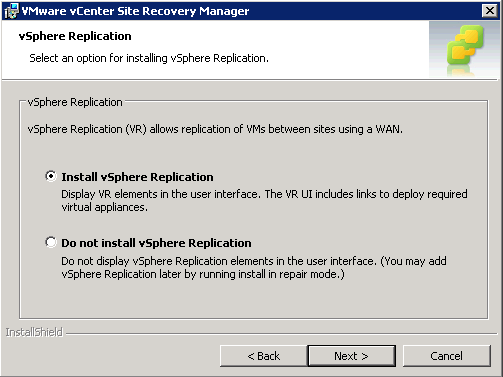
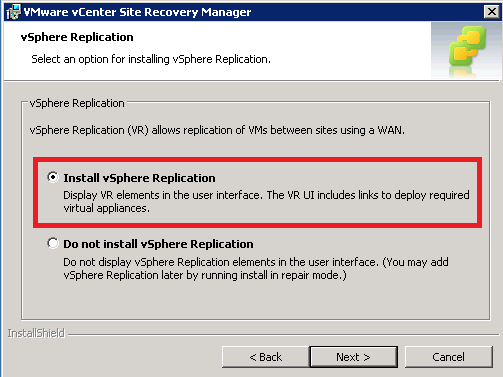
In the previous part, we deployed and configured the vSphere Replication for the SRM implementation. Now, let’s have a look at the virtual machine replication options that are available in […]
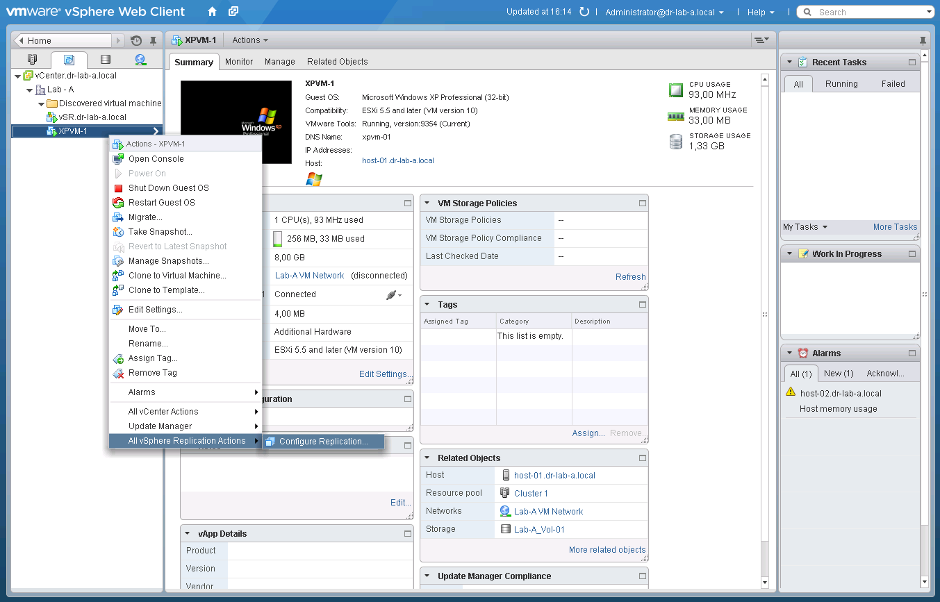
In the previous part of this SRM back to basics series we’ve connected the Protected and Recovery Site and we can now start replicating the virtual machines to the Recovery […]

Some time ago I wrote a multi post series on how to install, configure and manage the VMware vCenter Site Recovery Manager, based on a setup in my home lab. […]
As you all know, the VMware vCenter Site Recovery Manager is a business continuity and disaster recovery solution that helps you to plan, test, and run the recovery of virtual […]
A little while ago VMware released vCenter Site Recovery Manager 5.1 together with other products and vCloud Suite. Here is a quick summary of “What’s new in SRM 5.1” and […]
Copyright © 2024 | DefaultReasoning.com