
How To
SRM and vSphere upgrade order
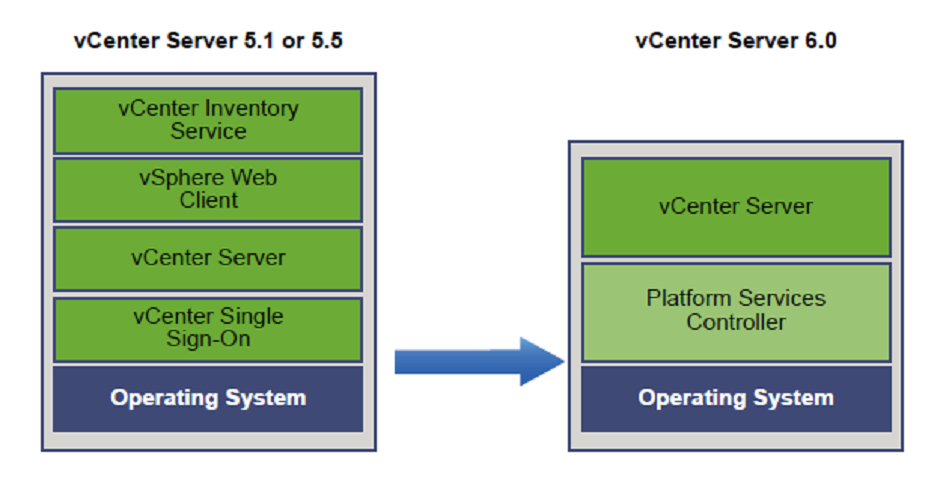
I’ve been getting some questions about the correct SRM and vSphere upgrade order from our customers lately. The default order of any vSphere environment is to begin with the vCenter […]
I’ve been getting some questions about the correct SRM and vSphere upgrade order from our customers lately. The default order of any vSphere environment is to begin with the vCenter […]
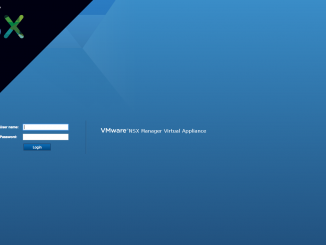
The NSX 6.4 release was GA roughly two weeks ago so I decided to do an upgrade on my environment to see what’s new etc. I am not going into […]
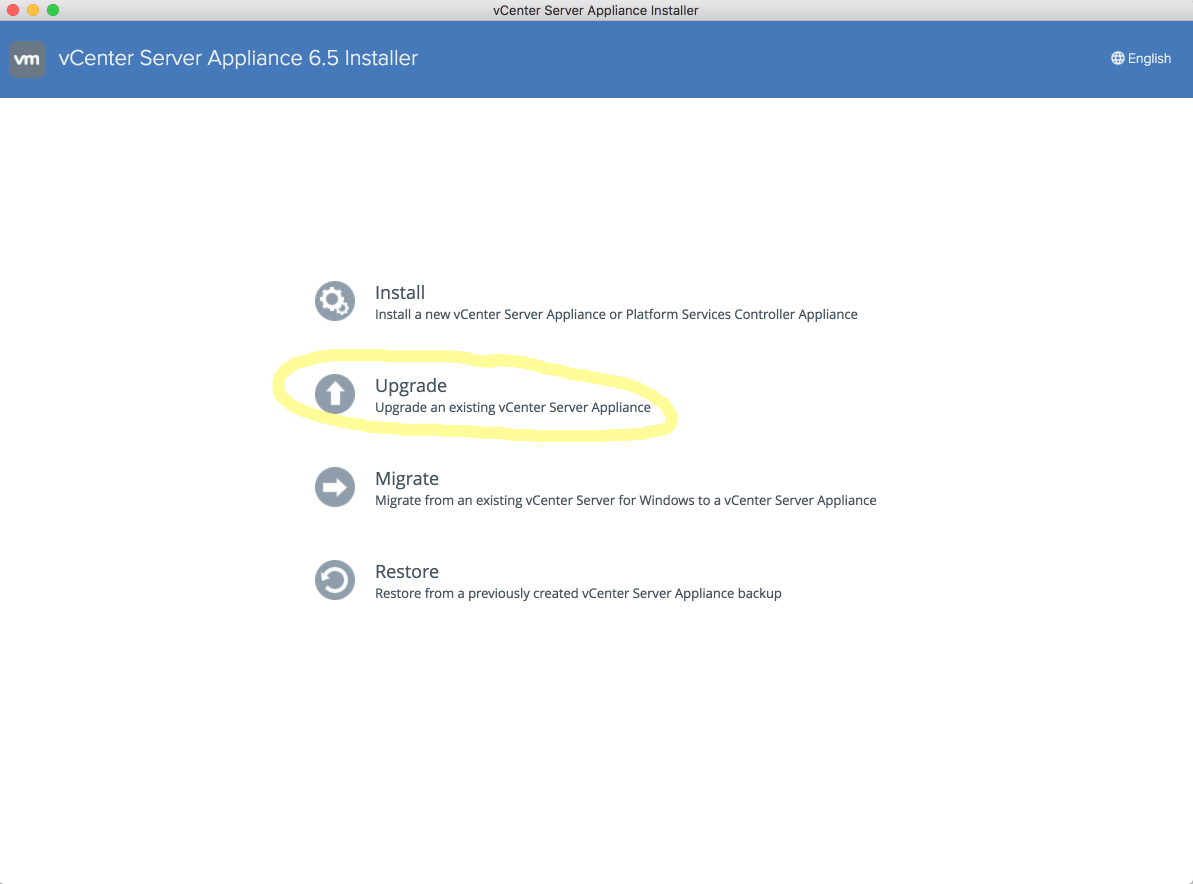
Continuing with the upgrade-migration scenarios to vCSA #migrate2vcsa FTW! 😎 , this blog post will concentrate on migrating from Windows vCenter Server 6 with embedded PSC to vCSA 6.5 with […]
The Site Recovery Manager 6.1 has been released for a while now so it is a good time to have a look at the upgrade process from version 6.0. Before […]
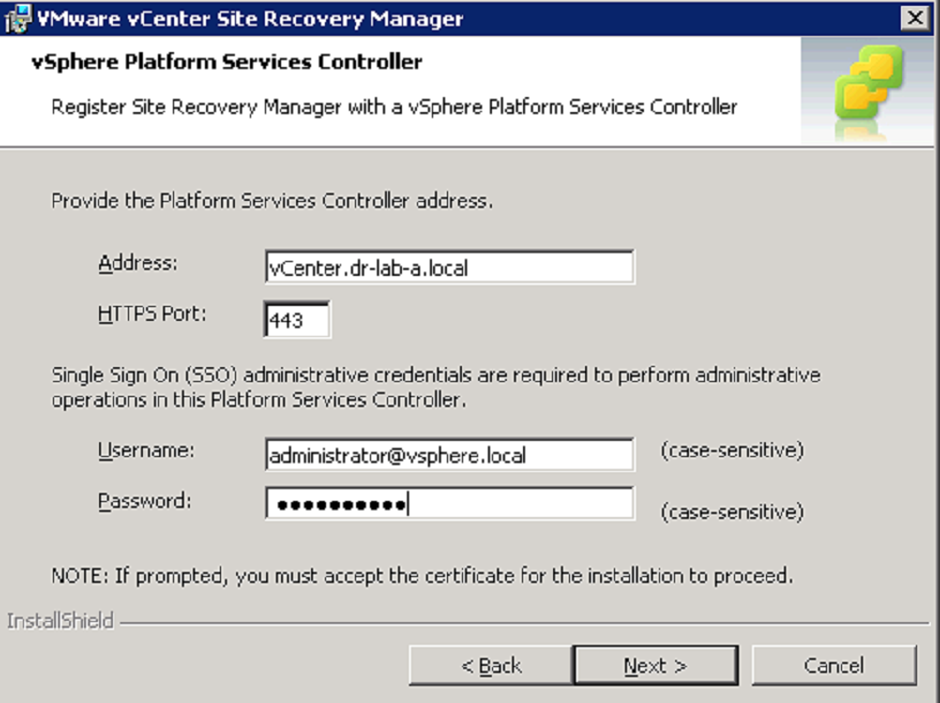
The Site Recovery Manager 6.0 has been released for a while now so it is a good time to have a look at the upgrade process since the original release […]

A quick blog post on how to upgrade vSphere Replication 5.8 to version 6.0. You need to perform this step if you using the vSphere Replication in you Site Recovery […]
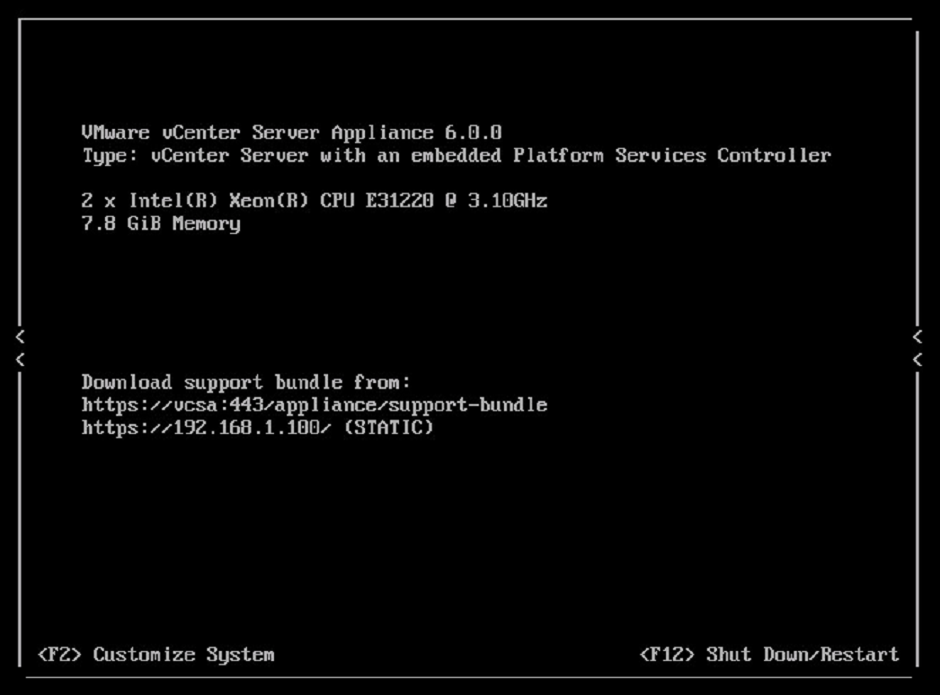
The latest version of VMware vSphere ships with a new version of the vCenter Server Appliance (vCSA). Let’s have a quick look on how to upgrade the vCenter Server Appliance […]
In the previous part of the upgrade vSphere 5.5 to version 6.0 mini-series, we upgraded the vCenter Server, vSphere Client and the Update Manager. In this article we will proceed […]
Copyright © 2024 | DefaultReasoning.com