As the vCloud Suite proof of concept environment is running and now the users can request resources from the Self Service Portal, we can now add another layer that automatically discovers application services, visualizes relationships and maps dependencies of applications on virtualized compute, storage and network resources. To do this, VMware offers the vCenter Infrastructure Navigator. Before we begin with the deployment of vCenter Infrastructure Navigator, let’s define what it actually is.
vCenter Infrastructure Navigator is an application awareness plug-in to the vCenter Server that provides continuous dependency mapping of applications. vCenter Infrastructure Navigator offers application context to the virtual infrastructure administrators to monitor and manage the virtual infrastructure inventory objects and actions. Administrators can use vCenter Infrastructure Navigator to understand the impact of the change on the virtual environment in their application infrastructure.
Source: vCenter Infrastructure Navigator Installation and Administration Guide
In this article I am using version 2.0 of the vCenter Infrastructure Navigator.
Deployment
The vCenter Infrastructure Navigator comes as a virtual appliance (OVA) and can be deployed through either vSphere Client or vSphere Web Client. The installation steps are very easy, just like deploying any other OVA.
- Open the vSphere Client and connect to your vCenter Server.
- Login with an administrative account.
- From the File menu, click Deploy OVF Template.
- Click the Browse button and select the downloaded vCenter Infrastructure Navigator appliance. Click Next.
- Click Next once again on the OVF Template Details.
- Accept the EULA and click Next.
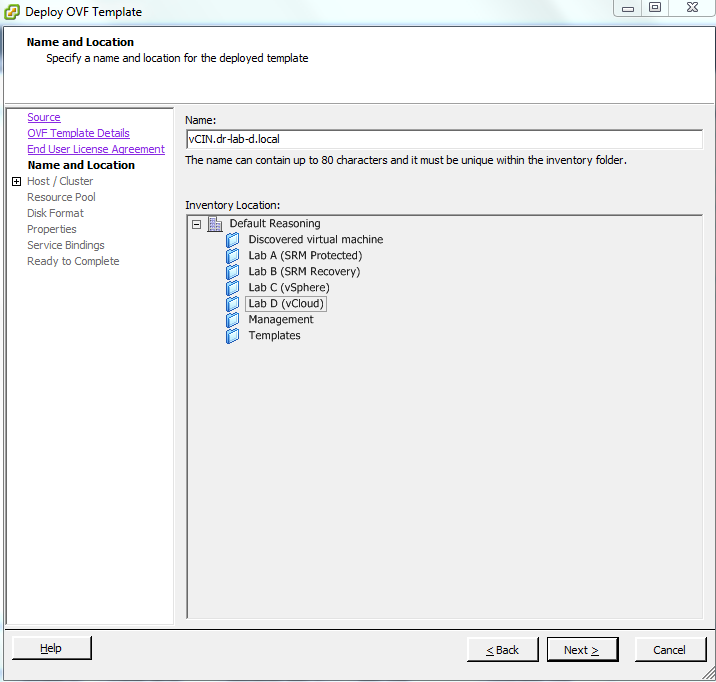
- Enter a name and select location for the virtual appliance. Click Next.

- Select a cluster and click Next.
- If applicable, select a specific host.
- Next, select desired destination storage for the virtual appliance and click Next.
- Select disk format. In my case I used Thin Provisioned disk. Click Next.
- Select appropriate destination network and click Next.
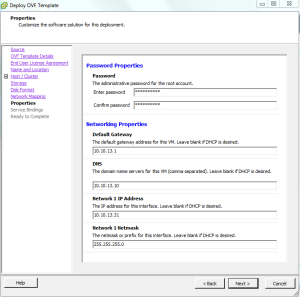
- On the Properties page, enter the root password, default gateway, IP address and subnet mask that the virtual appliance will use.
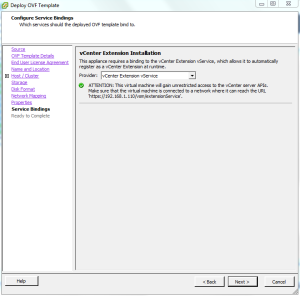
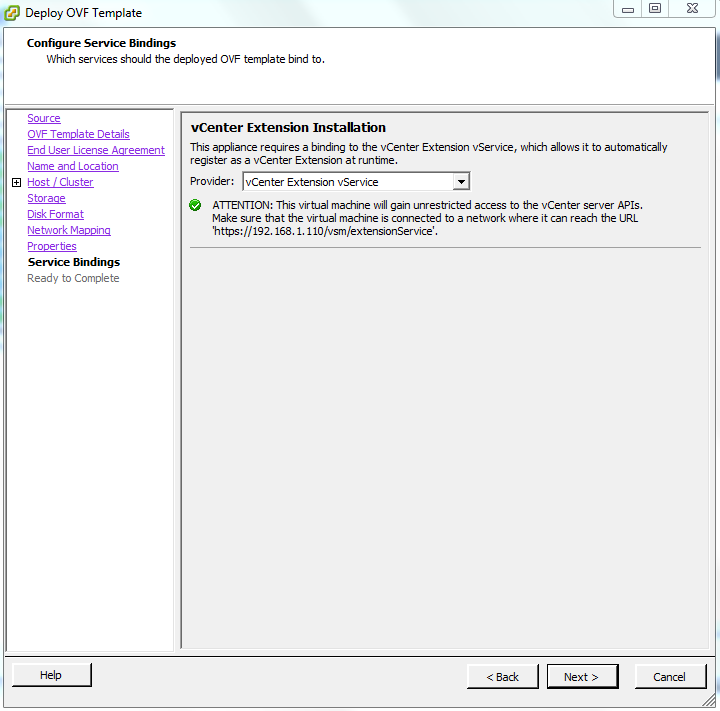
- Next, on the Service Binding page, select the vCenter Extension vService as the provider if it is not already selected. Click Next.
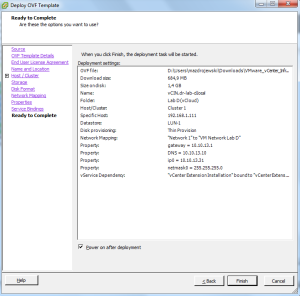
- Review the settings in the Ready to Complete page, select Power on after deployment and click Finish to start the deployment.
- When the virtual appliance is deployed successfully, click the Close button to end the deployment process.


Licensing
The next step in vCenter Infrastructure Navigator deployment is licensing. The license can be applied through vSphere Client or through vSphere Web Client.
- With the vSphere Client still open, go to Home and then select Licensing under the Administration pane.
- Select Asset ratio button on the View By pane.
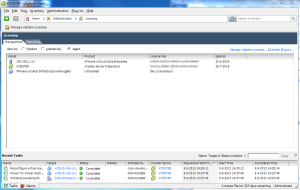
- Right click the VMware vCenter Infrastructure Navigator and select Change License Key.
- Assign an existing license key or assign a new license key for the virtual appliance.

This concluded a rather short introduction and a quick deployment of vCenter Infrastructure Navigator.
Continue to part 22 where we will configure the vCenter Infrastructure Navigator appliance.
Cheers!
– Marek.Z
- vCloud Suite POC Part 1: Introduction
- vCloud Suite POC Part 2: Installing vCloud Director Cell
- vCloud Suite POC Part 3: vCloud Director Configuration
- vCloud Suite POC Part 4: Creating a new Provider vDC
- vCloud Suite POC Part 5: Creating new Organization
- vCloud Suite POC Part 6: Add and Publish Catalogs
- vCloud Suite POC Part 7: Create New vApp
- vCloud Suite POC Part 8: Add vCloud Connector
- vCloud Suite POC Part 9: Move VM to the Cloud
- vCloud Suite POC Part 10: Add vCenter Chargeback Manager
- vCloud Suite POC Part 11: Install and Configure vCenter Chargeback Manager
- vCloud Suite POC Part 12: vCenter Chargeback Manager Cost Analysis and Reporting
- vCloud Suite POC Part 13: Add vCenter Operations Manager
- vCloud Suite POC Part 14: Configure vCenter Operations Manager
- vCloud Suite POC Part 15: Create Custom UI in vCenter Operations Manager
- vCloud Suite POC Part 16: Add vCloud Automation Center
- vCloud Suite POC Part 17: Install and Configure vCloud Automation Center
- vCloud Suite POC Part 18: Install and Configure vCAC Self-Service Portal Website
- vCloud Suite POC Part 19: vCloud Director and vCloud Automation Center Integration
- vCloud Suite POC Part 20: Request Resources Using vCAC Self Service Portal
Be the first to comment