


The latest release of VMware vSphere (version 6.0) has been generally available for a while now so it is time to look how to upgrade vSphere 5.5 environment to version 6.0.
Before you begin, make sure that you read the vSphere 6 upgrade guide, the vSphere 6 release notes, the Hardware and Guest OS Compatibility Guide and the Product Interoperability Matrix from VMware before you start the upgrade process. Also, make sure your environment meets the software and hardware requirements as described in the upgrade guide.
Since the vSphere 6 introduces the VMware Platform Services Controller, you should have a look at the vCenter Server upgrade path example as described in the upgrade guide to fully understand the changes in your environment after the upgrade for vSphere 6. For example: I am running a simple installation of the vCenter Server (Inventory Service, Web Client, Single Sign-On) on a Windows Server 2008 R2 virtual machine with Update Manager, Auto Deploy, Dump Collector, Syslog and a Microsoft SQL Server 2008 R2 Express. So according to the upgrade guide, my new vCenter Server infrastructure will look as depicted below.
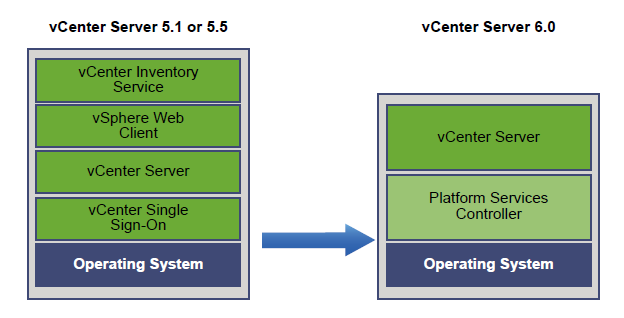
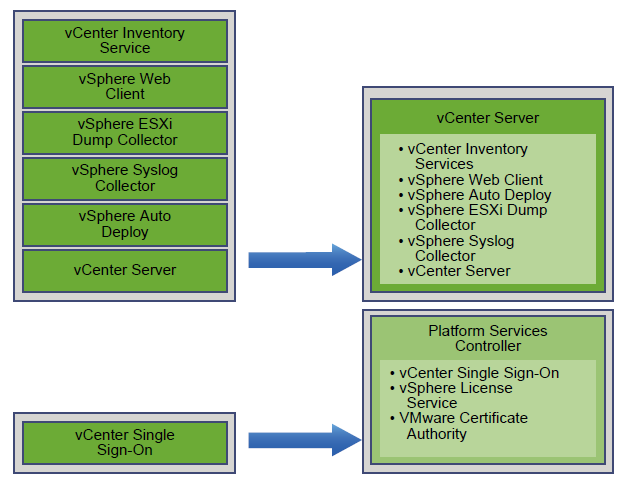
Source: vSphere 6.0 upgrade guide
Note that the SQL Express database will be replaced by the vPostgress database in this scenario.
And as always, don’t forget to back-up your vCenter Server, database and SSL certificates before you begin.
Upgrade vCenter Server
Check if your virtual or physical vCenter Server meets the following hardware requirements:
- 2 (v)CPUs
- 8 GB RAM
- 44 GB free disk space at installation time
- Log in to the vCenter Server you want to upgrade with the administrator account.
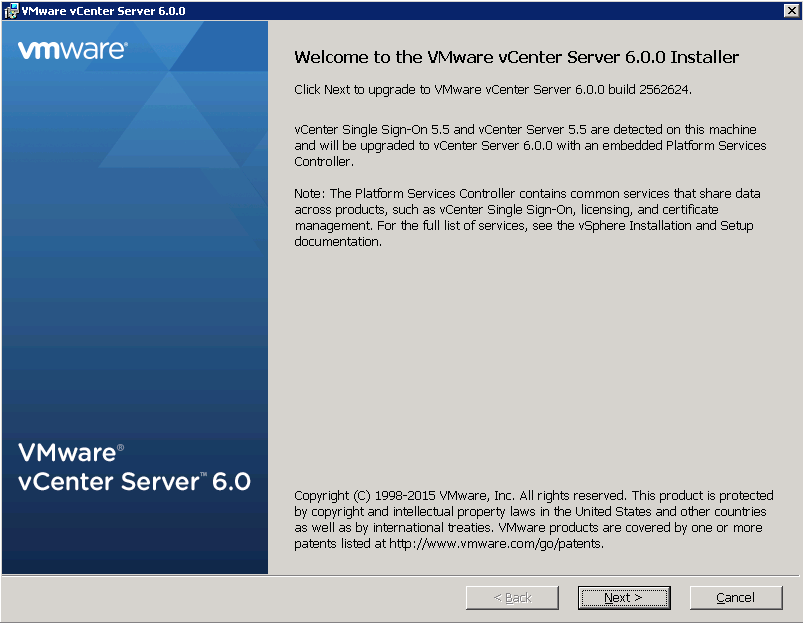
- Start the VMware vCenter installer, select the vCenter Server for Windows and click the Install
- When the installer ready, click the Next Note that the vSphere 6 installer detected a vSphere 5 installation and will perform a upgrade.

- Accept the EULA and click Next.
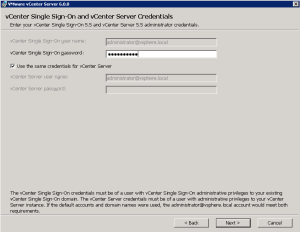
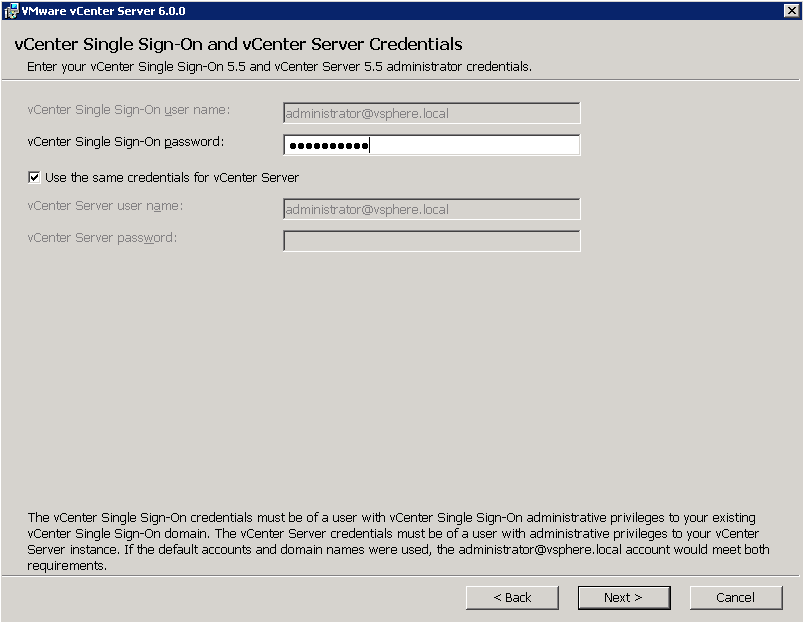
- Enter the vCenter Single Sign-On password and optionally the password for the service account that is being used for the vCenter Server. Click Next.
- Click OK when the Microsoft SQL Express migration warning is displayed.
- Configure network ports for the deployment of leave it at its default values. Click Next.
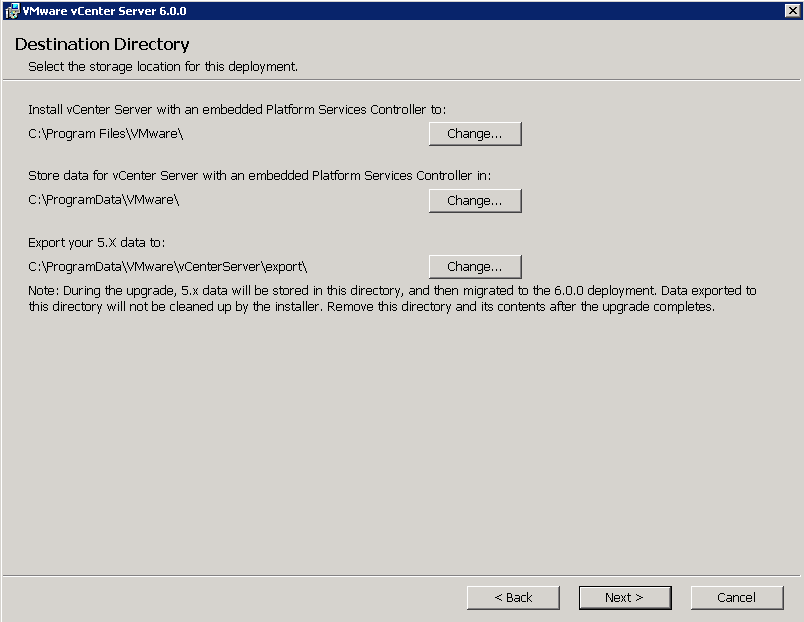
- If necessary, change the installation and store data path for the vCenter Server with the embedded Platform Services Controller and click Next.

- Review the settings at the Ready to upgrade Check the “I verify that I have backed up this vCenter Server machine and the embedded Microsoft SQL Server Express database” check box and click Upgrade.
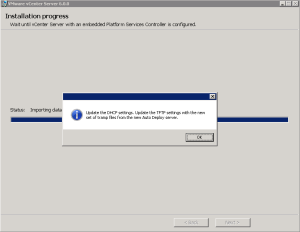
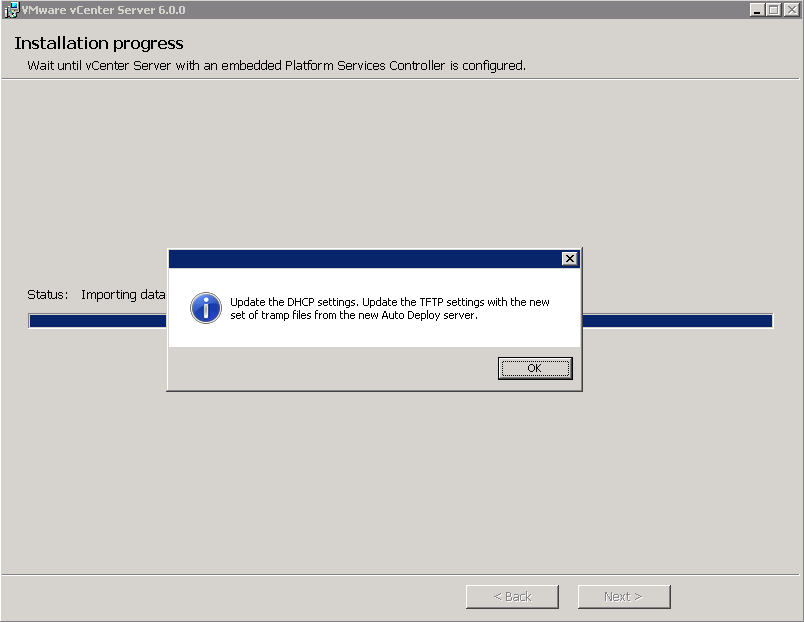
- If you are using Auto Deploy, note the message stating that you have to update the DHCP settings as well as the TFPT settings with the new set of tramp files from the upgraded Auto Deploy server. Click OK.
- Click Finish to end the upgrade process and review the post upgrade steps displayed in the installer window.
Note: when you log in for the first time on the upgraded vCenter Server you will have to add the vSphere 6 license and assign it to you vCenter Server and hosts.
Upgrade vSphere Client
- With the VMware vCenter Installer window still open, select the vSphere Client option and click the Install
- Select your language and click OK.
- Click Next on the welcome page.
- Accept the EULA and click Next.
- Change the vSphere Client install path or leave it to its defaults. Click Next.
- Click Install to start the installation.
- Click Finish to end the installation process.
Upgrade vSphere Web Client
If you have a vSphere Web Client service registered to vCenter Server before upgrade, it is upgraded automatically. If you have a remote vSphere Web Client registered to vCenter Server before upgrade, it is migrated to the machine where vCenter Server is located when it is upgraded.
Upgrade Update Manager
- With the VMware vCenter Installer window still open, select Server under the vSphere Update Manager and click the Install
- Select your language and click OK.
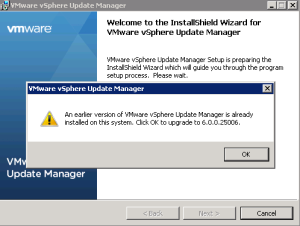
- The install wizard will detect an earlier version of vSphere Update Manager and will perform an upgrade. Click OK to proceed.
- Click Next.
- Accept the EULA and click Next.
- Review the support information, select if you want to download updates from default sources after the installation and click Next.
- Enter the password for the administrator account and click Next.
- Review the database DSN and ODBC driver information and click Next.
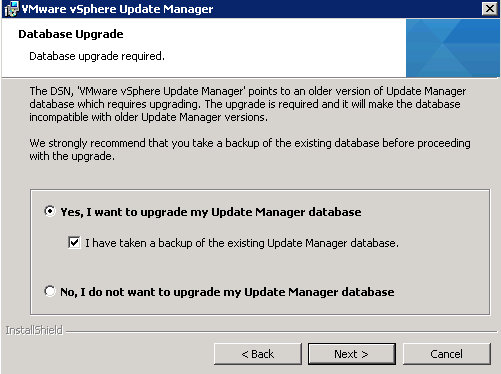
- On the database upgrade page, select “Yes, I want to upgrade my Update Manager database” and check the “I have a backup of the existing Update Manager database” check-box. Click Next to continue.

- Review the IP address and network port configuration, change if necessary. Optionally, configure a proxy server if you use any. Click Next.
- Click Install to begin the installation.
- If the Update Manager service is running, choose the appropriate action and click Next.
- Click Finish to end the vSphere Update Manager installation wizard.

Note: don’t forget to update the Update Manager plug-in.
This concludes the first part in the upgrade vSphere 5.5 to version 6.0 series. Proceed to part 2 where we will have a closer look at the upgrade process of the remaining vSphere 6 components.
Cheers!
– Marek.Z