In this article in the Workload Migration to VMware Cloud Foundation using VMware HCX series, we will have a closer look on different migration methods that can be used in VMware HCX.
In the previous 2 parts of this series (part 1, part2) we’ve deployed the HCX Managers on the Source and Destination site, configured the Site Pair, created Network & Compute profiles for each site, and we’ve also created a Service Mesh. This means that the VMware HCX is now ready to migrate virtual machines!
VMware HCX Migration Types
At the moment of this writing, VMware HCX supports the following migration types for the virtual machines:
- HCX Bulk Migration
- HCX vMotion
- HCX Cold Migration
- HCX Replication Assisted vMotion
I will not go into details on these migration types as they are very well described how they work and what the pros and cons are for using each migration method in “Workload Migration Strategies with VMware Cloud Foundation” white paper, and in the VMware HCX online documentation. Instead, let’s have a look at the 3 mostly used migration methods.
Migration using HCX Bulk Migration
The HCX Bulk Migration method uses the VMware vSphere Replication protocols to move a virtual machine to the destination site.
- Open the HCX Manager hybridity UI on the Source site and log in with your administrator account.
- Go to Service -> Migration and click Migrate Virtual Machines.
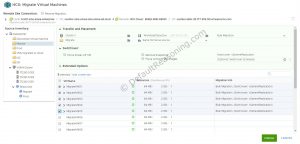
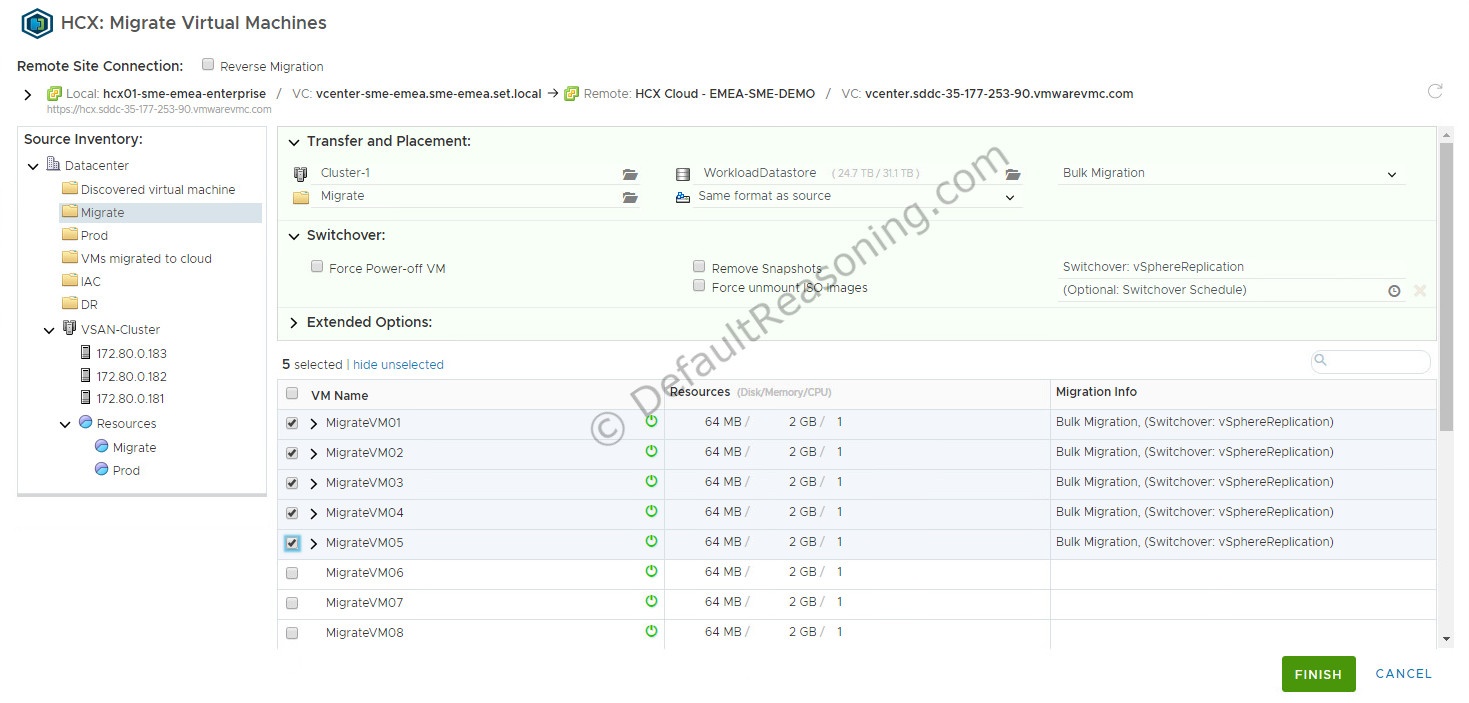
- Verify the Remote Site Connection at the top of the page. Notice that you can also do a Reverse Migration from this wizard.
- In the Source Inventory on the left pane. Select an object with virtual machines. This can also be the Datacenter object at the top of the hierarchy.
- Next, under Transfer and Placement, select the Compute object, destination folder, destination storage for the destination site. Optionally, you can change the virtual disk format if required.
- From the Migration Profile drop-down list, select Bulk Migration.
- Optionally, expand the Switchover menu and select switchover options if required. You can also schedule the failover window for the migration.
- Leave the Extended Options to its default.
- Select a virtual machine that you want to migrate. Notice that the Migration Info column is now populated with information for the migration method.
- Expand the selected virtual machine and under extend options select appropriate network portgroup on the destination site. Optionally, you can also change the IP settings for this virtual machine.

- Click Finish to start the migration validation process using HCX Bulk Migration for the select virtual machines.
- If the validation process completes successfully, the migration process will begin. You can monitor the progress for each migration task in the Migration page where you will be automatically redirected.


Migration using HCX vMotion
The HCX vMotion method uses the VMware vMotion protocol to move a virtual machine to the destination site.
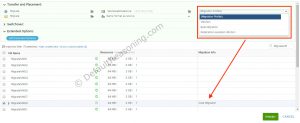
- The configuration process is basically the same but, in this case, select the vMotion option from the Migrate Profile drop-down list.

- Select the virtual machine that you want to migrate and under extend options select appropriate network portgroup on the destination site. Note that you cannot change the IP address of the virtual machine when using the HCX vMotion migration method.

- Click Finish to start the migration validation process using HCX vMotion. Once the validation completes successfully, the migration process will start migrating the virtual machine using HCX vMotion.

Migration using HCX Cold Migration
The HCX Cold Migration method uses the VMware NFC protocol to move a virtual machine to the destination site.
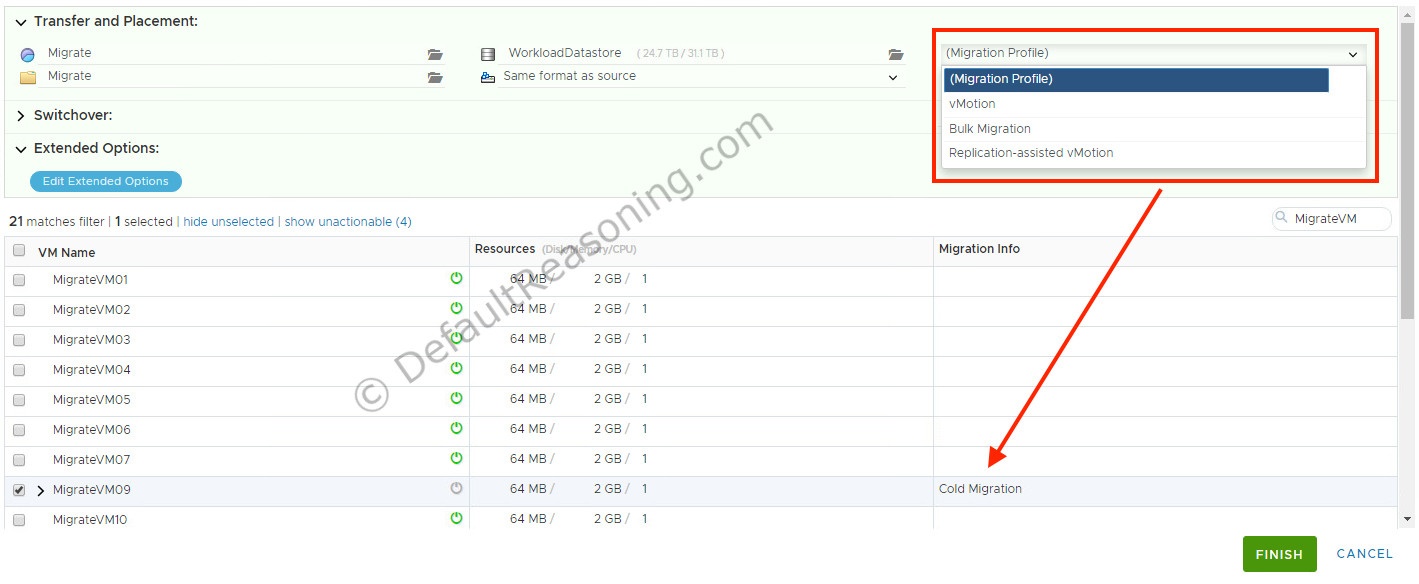
Note: HCX Cold Migration is automatically selected when the source virtual machine is powered off.
- Again, the configuration process is basically the same. Notice that the HCX Cold Migration option is not available from the drop-down list. Instead, every virtual machine that is powered-off, will be automatically marked for migration using HCX Cold Migration.
- Select the virtual machine that you want to migrate and under extend options select appropriate network portgroup on the destination site.
- Click Finish to start the migration validation process using HCX vMotion. Once the validation completes successfully, the migration process will start migrating the virtual machine using HCX Cold Migration.
Conclusion
This concludes part 3 of the series on Workload Migration to VMware Cloud Foundation using VMware HCX. This blog posts merely showed you how to migrate your virtual machines from your old vSphere environment to your new VMware Cloud Foundation workload domain. VMware HCX has more great features to offer such as Network Extension and Disaster Recoverability which integrates with Site Recovery Manager. I would strongly recommend exploring these features as well.
Cheers!
Be the first to comment