Automated deployment of vRealize Suite is back in VMware Cloud Foundation 4.1!
The biggest difference with previous VCF version (3.x) is that the vRealize Suite Lifecycle Manager (vRSLCM) is now “VCF Aware”. So, what does that exactly mean? Once the vRSLCM is deployed from the SDDC Manager, that instance will be VCF aware meaning that it is able to exchange the information with the SDDC Manager. For example, software bundles downloaded on the SDDC Manager can be discovered and used to deploy other vRealize products. Additionally, you can change the passwords for vRSLCM and the vRealize products. You can also replace the certificate for vRSLCM.
In this part, we will have a look at the deployment of the vRSLCM and VMware Workspace ONE Access (WS1A) but first, let’s check out the prerequisites.
Prerequisites
- vRSLCM and WS1A software bundles are downloaded on the SDDC Manager.
- FQDN and a free IP address for vRSLCM appliance that is resolvable in DNS.
- FQDN and a free IP address for Workspace ONE Access that is resolvable in DNS.
- Free IP address for the Tier-1 load balancer for the vRealize components. This address must be allocated in the (cross) xRegional logical network segment of your Application Virtualization Network (AVN).
Deploy vRealize Suite Lifecycle Manager
- Log in to your SDDC Manager and navigate to Bundle Management under Lifecycle Management. Select Download History tab and verify that vRealize Suite Lifecycle Manager software bundle is downloaded.
- Next, navigate to vRealize Suite under Administration.
- Review the vRealize Suite deployment steps and click Deploy.
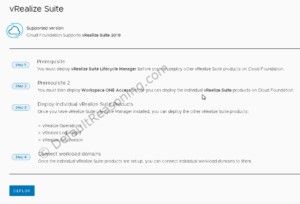
- On the vRealize Suite Lifecycle Manager Installation Prerequisites page, check the Select All option and click Begin.
- The Network Setting page should populate automatically if you have AVN deployed. Click Next.
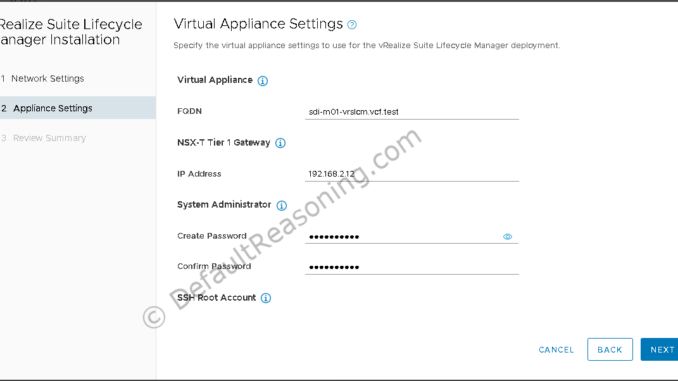
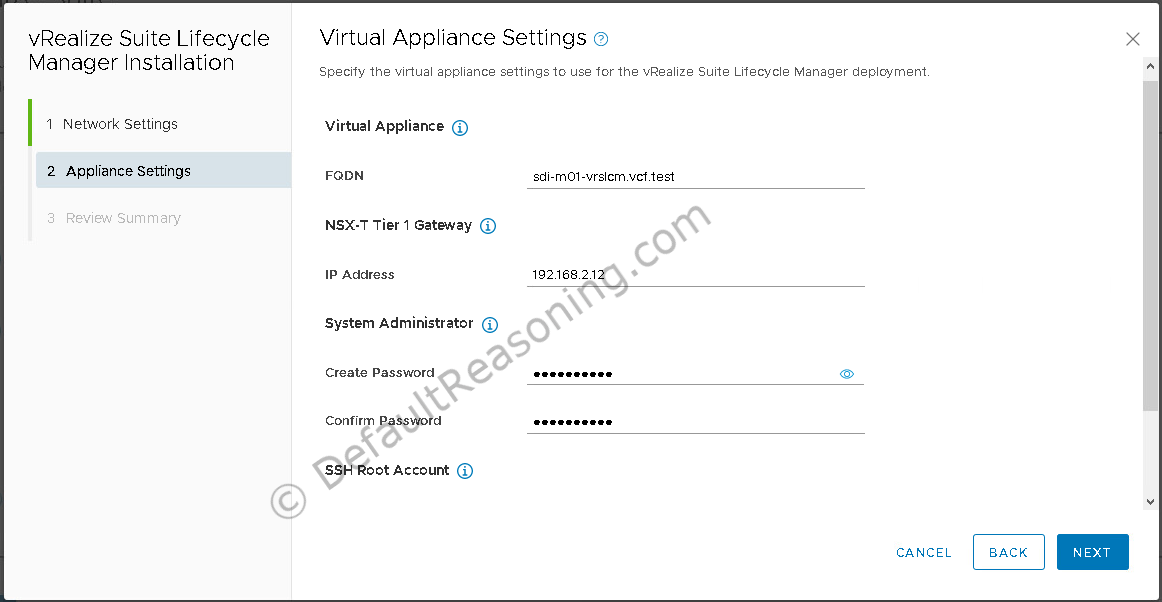
- Enter the vRSLCM appliance FQDN, IP address for the NSX-T Tier-1 Gateway, system and root password. Click Next.
- Review the summary page and click Finish to start deployment of the vRSLCM appliance.

SDDC Manager will validate the input and if everything is correct, it will start the deployment task. You can monitor the progress on the tasks pane.
Once the deployment is completed, you can use the link provided in the vRealize Suite Lifecycle Manager pane to access the appliance.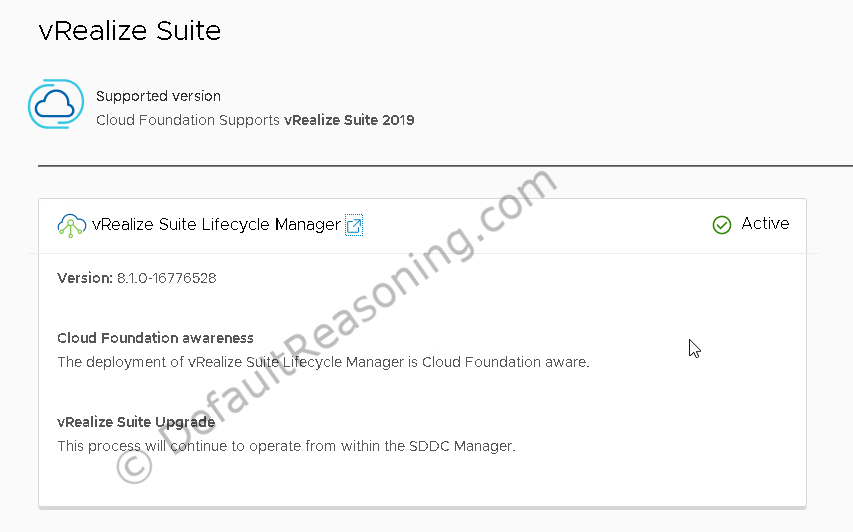
Deploy Workspace ONE Access
The next step in the automated deployment of vRealize Suite in VCF 4.1 is the deployment of Workspace ONE Access, or WS1A (formerly known as vRealize Identity Manager) which will be used for identity and access management.
- When still logged in on the SDDC Manager, verify that the Workspace ONE Access software bundle is downloaded under Bundle Management.
- Next, navigate to vRealize Suite under the Administration pane and click Deploy Workspace ONE Access This will open the vRSLCM page.
- Log in with vcfadmin@local account if necessary. Use the password specified during the deployment of vRSLCM.
- Under My Services, select Lifecycle Operations. This will take you to the vRSLCM Dashboard.
- On the Dashboard, click Create Environment.
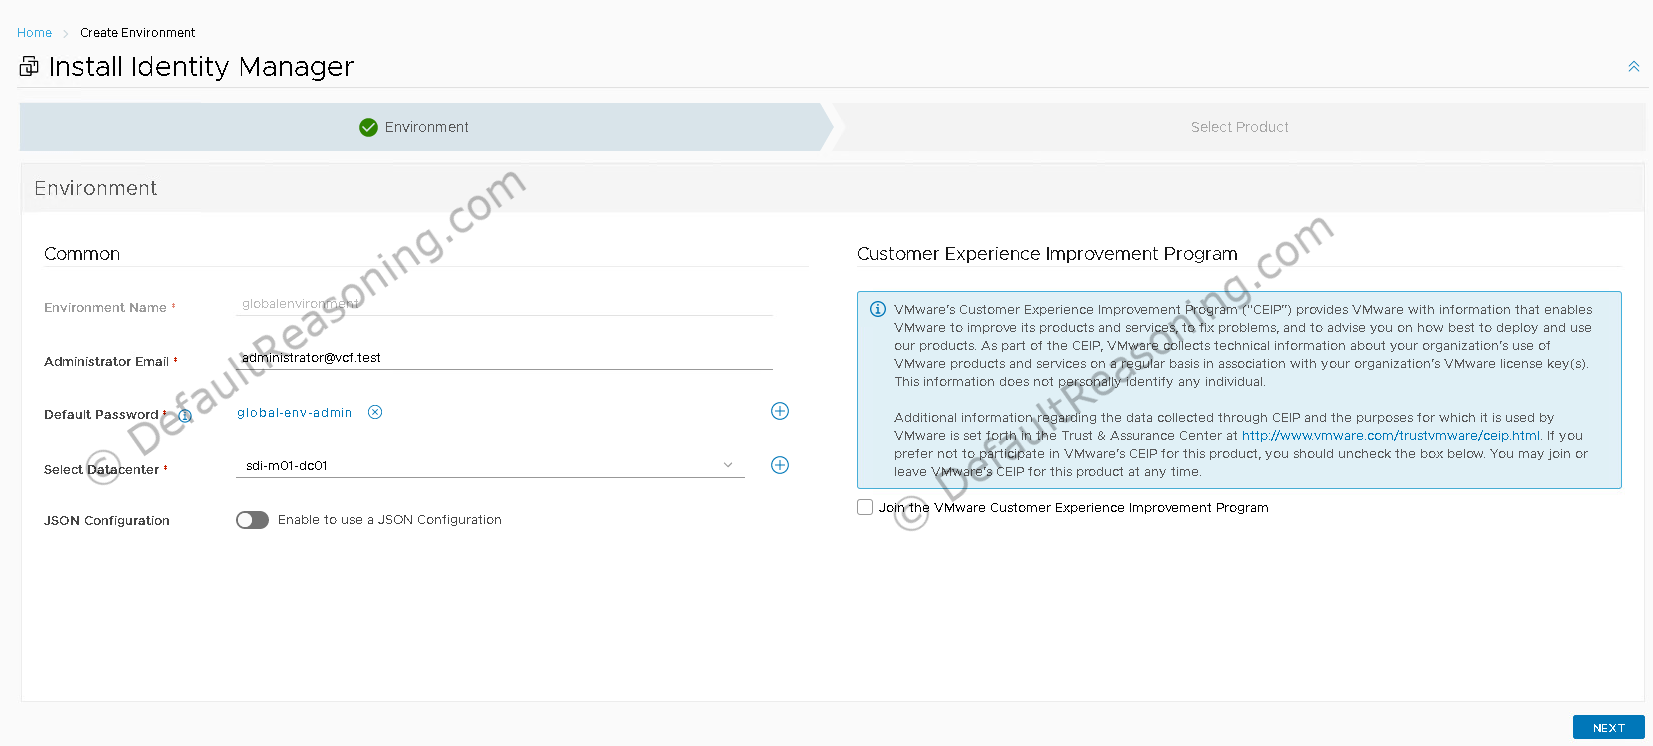
- Under the Environment, enter the administrator email address.
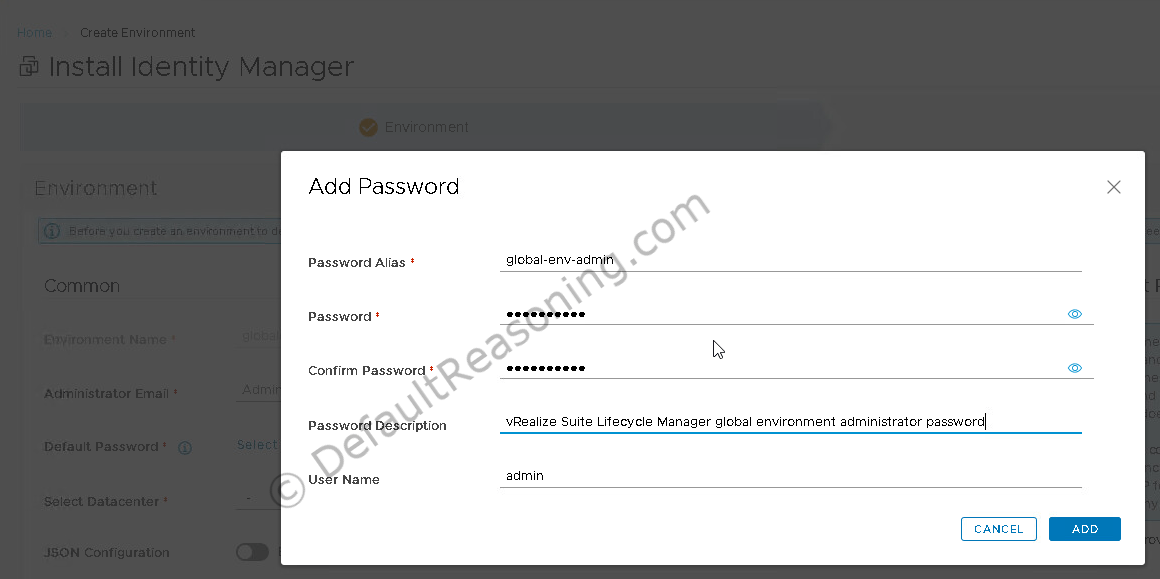
- Click the plus-sign to add a new password for the administrator account.
- Enter the password alias, password itself, description, and username. Click Add.

- Select your datacenter object from the drop-down menu.
- Leave the JSON Configuration disabled.
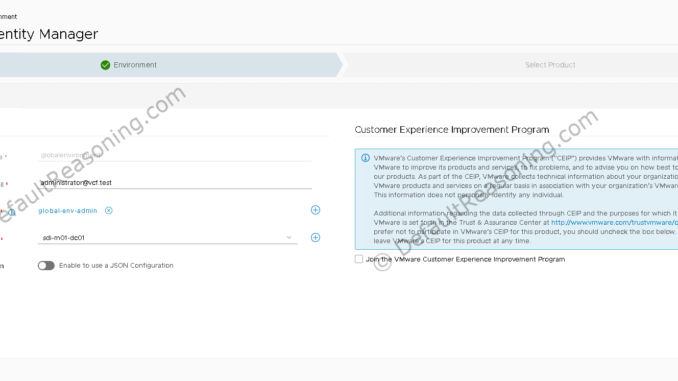
- Click Next to continue.
- On the Select Product page, select the VMware Identity Manager under Select Product, make sure that the installation type is New Install, version is set to 3.3.2, and the deployment is Standard.
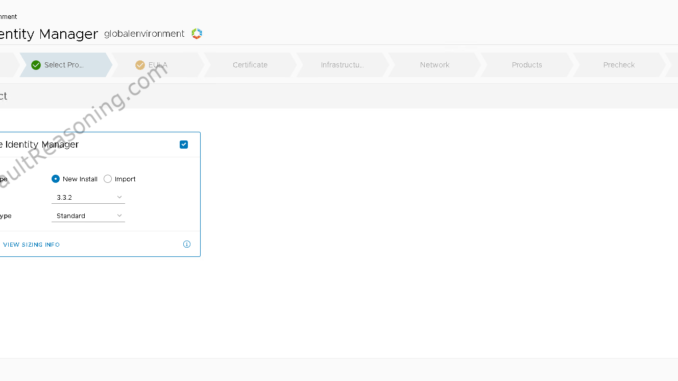
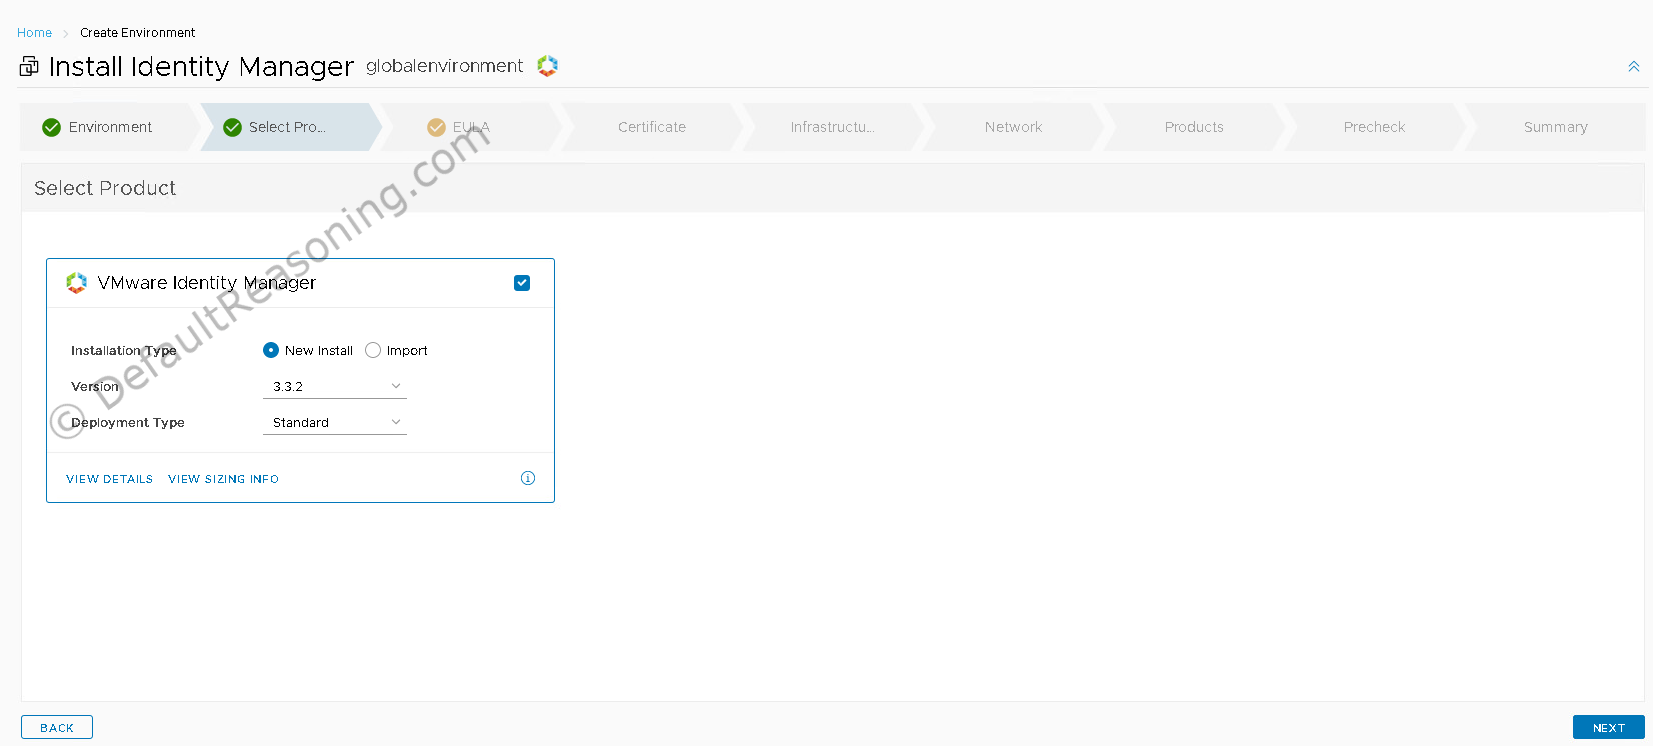
Note: for production environments it is recommended to deploy WS1A as a cluster. Refer to the documentation for correct sizing.
- Click Next.
- Accept the EULA.
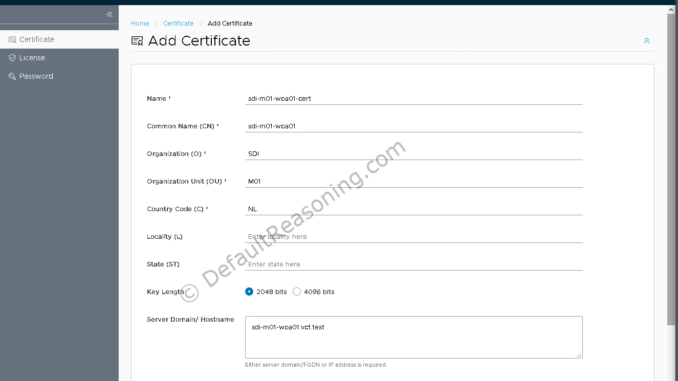
- On the Certificate page, click the plus-sign and select Add Certificate. In this exercise we will use a self-signed certificate. It is recommended to use a CA signed certificate for production environments.
- Enter the necessary info to generate a self-signed certificate. Click Generate at the bottom of the page to generate the certificate.
- Next, on the Infrastructure page, wait until the page is automatically populated with the settings. Verify that Disk Mode is set to Thin, and Content Library use is disabled. Click Next.
- On the Network page, wait until the settings are automatically populated and click Next.
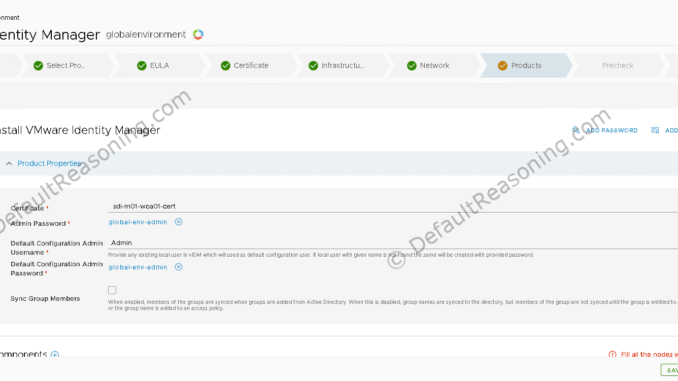
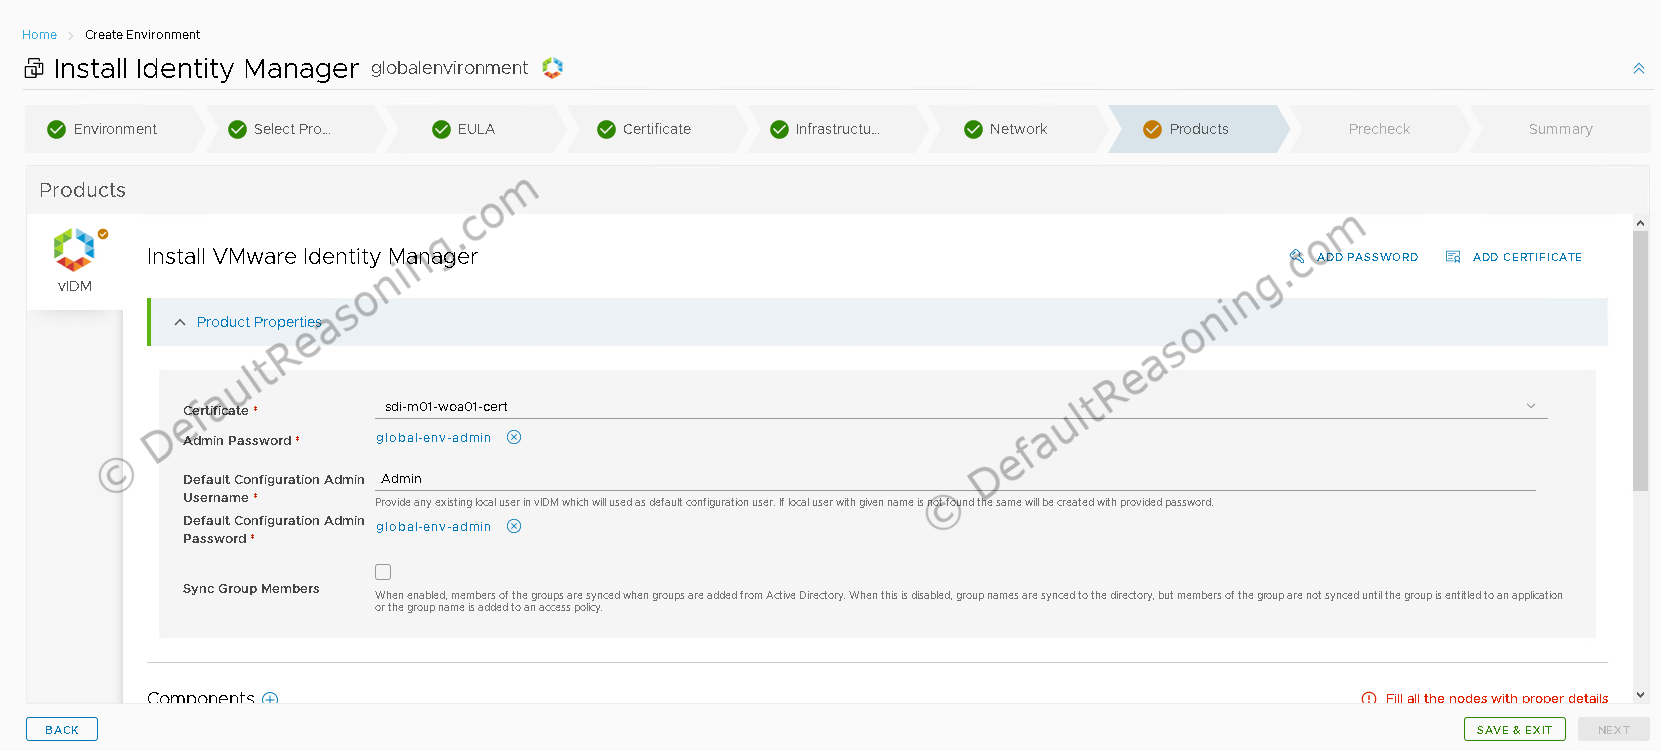
- On the Products page, under Product Properties, enter the Default Configuration Admin Username, in this case: configadmin.
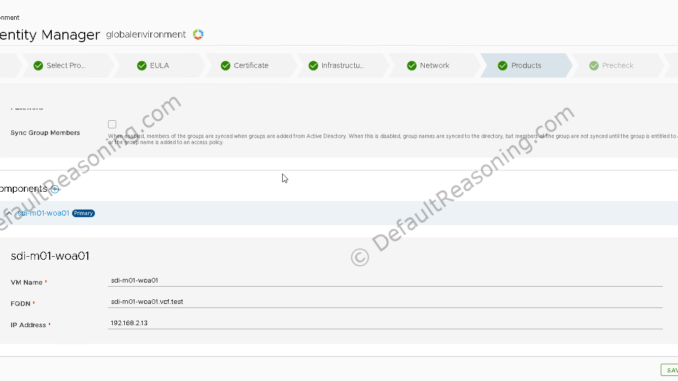
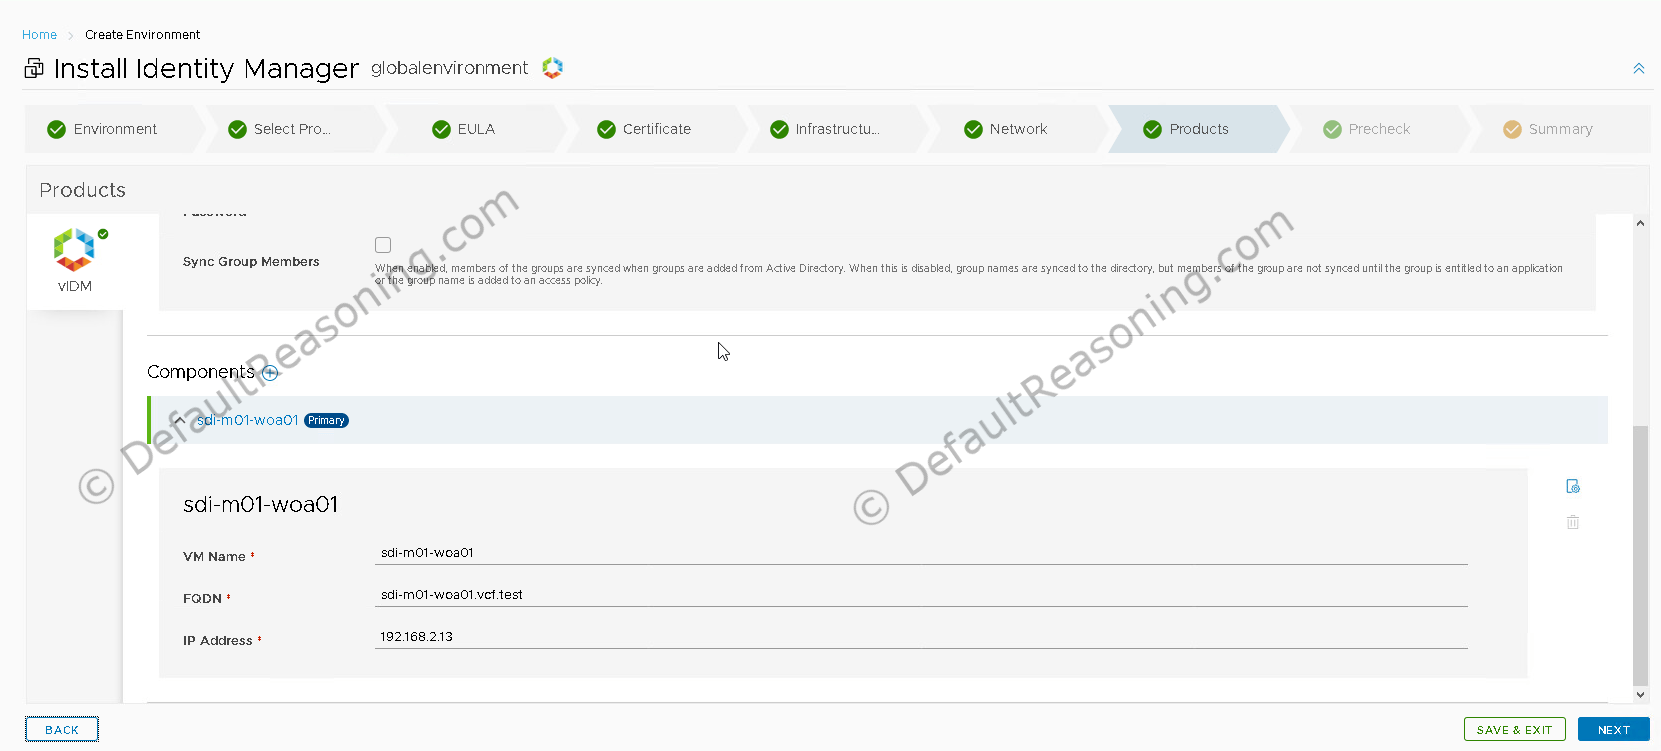
- Scroll down to the Components part and enter the virtual machine name, FQDN, and IP address for the WS1A appliance.
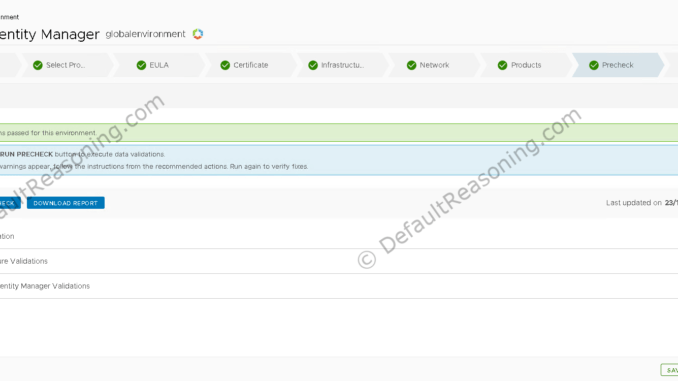
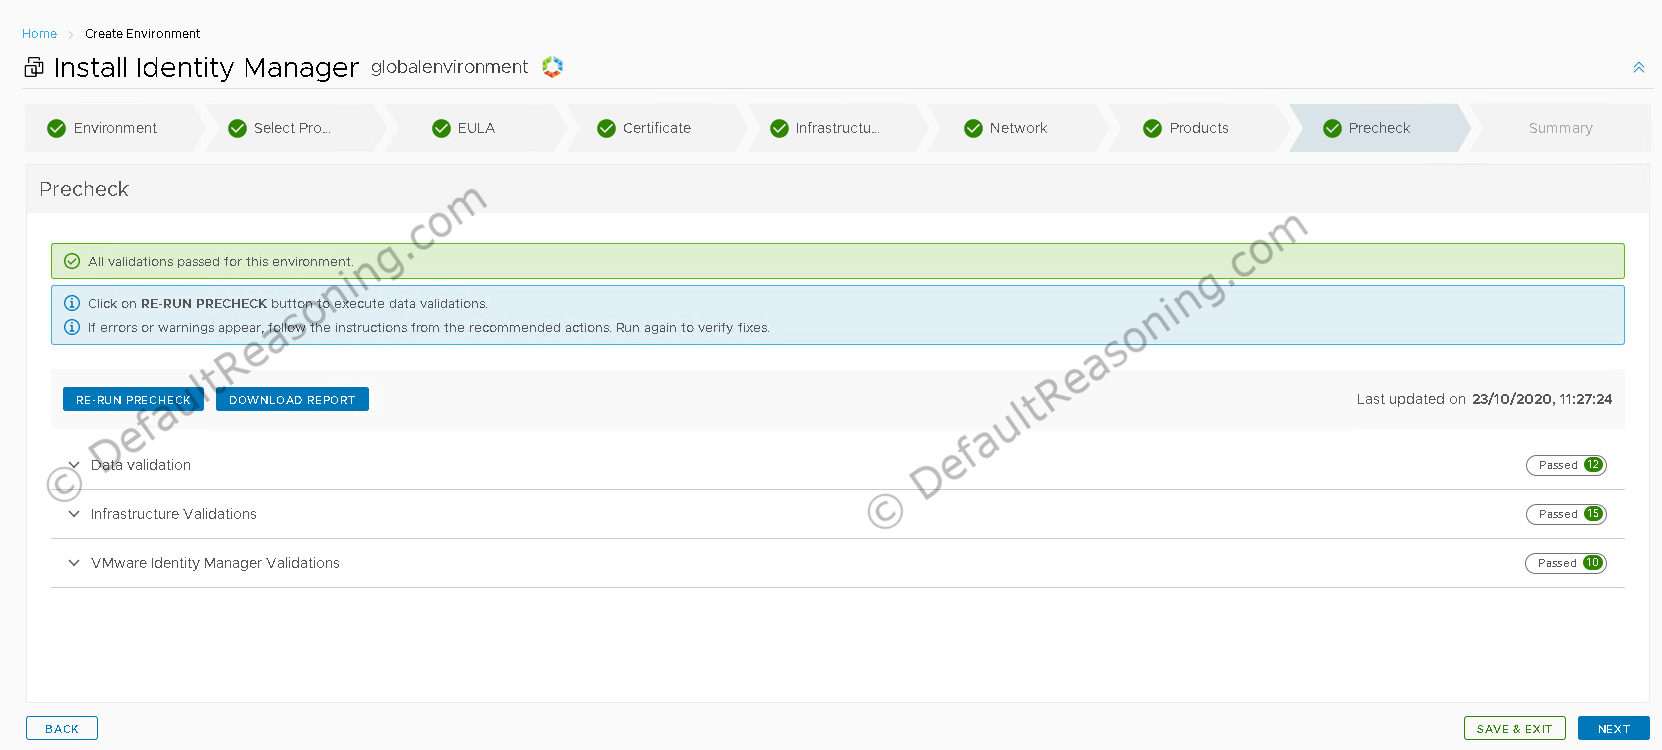
- Next, run the precheck on the Precheck page. Wait until it completes. Fix errors if any. Click Next.
- On the Summary page, review all the settings and click Submit to deploy the WS1A appliance.

You can monitor the progress of the deployment in vRSLCM or the Request Details page for this environment. Once the deployment is finished, Workspace ONE Access will be marked as active on the SDDC Manager dashboard.
This concludes part 1 of the automated deployment of vRealize Suite in VCF 4.1. In the next part, we will have a closer look on deployment of vRealize Operations Manager!
Cheers!
– Marek.Z
Be the first to comment