


The latest version of VMware vSphere ships with a new version of the vCenter Server Appliance (vCSA). Let’s have a quick look on how to upgrade the vCenter Server Appliance 5.5 to version 6.0.
As always, before you begin, make sure you read the vSphere 6 upgrade guide (chapter 5: Upgrading and patching the vCenter Server Appliance). Also, before you can proceed with the upgrade, you must install the VMware Client integration plug-in from the ISO located in the vcsa folder.
This article describes the upgrade process of the vCenter Server with an embedded Platform Services Controller. If you want to use the vCenter Server Appliance with an external Platform Services Controller, you must deploy a new vCenter Server Appliance. For more info on how to deploy the vCenter Server Appliance, see vSphere 6 Installation and Setup guide.
Upgrade vCenter Server Appliance 5.5
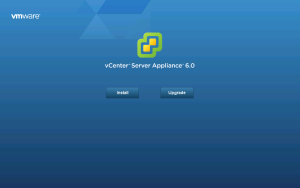
- Open the vcsa-setup.html file that is located in the ISO image.
- When the file is loaded, click the Upgrade button.
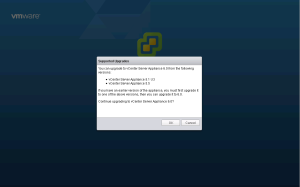
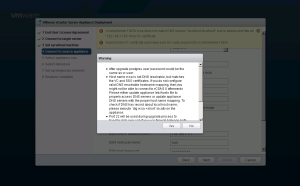
- Review the prerequisites as described in the supported upgrades message window and click OK.
- Accept the EULA and click Next.
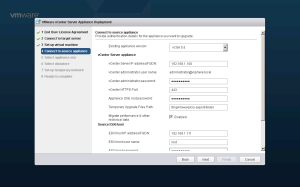
- Connect to the ESXi host on which you want to deploy the new vCSA. Enter IP or FQDN, user name and password. Click Next.
- Click Yes on the certificate warning message.
- Next, specify the name for the new appliance and enable SSH if necessary.
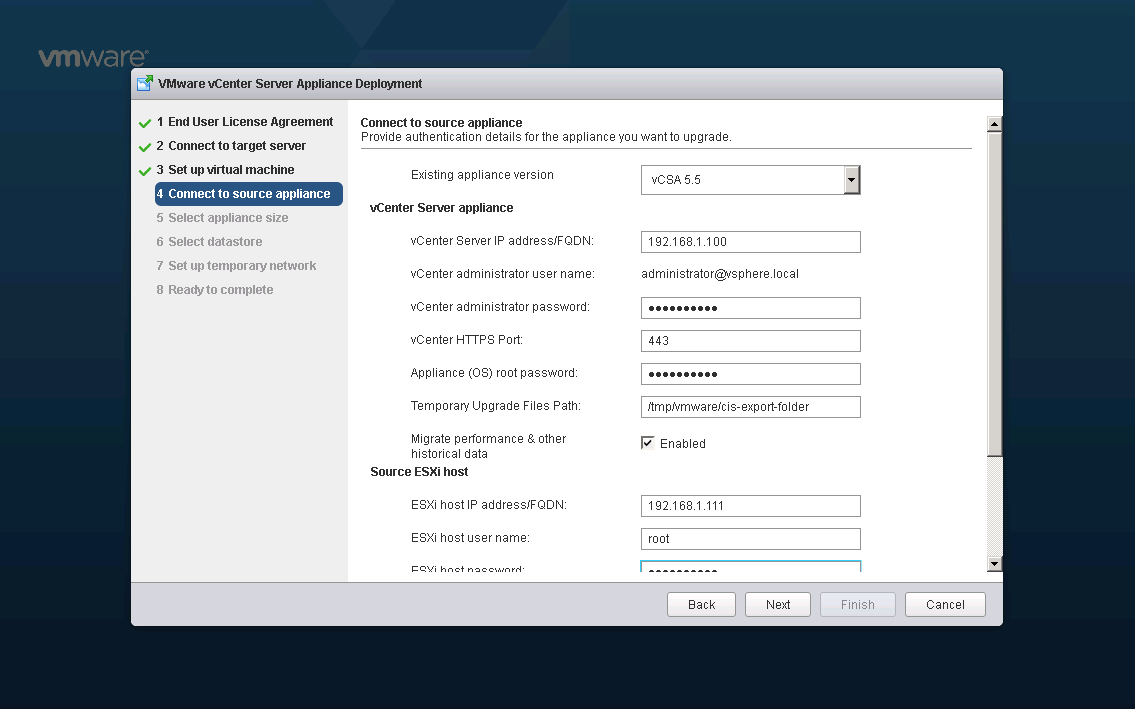
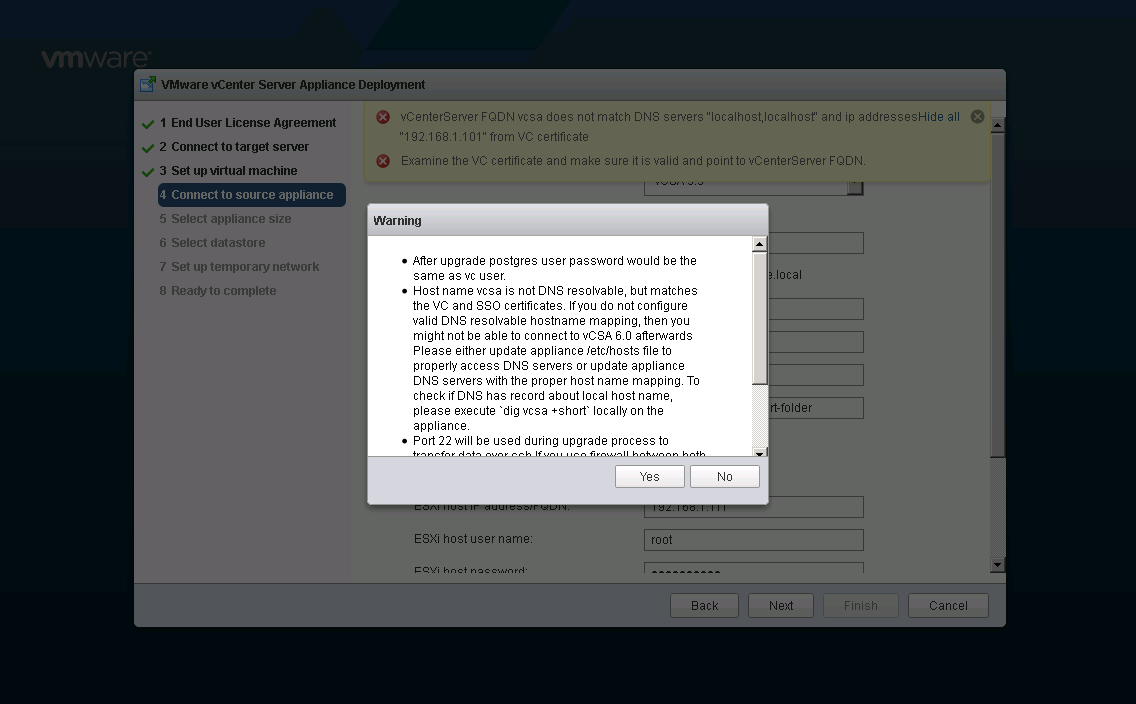
- In the next window, connect to the source vCSA. Provide all necessary information as requested. Click Next.
- Read the warning message if applicable in your situation. Click Yes to continue.
- Next, select the appliance size.
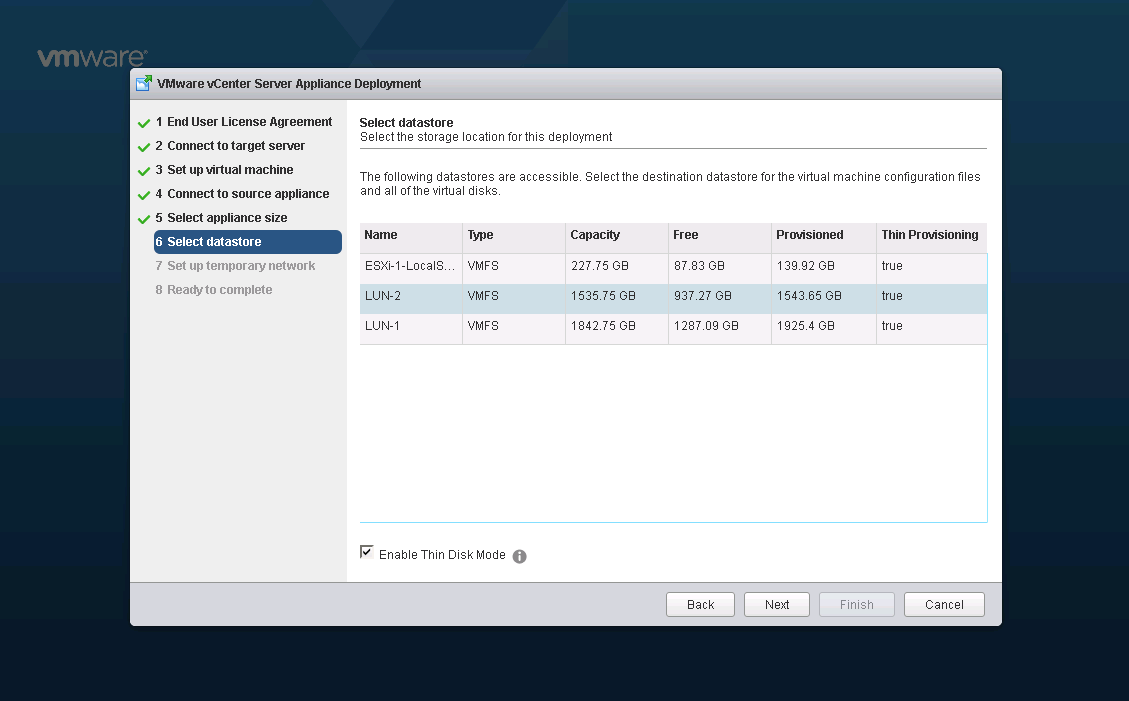
- Select the datastore and enable thin disk for the appliance if you want to. Click Next.

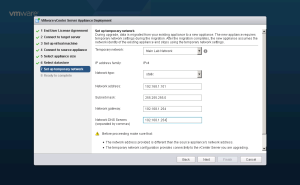
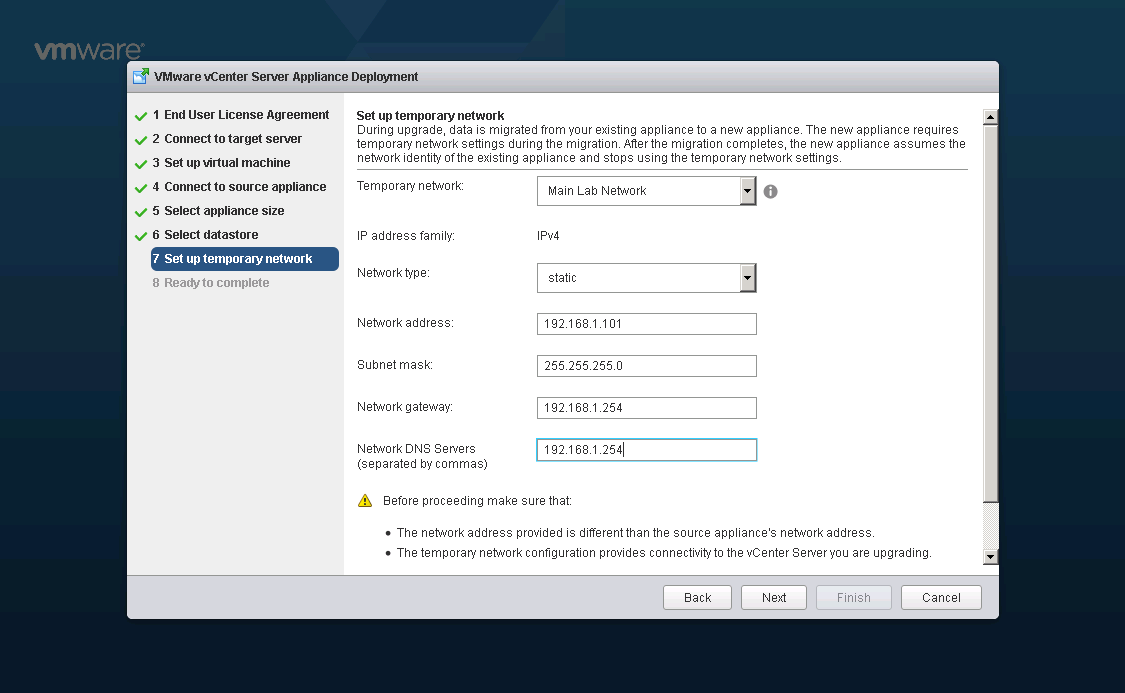
- Next, set up a temporary network. During upgrade, data is migrated from your existing vCSA to the new vCSA. The new vCSA requires temporary network settings during the migration. After the migration completes, the new vCSA assumes the network identity of the existing vCSA and stops using the temporary network settings.
- Review the settings and click Finish to start the installation process.
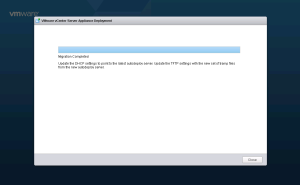
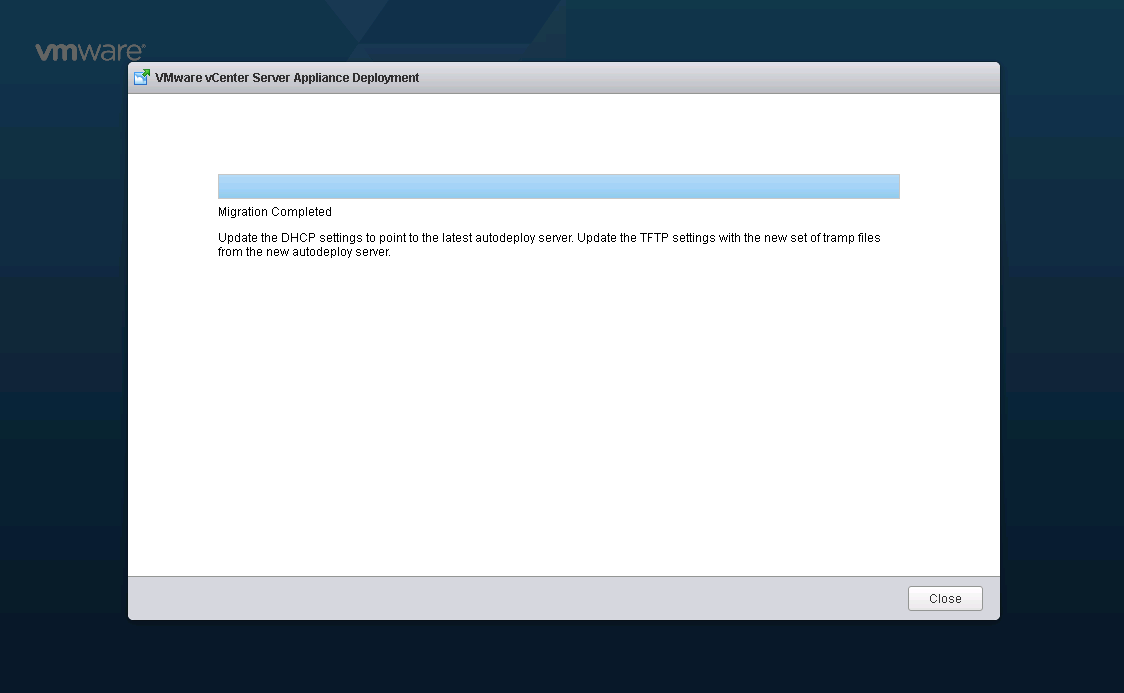
- Click Close to close the deployment wizard. Note that you will have to update the DHCP settings as described in the message.


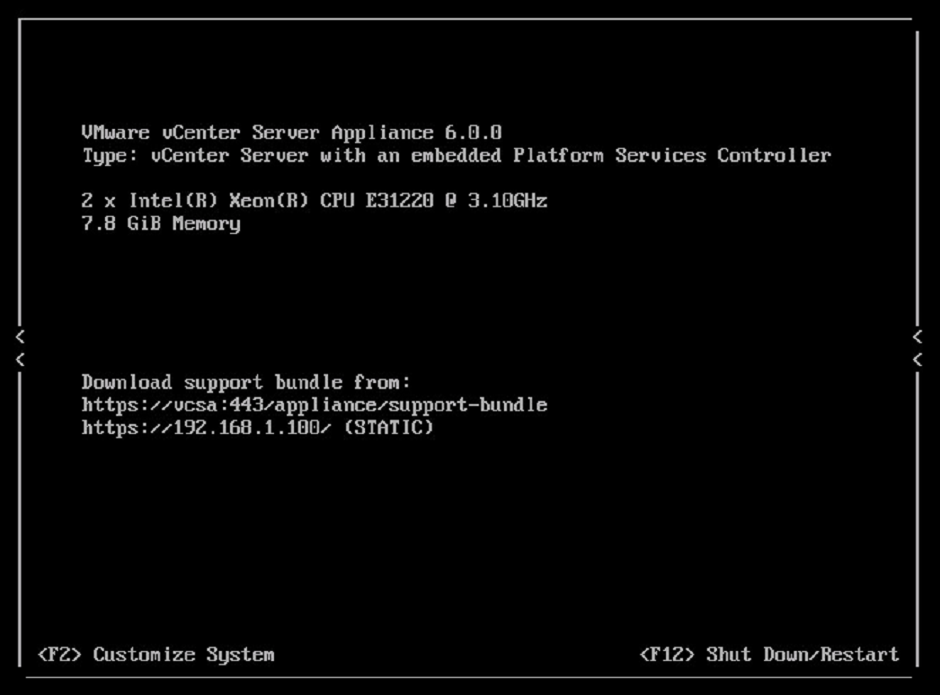
This concludes the upgrade of the vCenter Server Appliance 5.5 to version 6.0.

It is more a migration than an upgrade if you ask me but it works fine and you retain or all of your settings. As final steps, you should verify if all services are running on the new vCSA and finally remove the old vCSA from the inventory and the disk.
Cheers!
– Marek.Z