In the previous part I created a database and an ODBC connection for the deployment of SRM 5. In this part we will focus on the installation process of SRM 5 which is quite straightforward if all of the prerequisites are met. After the installation we will have to download and enable the VMware vCenter Site Recovery Manager Extension plug-in for administration of SRM 5.
Installation
- Login to the vCenter Server, locally or through RDP, on the Protected Site and start the installation wizard.
- Click Next and Next again. Accept the EULA and click on Next.
- Accept the default installation folder or change it if you like. Click Next to proceed.
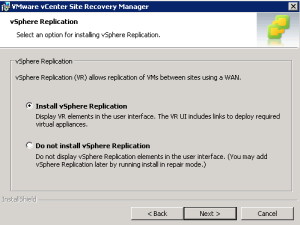
- Select “Install vSphere Replication” and click Next.
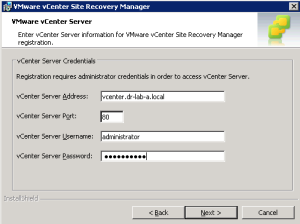
- Provide the vCenter Server credentials for the Protected Site and click Next to proceed.
- Accept the Security Warning and select “Automatically generate a certificate” in the Certificate Type Selection window. Click Next to proceed.
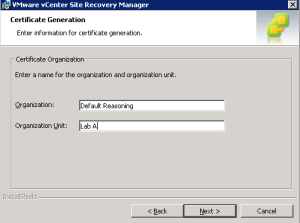
- Enter the Organization name and Unit in the Certificate Generation window. Click Next.
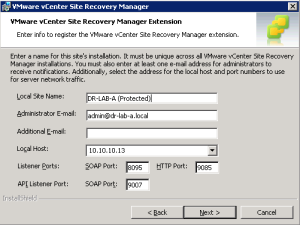
- Fill in the required information in the VMware vCenter Site Recovery Manager Extension window. In the Local Site Name, make sure you provide a suggestive name so you can easily track it back if necessary. Provide an e-mail where administrative alerts and notifications will be send (mandatory). Select the IP address from Local Host drop down menu and click Next.
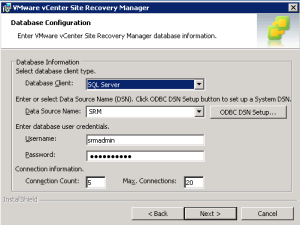
- In the Database Configuration window, select SQL Server as the Database Client. For the Data Source Name, provide the name of the ODBC connection created in step 2 of the ODBC connection setup and the credentials of the database user (i.e. srmadmin) created in step 4 of the database setup. Click Next to start the installation.
- Wait until the installation is completed and you are done! 🙂
Repeat the steps above for the vCenter Server in the Recovery Site.
Next step is to download and install the vCenter Server SRM Manager Extension plug-in.
Plug-in
- Open the vSphere Client and login to the vCenter Server on the Protected Site.
- Navigate to Plug-ins menu and open the Plug-in Manager.
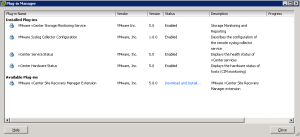
- As you can see, the VMware vCenter Site Recovery Manager Extension is available for download and installation. Click on the Download and Install link.
- Install the certificate and click on Ignore.
- When download is finished, click on Run to install the plug-in.
- Follow the steps in the installation wizard and click Finish to complete the installation.
- Click on Close to close the plug-in manager window.
- Go to Home in the vSphere Client. The SRM 5 plug-in should now be visible under Solutions and Applications.

Remember to install the plug-in also on the vCenter Server at the Recovery Site. Proceed to part 3 where we will connect the Protected Site to the Recovery Site.
Cheers!
– Marek.Z
Be the first to comment