In the previous part we upgraded Single Sign-On, vSphere Web Client, vCenter Inventory Service and vCenter Server components using Simple Installer. In this part we will proceed with the upgrade of the remaining vSphere components which must be done manually.
Remaining upgrade steps
- Upgrade vSphere Client
- Upgrade vSphere Update Manager
- Upgrade vSphere ESXi Dump Collector (optional)
- Upgrade vSphere Syslog Collector (optional)
- Upgrade vSphere Auto Deploy (optional)
- Upgrade ESXi hosts
Upgrade vSphere Client
- Open the VMware vCenter Installer or if it is still open, select VMware vSphere Client and click Install button.
- Wait for extraction to complete, choose your language and click OK.
- Click Next, accept the EULA and click Next.
- Change the installation folder if you want or click Next to accept the default location.
- Click Install to start the installation process.
- When the installer is ready click Finish to close the installation.
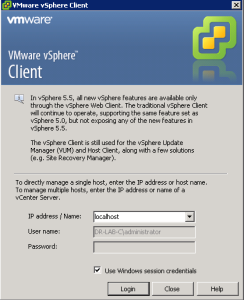
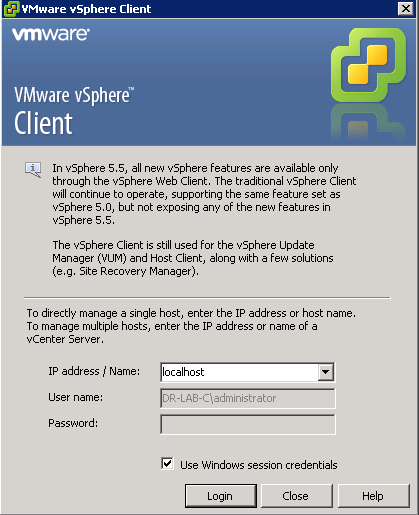
- Open the vSphere Client and log in. Notice the message stating that all new vSphere features are available only through the vSphere Web Client.
Upgrade vSphere Update Manager
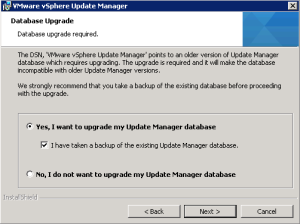
Before you begin with the upgrade of the vSphere Update Manager, make a back-up copy of the Update Manager database.
- With your VMware vCenter Installer still open, select vSphere Update Manager under VMware vCenter Support Tools and click Install button.
- Select your language an click OK.
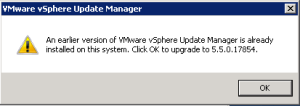
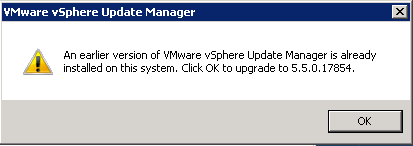
- Next, click OK on the warning message stating that an earlier version of the Update Manager is already installed on this system.
- Click Next on the welcome message.
- Accept the EULA and click Next.
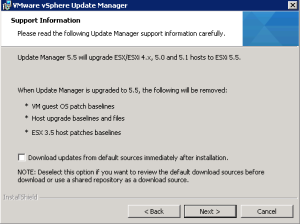
- Select or deselect the download updates option and note that when Update Manager is upgraded to version 5.5 it will remove the VM guest OS patch baselines, Host upgrade baselines and files and ESX 3.5 host patches baselines.
- Review the vCenter Server information and enter the administrator password. Click Next to continue.
- Click Next on the Database Information window.
- Choose if you want or do not want to upgrade the database. In my case I upgraded the existing database instead of creating a new one. Click Next to continue.
- Review the connection settings and set up proxy server if necessary. Click Next.
- Click Install to start the installation process.
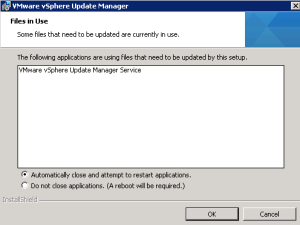
- During the installation you will be asked to close or not to close the vSphere Update Manager service. Choose what is appropriate for your environment and click OK.
- When the installation is finished, click Finish to close the installer.
- Open the vSphere Client and update the vSphere Update Manager plug-in.


Upgrade vSphere ESXi Dump Collector
- With your VMware vCenter Installer still open, select vSphere ESXi Dump Collector under the VMware vCenter Support Tools and click Install.
- Select your language and click OK.
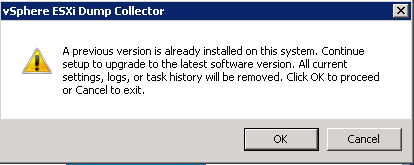
- Next, click OK on the warning stating that a previous version is already installed and that it will be upgraded to the latest version.

- Click Next on the welcome wizard.
- Accept the EULA and click Next.
- Check the destination folders, change if necessary and click Next.
- Select if you want to install a Standalone or vCenter Server installation of the dump collector. Click Next.
- Review the connection settings, enter the administrator password and click Next.
- Change the dump collector port or click Next and leave it to default.
- Select how the dump collector should be identified on the network and click Next.
- Click Install to start the installation process.
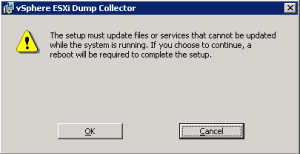
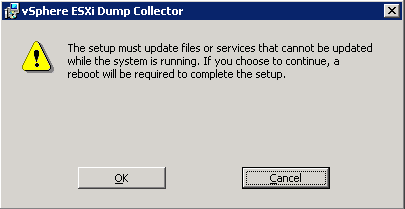
- If you receive a warning stating that a reboot will be required to complete the setup, click OK to continue.
- Click Finish to end the installation.
- Reboot the vCenter Server.
Upgrade vSphere Syslog Collector
- After the reboot, open VMware vCenter Installer once again, select vSphere Syslog Collector under the VMware vCenter Support Tools and click Install.
- Select your language and click OK.
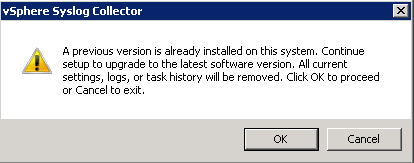
- Next, click OK on the warning stating that a previous version is already installed and that it will be upgraded to the latest version.

- Click Next on the welcome wizard.
- Accept the EULA and click Next.
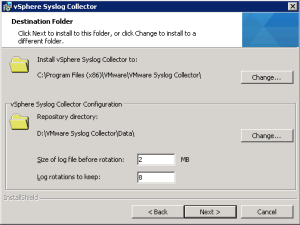
- Review the destination folders and the Syslog Collector configuration settings. Click Next to proceed or change the values if necessary.
- Choose the Standalone or vCenter Server integrated installation option and click Next.
- Review the connection settings, enter the administrator password and click Next.
- Check the port Syslog Collector port settings, change if necessary or click Next to accept the defaults and to continue.
- Click Next or select the Syslog Collector identification name.
- Click Install to start the installation process.
- Click Finish to end the installation process when it completes.

Upgrade vSphere Auto Deploy
- With your VMware vCenter Installer still open, select vSphere Autodeploy under the VMware vCenter Support Tools and click Install.
- Select your language and click OK.
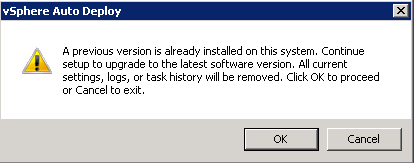
- Next, click OK on the warning stating that a previous version is already installed and that it will be upgraded to the latest version.

- Click Next on the welcome wizard.
- Accept the EULA and click Next.
- Review the destination folder and the repository maximum size. Adjust if necessary or click Next to accept the defaults and to continue.
- Review the connection settings, enter the administrator password and click Next.
- Review the vSphere Autodeploy port settings, change if necessary or click Next to accept the default and to continue.
- Click Next or select the Syslog Collector identification name.
- Click Install to start the installation process.
- If you receive a warning stating that a reboot will be required to complete the setup, click OK to continue.
- Click Finish to end the installation process when it completes.
- Reboot the vCenter Server.
Upgrade ESXi hosts
The final step in the upgrade path is upgrade of ESXi hosts to version 5.5. The upgrade process is performed by vSphere Update Manager which was upgraded earlier and it is not different than upgrading from ESXi 5.0 to 5.1. Before you begin, run the Host Agent Pre-Upgrade Checker from the VMware vCenter Installer to verify that the ESXi host is reachable, has sufficient disk space, the network is functioning correctly, the file system is intact and the required patches are applied.
- Open vSphere Client (not the Web Client), on the Home page and go to Update Manager under Solutions and Applications.
- Select the ESXi Images tab and click Import ESXi Image.
- Click Browse and navigate to the ESXi ISO file.
- Open the file and click Next.
- When the upload process completes successfully, click Next.
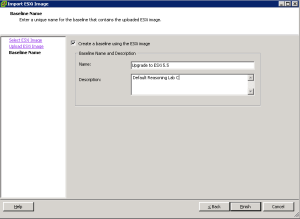
- At this point you can create a new baseline that will use this ESXi image. Enter a name and a description. Click Finish.
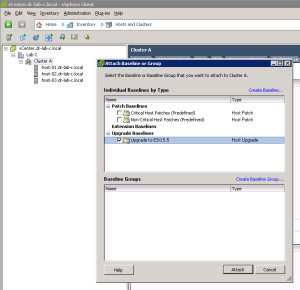
- Go back to the Home page and select Hosts and Clusters. Select your cluster, go to the Update Manager tab and click Attach.
- In the Attach Baseline or Group window, select the upgrade baseline created earlier and click Attach.
- Next, scan all hosts in the cluster against the baseline.
- When the scan is finished, click the Remediate button to start the upgrade process.
- In the Remediation Selection part, make sure all hosts are selected and click Next.
- Accept the EULA and click Next.
- Click Next on the upgrade settings.
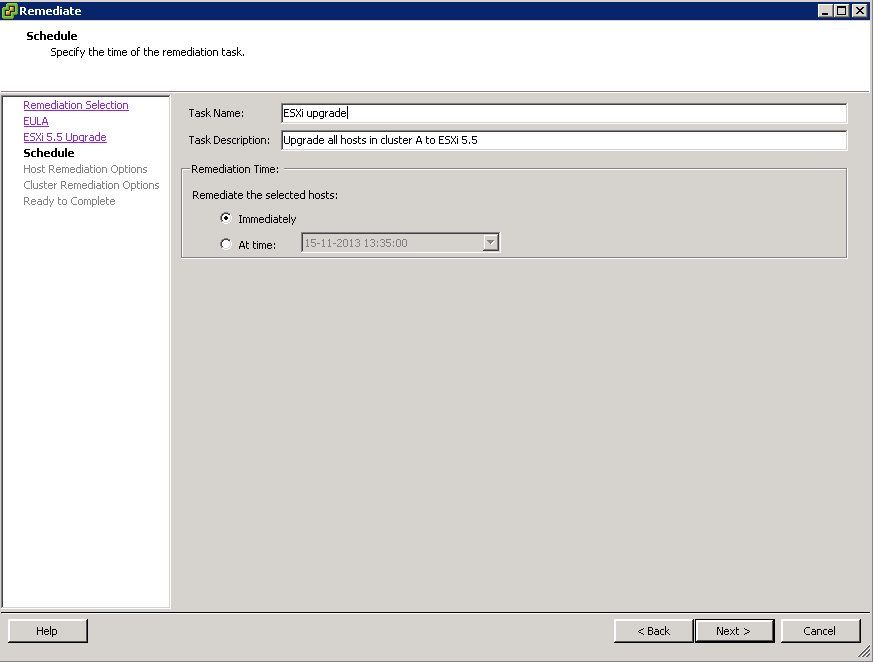
- In the Schedule part, enter the task name and description. Select the remediation time and click Next.

- Select the maintenance mode options suitable for your environment and click Next.
- Select the cluster remediation options suitable for your environment and click Next.
- Review the settings and click Finish to start the remediation process.


When the upgrade process completes successfully, the ESXi hosts are upgraded to version 5.5. 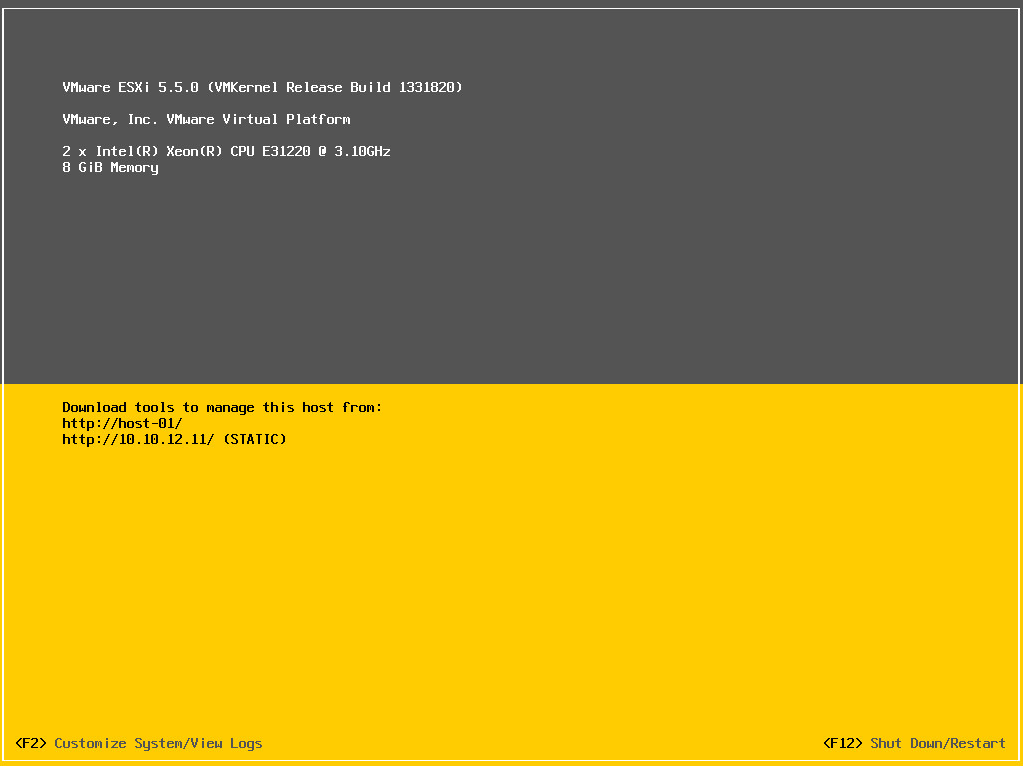
This concludes the upgrade process from vSphere 5.1 to 5.5.
Cheers!
– Marek.Z
Thanks for both Part which is very helpful for upgrading 5.1 to 5.5
Cheers….!