Here is a quick-steps guide on how to upgrade the vCenter Chargeback Manager 2.5 to version 2.6. In this case I will perform an in-place upgrade of vCenter Chargeback Manager which is running on a Windows Server 2008 R2 virtual machine. Before we begin, let’s take a look at what’s new in vCenter Chargeback Manager 2.6.
- VMI Costing
- Enhanced CSV Reporting
- Delete Multiple Reports
- VCVA (VC with embedded vPostgres) Support
- Option to Remove Deleted vCD Hierarchies from Automatic Report Scheduler
- Compatibility with 2013 Releases of vSphere (v5.5) & vCD (v5.5)
Full list of new features and bug fixes can be found in the VMware vCenter Chargeback Manager 2.6 release notes. Before you begin with the upgrade, read the following documents and guides.
- vCenter Chargeback Manager 2.6 release notes
- vCenter Chargeback Manager 2.6 installation and upgrade guide
Upgrade vCenter Chargeback Manager
Before you begin, make a snapshot of the virtual machine running the vCenter Chargeback Manager and back-up the database.
- Log in to the vCenter Chargeback Manager machine with the Administrator account.
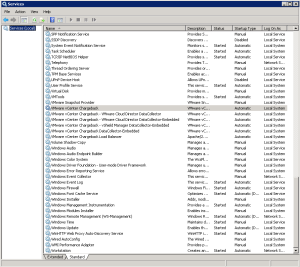
- Stop all vCenter Chargeback Manager related services.
- Download the installation files from VMware, unpack the zip file and run the vCenter-CB.exe file to start the upgrade process.
- Click Next on the introduction page.
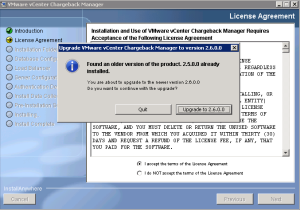
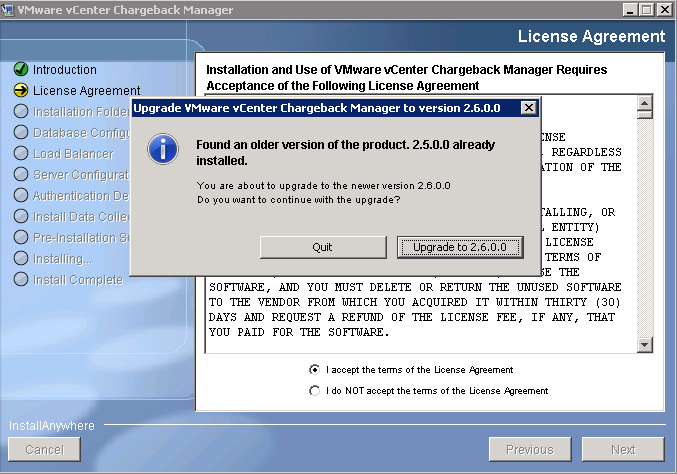
- Accept the EULA and click Next.
- You should now see a message stating that an older version of vCenter Chargeback manager is already installed. Click the Upgrade button to upgrade the software.
- On the Database Connection page, the details should be populated. Click the Test Connection button to test the connection with the SQL Server. Click Next when the connection test is successful.
- Click Next on the data collector page.
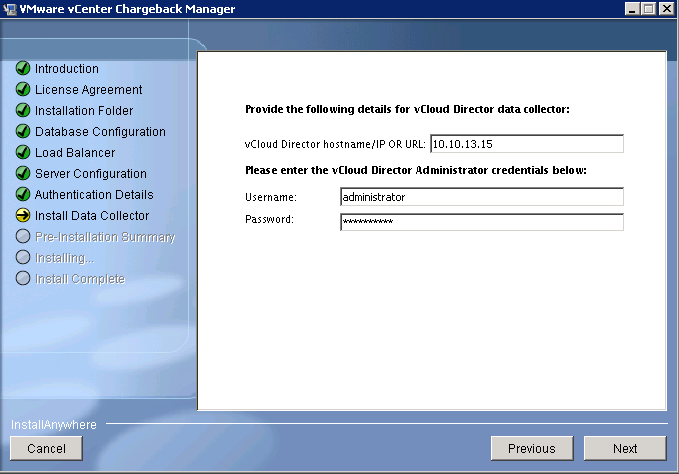
- If you have a vCloud Director data collector installed, provide the user credentials for the vCloud Director instance and click Next.
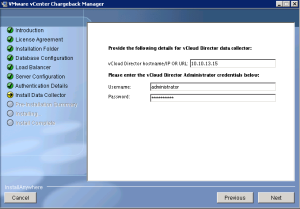
- Also, verify the administrative account by providing the password.
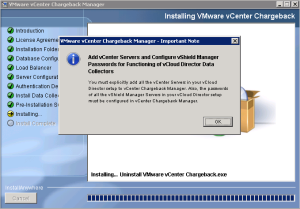
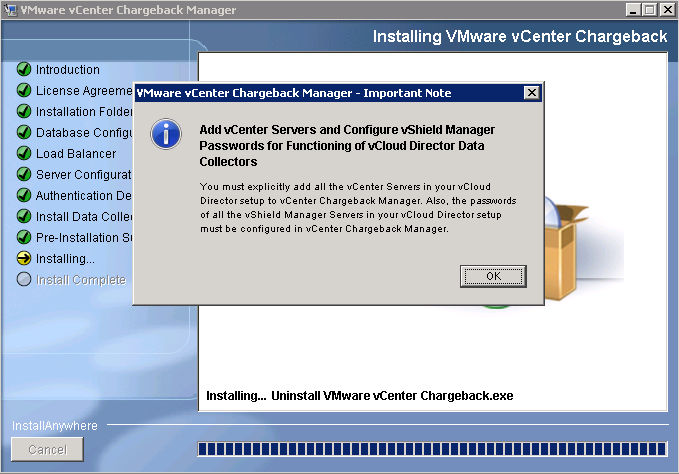
- Review the pre-installation summary and press Install to begin the upgrade process.
- When the installation finishes, you will see the following message. Click OK to continue.
- Click Done to close the window. The vCenter Chargeback Manager instance is now upgraded to version 2.6.
- Remove the snapshot of the vCenter Chargeback Manager virtual machine.
Post Installation Tasks
Now that the vCenter Chargeback Manager is upgraded to version 2.6 you have to perform some post installation tasks.
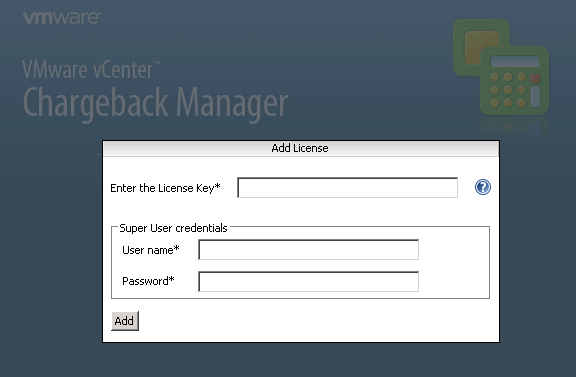
- Open the vCenter Chargeback Manager web interface by navigating to https ://<IP_or_FQDN>/cbmui
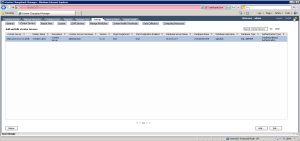
- Enter the license key and provide the Super User credentials. Click Add.

- Log in with the credentials.
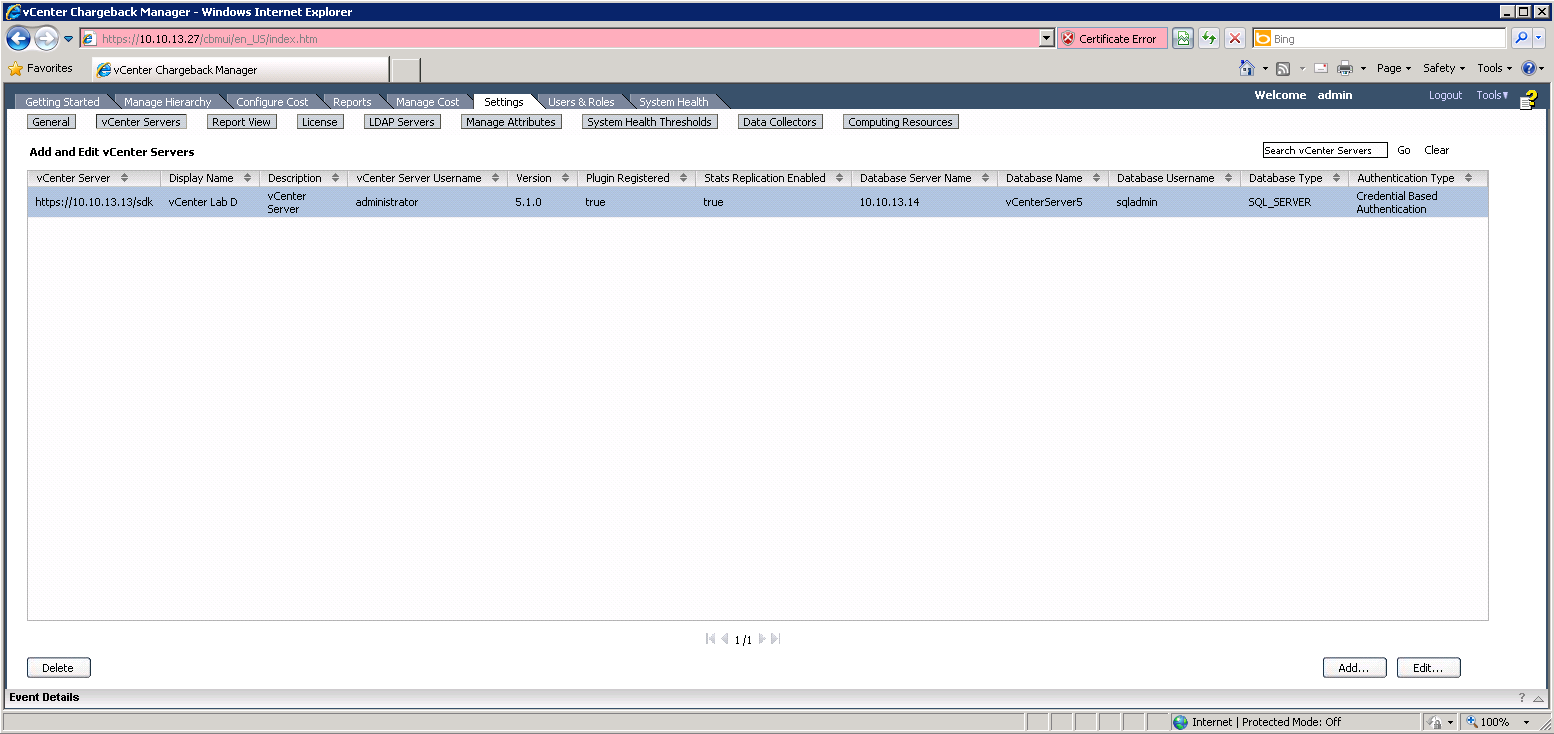
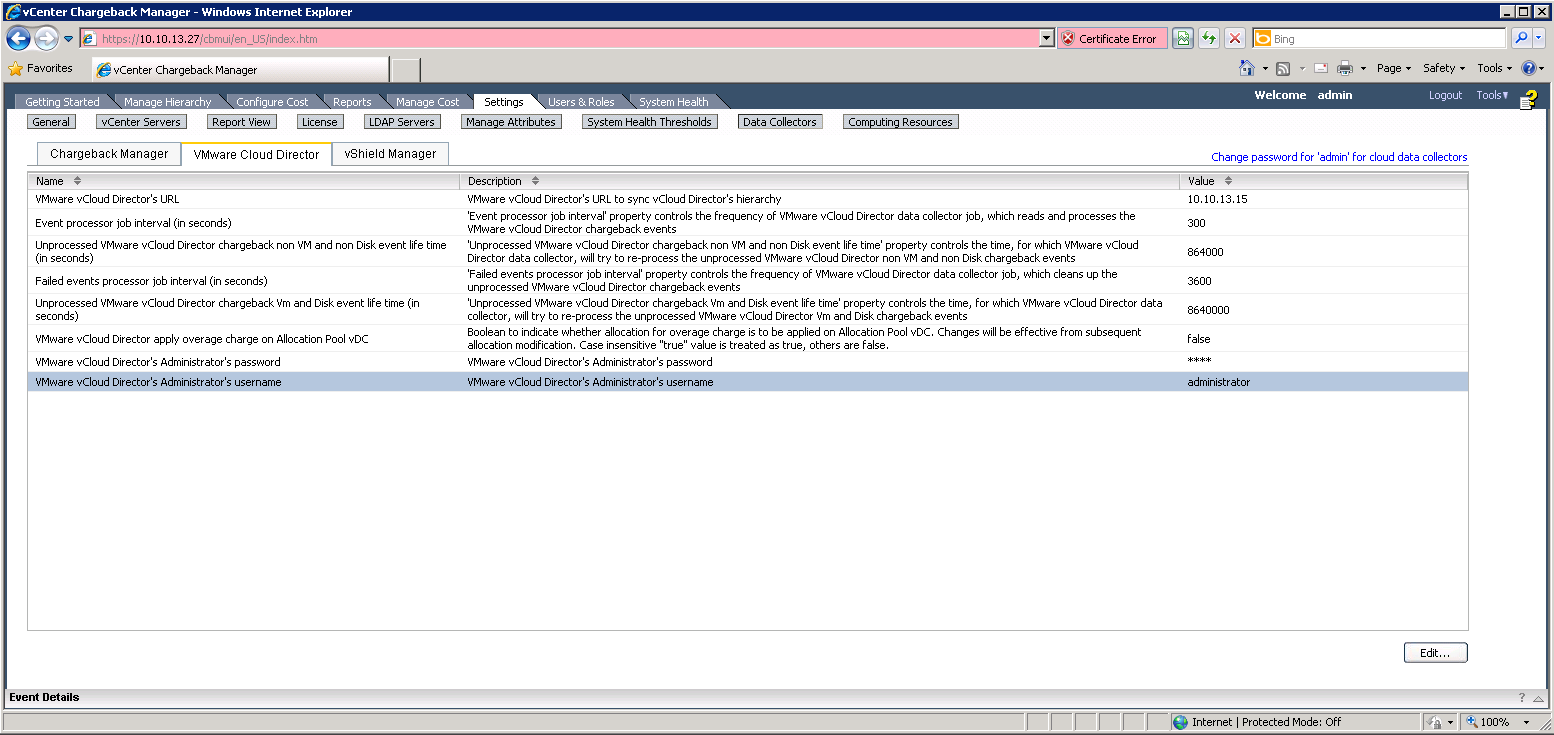
- Select the Settings tab and open the vCenter Server pane. Verify that your vCenter Server is listed.
- Next, select the Data Collectors pane and verify that all collectors are present.

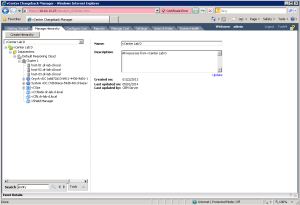
- Finally, select the Manage Hierarchy tab and verify that you can browse your hierarchies.
- Log out from the vCenter Chargeback manager web interface.

At this point the upgrade process is completed. Additionally, you can perform some test like creating new reports and sending them via e-mail.
Cheers!
– Marek.Z
Hi Marek, is it possible to shrink or purge the CBM logs (actually they are 20GB) before make and upgrade form 2.6. to 2.7?
Kind regards
Hi Pedro,
Not that I am aware of.
Check the Chargeback Manager log configuration settings. See https://www.vmware.com/pdf/cbm_bp_ts_guide_2_7.pdf on page 18 on how to do it. The default setting for log file size is 50 MB and maximum number of files is 10. Older are compressed as zip files.
Hope this helps.
Cheers!