Some time ago I wrote a multi post series on how to install, configure and manage the VMware vCenter Site Recovery Manager, based on a setup in my home lab. The latest release (SRM 5.8) now integrates with the vSphere Web Client and my articles are based on the “classic” vSphere Client. So, I decided to write a series of updates on the past posts. I will skip the preparation and installation part of SRM since there were no significant changes there (except that is it easier to set up now 🙂 ) and I will focus more on the following subjects that are now configured in the vSphere Web Client.
- Site Pairing
- vSphere Replication
- VM Replication
- Inventory Mappings
- Protection Groups
- Recovery plans
- Migration & Failover
This blog post will focus on Site Pairing after the initial installation and configuration of SRM, which is basically connecting both SRM instances (Protected Site and Recovery Site) with each other.
Site Pairing
- Open your internet browser and navigate to your vCenter Server on the Protected Site.
- Log in with your administrator account.
- Click on Site Recovery on the left pane.
- Select Sites.
- Select your site and click the Pair Site button.
- Enter the FQDN or IP address, user name and password of the vCenter Server at the Recovery Site and click OK.
- Click Yes twice on the certificate error to connect anyway.
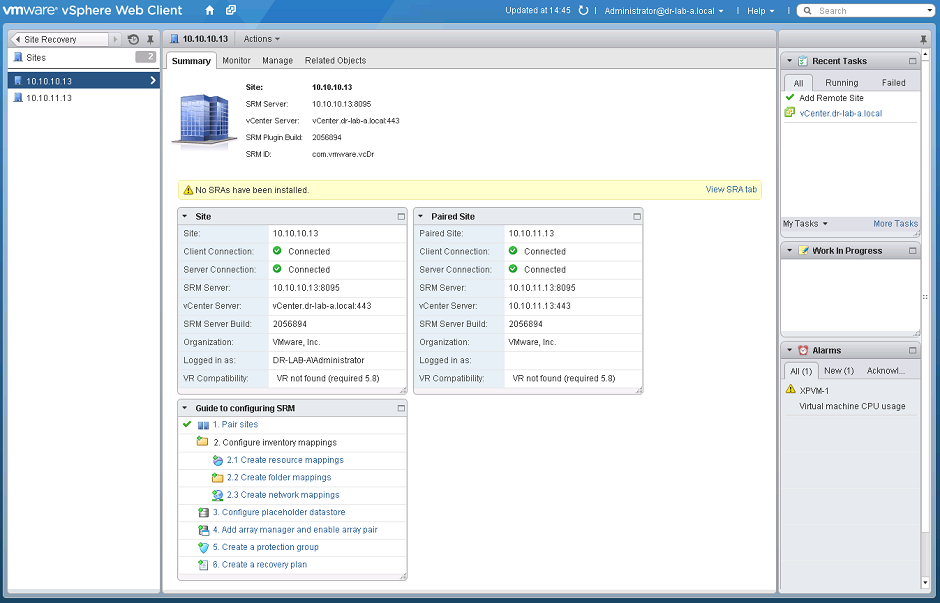
- When the connection is established, you should see both sites displayed in the vSphere Web Client.
- Select the Primary Site and you should see the details of the paired site on the Summary tab.
At this point, both sites are now connected and this concludes this rather short post on pairing the SRM sites together. In the next part we will take a closer look at the vSphere Replication part of the SRM infrastructure.
Cheers!
– Marek.Z

