In the previous part of this SRM back to basics series we’ve connected the Protected and Recovery Site and we can now start replicating the virtual machines to the Recovery Site with vSphere Replication. Note that the previous versions of Site Recovery Manager included the vSphere Replication appliance and you could configure vSphere Replication in the Site Recovery Manager interface. In the 5.8 release, you deploy the vSphere Replication appliance and configure vSphere Replication on virtual machines independently of Site Recovery Manager.
Deploy vSphere Replication
- Open the vSphere Web Client and navigate to the vCenter Server at your Protected Site.
- Log in with the administrator account.
- Deploy the vSphere Replication OVF template through the Actions menu and the Deploy OVF Template as usual.
- Accept the EULA and click Next.
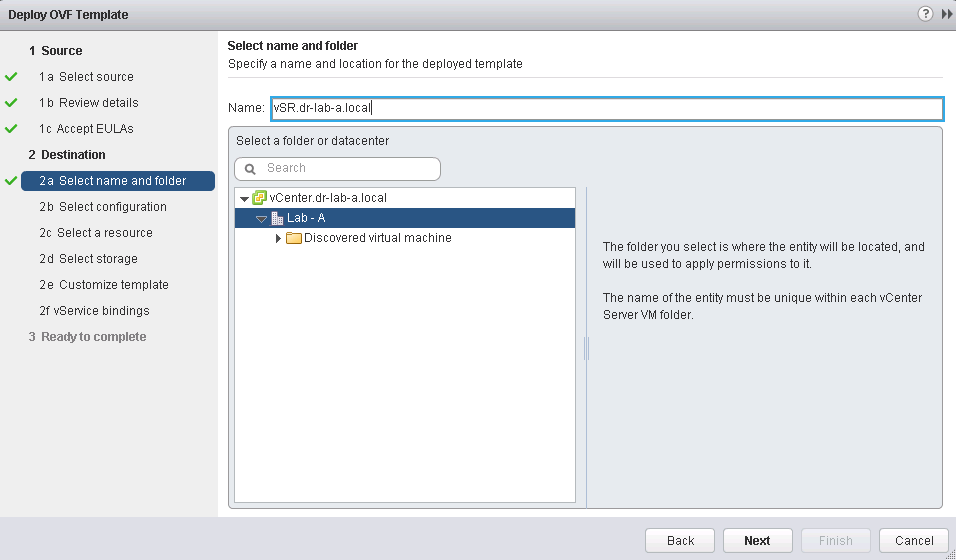
- Select a name and folder, click Next to continue.

- In the deployment configuration, select the amount of virtual CPUs for the appliance. I went for 2 vCPUs since I only got a couple of VMs.
- Next, select the cluster and a host for the appliance.
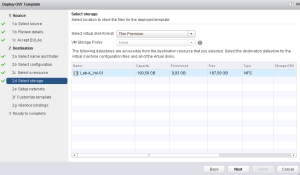
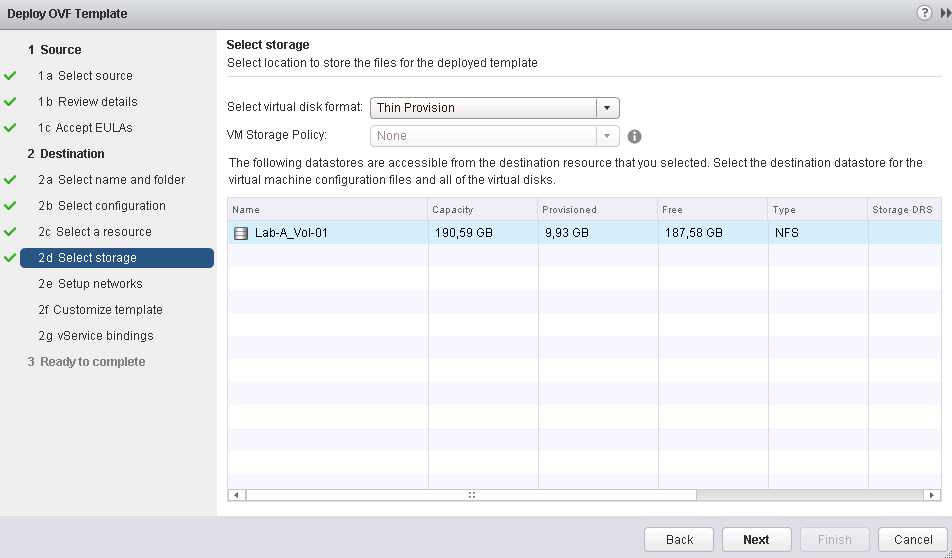
- Choose the virtual disk format, VM storage policy if you use any and the datastore where the appliance will be stored.
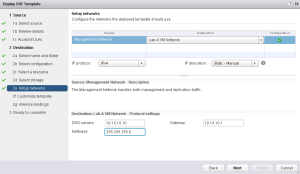
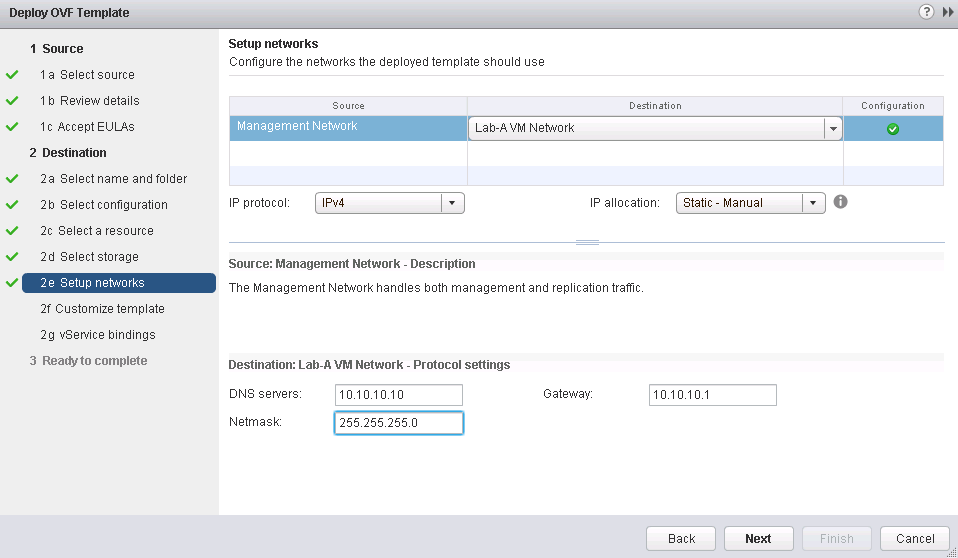
- In the Setup Network part, select the destination network form the drop down menu, choose the protocol (IPv4/IPv6) and the IP allocation (DHCP/Static). I you choose the static configuration, provide the DNS server, default gateway and subnet mask.
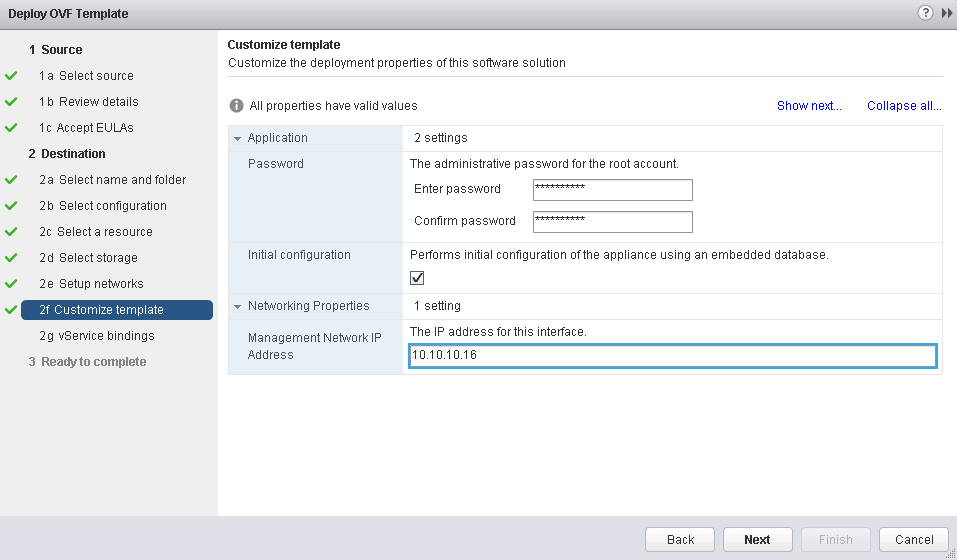
- Next, enter and confirm the password for the appliance and enter an IP address.

- Click Next on the vService bindings.
- Tick the “Power on after deployment” check box, review the setting and click Finish to start the deployment process.
Repeat the steps above for the Recovery Site.
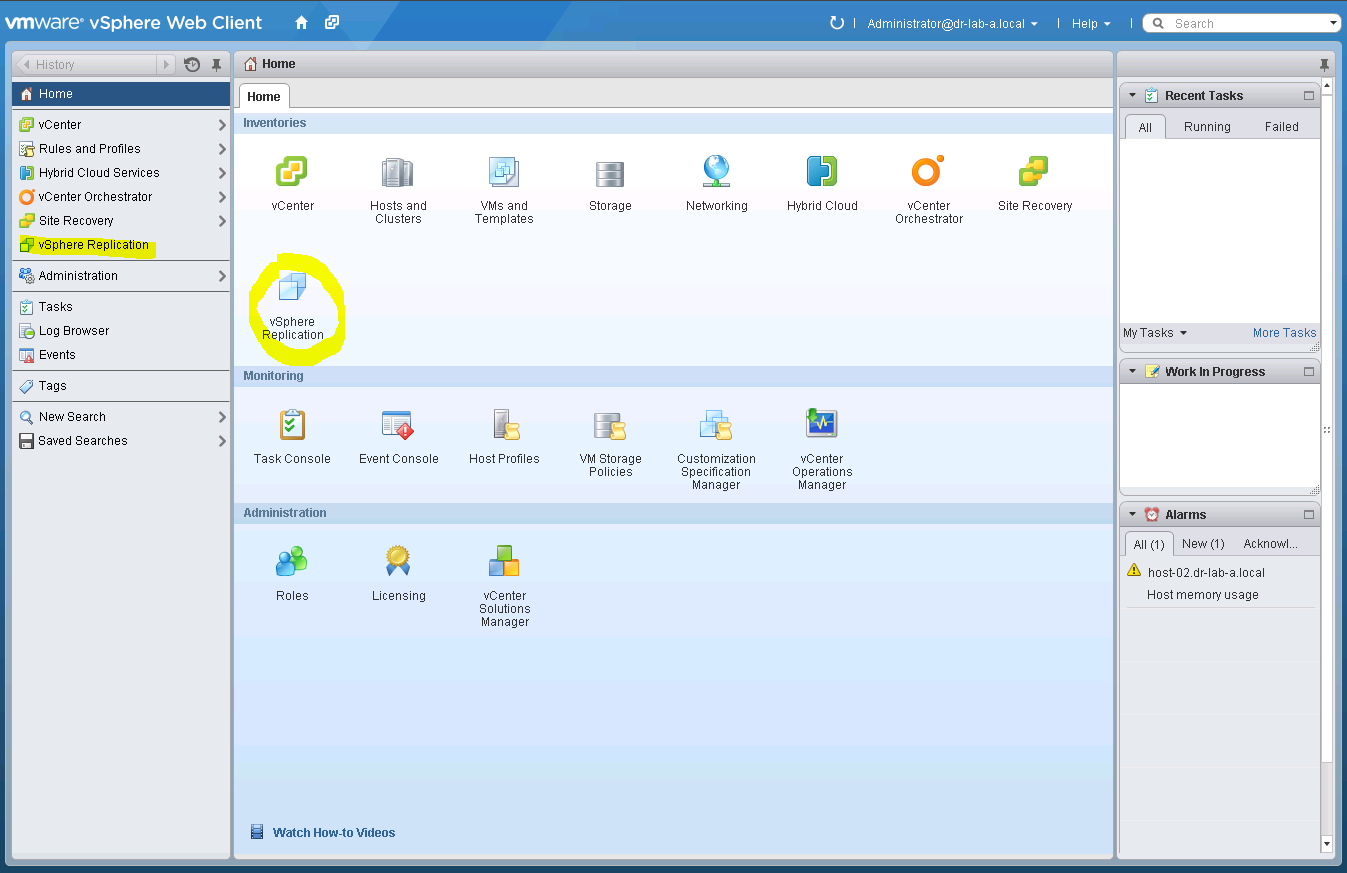
Log off from the vSphere Web Client and log back in. You should now see the vSphere Replication icon under the home tab and in the left pane.
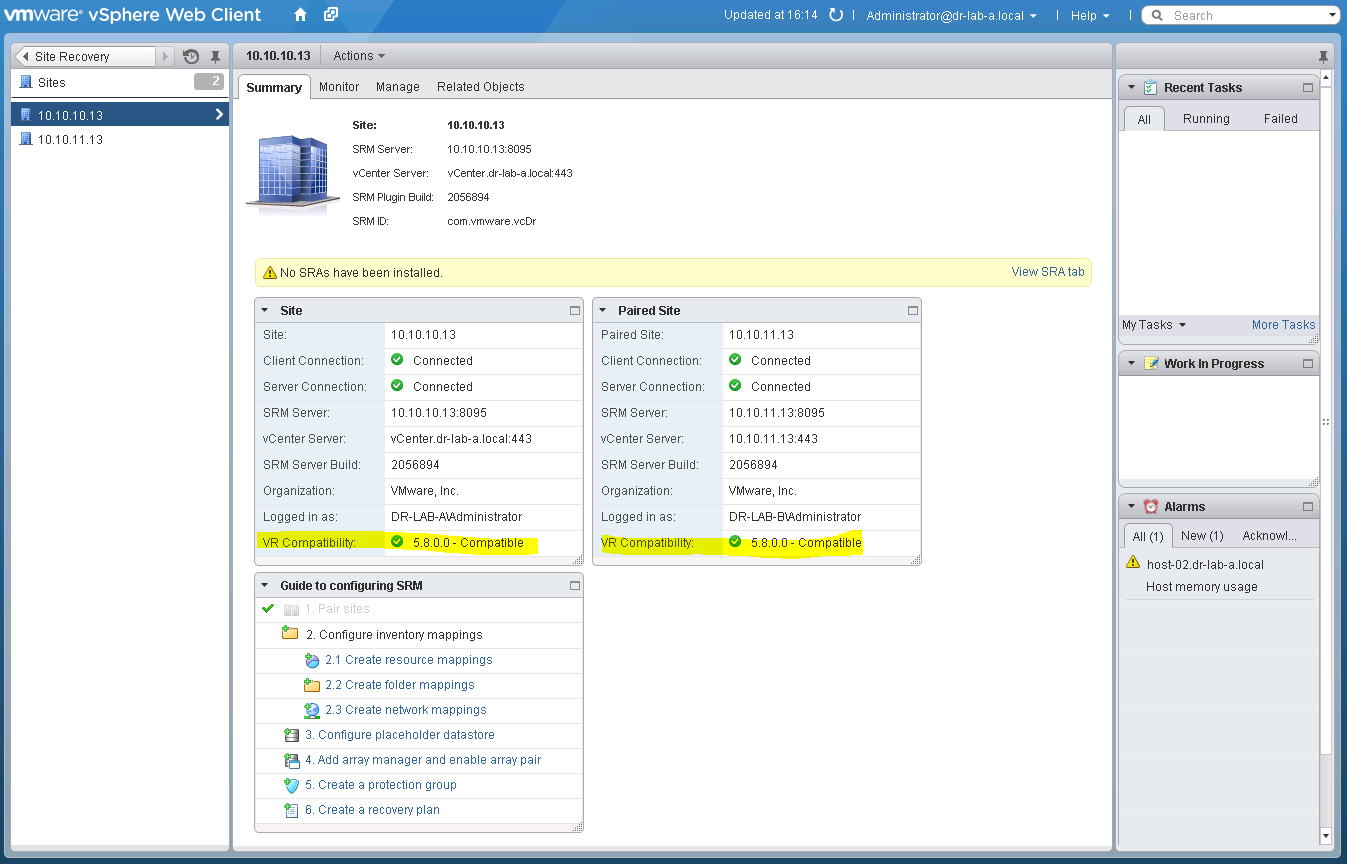
Go to the Site Recovery and select the Protected Site. The VR Compatibility should now read: Compatible for both sites.
Next, go back to the Home page and select vSphere Replication. Click on your vCenter Server and select the Manage tab. In the left pane, select Target Sites and click the Connect to target site to configure replication. Enter the FQDN or IP address of your Recovery Site, provide the user name and password and click OK. The remote site should now be added to the list.
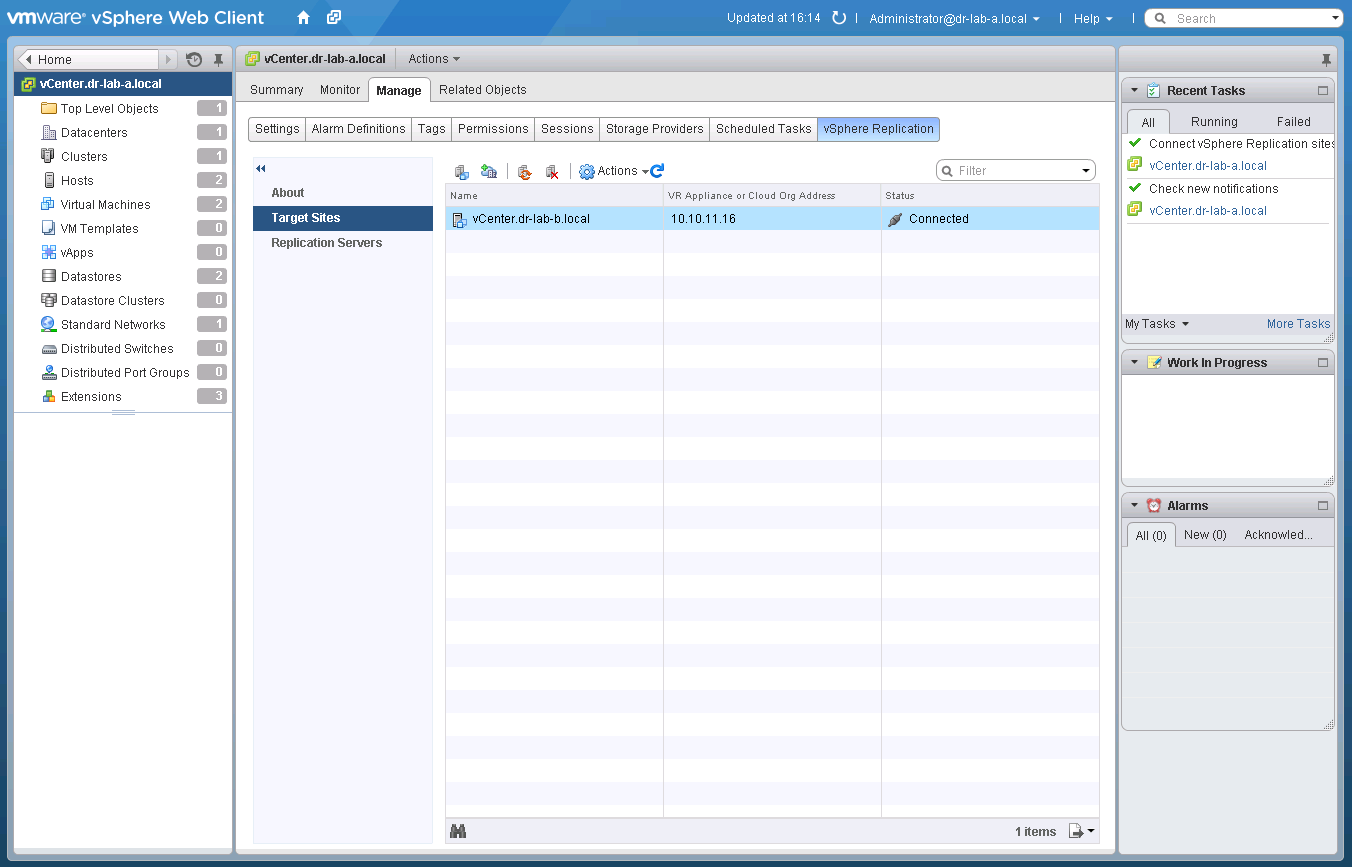
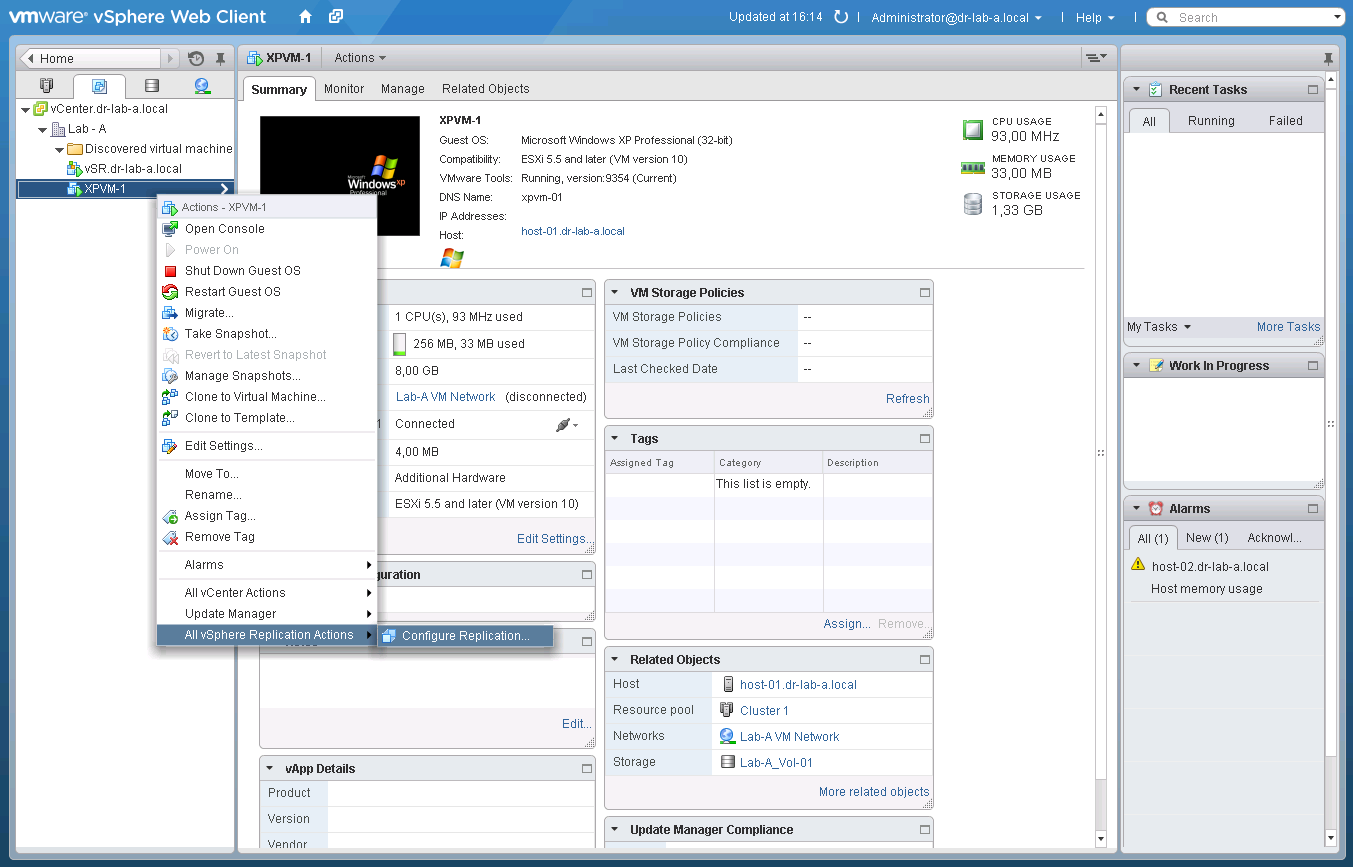
At this point you should also be able to configure the replication for your virtual machines.
This concludes the vSphere Replication part of the SRM deployment. In the next part we will take a closer look at the VM replication options that can be configured in the vSphere Replication.
Cheers!
– Marek.Z
- Back to Basics – SRM – Part 1: Site Pairing
Be the first to comment