The latest release of VMware vSphere (version 5.5) has been generally available for a while so it is time to look how to upgrade your vSphere 5.1 environment to vSphere 5.5.
Make sure that you read and check the vSphere 5.5 Release Notes, the vSphere 5.5 upgrade guide, the Compatibility Guide and the Product Interoperability Matrix from VMware before you begin the upgrade process. Also, make sure your environment meets the software and hardware requirements.
The upgrade process is basically the same as upgrading from vSphere 5.0 to 5.1 except the changes in the SSO installation and the ESXi hosts that now requires at least 4 GB of memory.
The upgrade steps looks like this:
- Upgrade Single Sign-On
- Upgrade vSphere Web Client
- Upgrade vCenter Inventory Service
- Upgrade vCenter Server
- Upgrade vSphere Client
- Upgrade VMware Update Manager
- Upgrade ESXi hosts
- Upgrade vSphere ESXi Dump Collector (optional)
- Upgrade vSphere Syslog Collector (optional)
- Upgrade vSphere Auto Deploy (optional)
Let’s start with upgrading to vSphere 5.5 but before we begin, make sure you have a back-up of the vCenter Server database and SSL certificates located in the C:ProgramDataVMwareVMwareVirtualCenterSSL folder.
Upgrade Single Sign-On
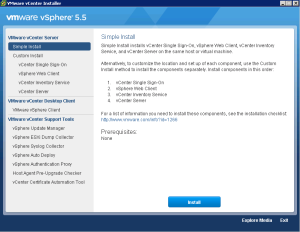
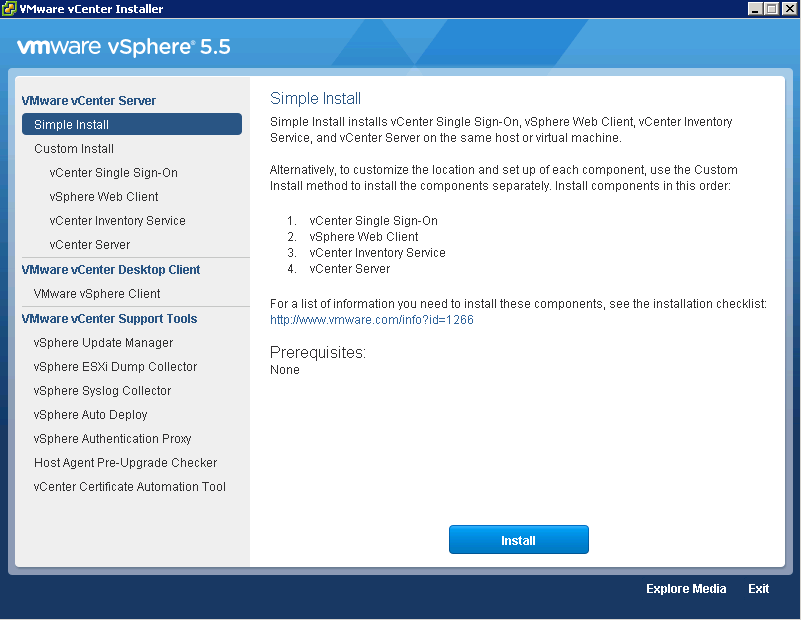
The Single Sign-On upgrade process is performed by the Simple Installer.
- Start the VMware vCenter Installer, make sure you have Simple Installer selected and press Install.
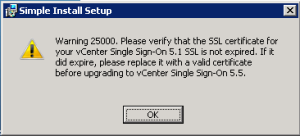
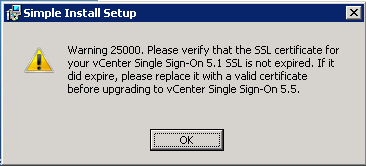
- If you run into the following warning (see below), refer to VMware KB 2060511 and follow the steps described there to fix the issue.
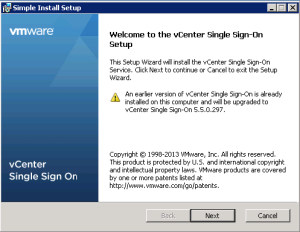
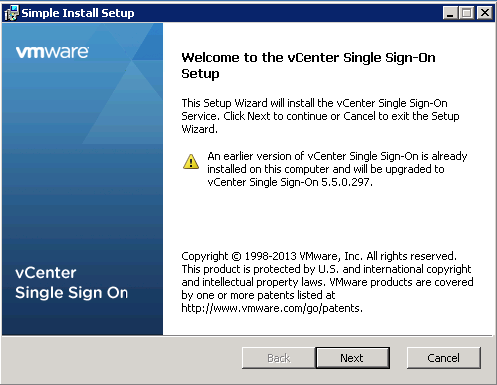
- In the vCenter Single Sign-On installation wizard, note that the installer detects an earlier installation and it will upgrade it to the new version. Click Next.
- Accept the EULA and press Next.
- Click Next on the prerequisites check for vCenter Single Sign-On.
- The components from previous SSO installation will be migrated to the new version. Click Next.
- Provide and confirm the SSO Administrator password. Click Next.
- Enter site name or leave it to default. Click Next.
- Select the folder in which to install the SSO or leave it to default. Click Next.
- Review the install option and press Install to start the installation process.
When the installer completes the installation it automatically moves to the next component.
Upgrade vSphere Web Client
This step does not require any manual input when it is performed by the Simple Installer.
Upgrade vCenter Inventory Service
When the vSphere Web Client is upgraded, the installation will continue with the vCenter Inventory Service upgrade.
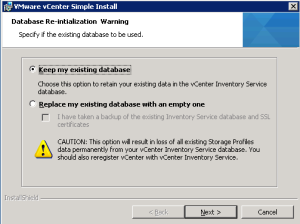
- Select if you want to keep your existing database or replace it with a new one. In my case, I kept my existing database. Click Next to continue.
- Click Install to begin the installation.

Upgrade vCenter Server
When the vCenter Inventory Service is upgraded, the installation will continue with the vCenter Server upgrade.
- Enter a license key or click Next and install the vCenter Server in evaluation mode.
- Click Next on the Database Option window.
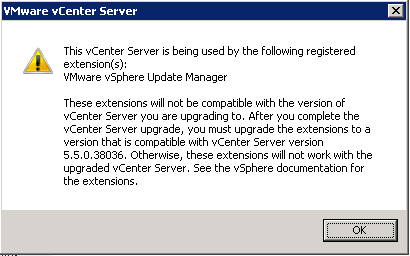
- If you have VMware Update Manager running on the same machine as your vCenter Server you will get a warning stating that the extension will not be compatible and you will have to upgrade it to the new version. We will upgrade the VMware Update Manager in the next part so click OK to proceed.

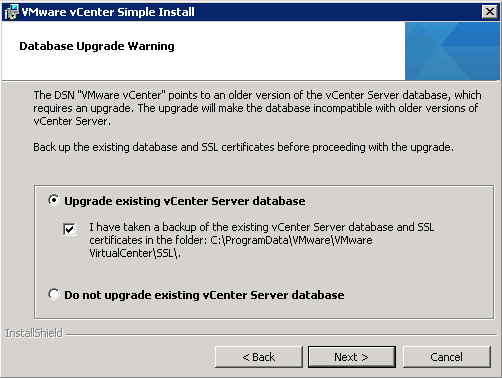
- Next, select if you want to upgrade existing vCenter Server database or not. Make sure you have a back-up of your database and click Next to continue.

- In the next section specify if you want to do a manual or an automatic upgrade of the vCenter Agent. Click Next.
- Enter the vCenter Server service account information or use the Windows Local System Account. Click Next.
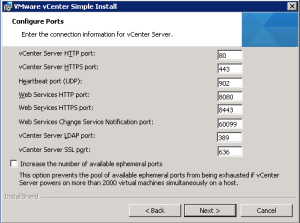
- Review the port information for the vCenter Server. Change the ports if necessary and click Next to continue.
- Choose the appropriate size for the inventory and click Next to proceed.
- Click Install to begin the installation.
- Click Finish to end Simple Installer upgrade process.
- Click OK to close the message stating that the upgrade has been successful.

Next, open the vSphere Web Client and verify that your environment is up and running. Don’t forget to download and reinstall the vSphere Web Client Integration Plug-in.
Single Sign-On Cleanup
At this point you can remove the SSO database from your SQL Server as it is no longer needed in vSphere 5.5.
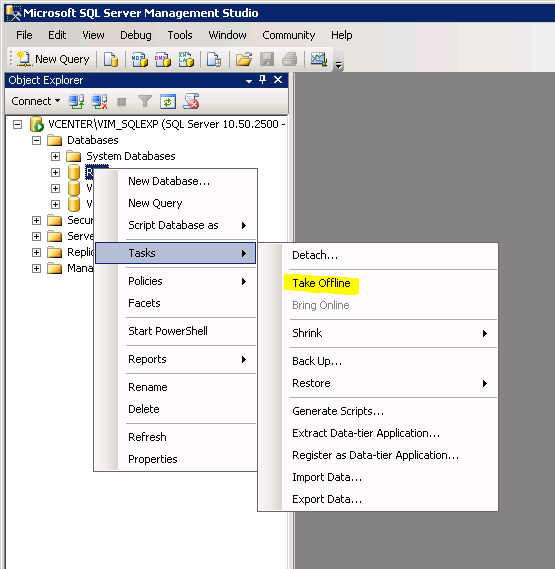
- Open the Microsoft SQL Server Management Studio and log in.
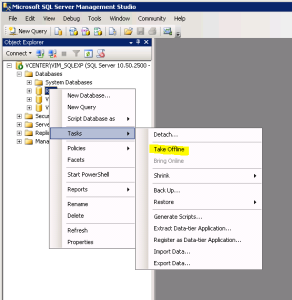
- Expand Databases, select your SSO database (probably named RSA), right-click it and select Take Offline.
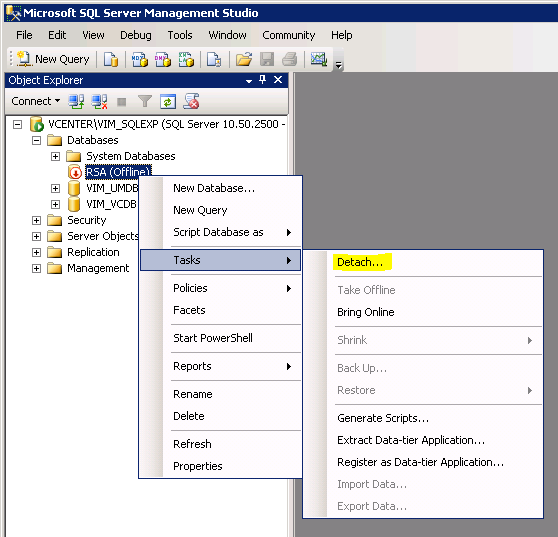
- Click Close when the database is offline.
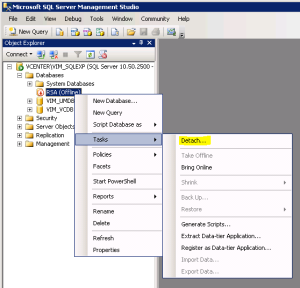
- Right-click the database once again and this time select Detach.
- Click OK to detach the database from the SQL server.
- Next, remove the users RSA_DBA and RSA_User that were used by SSO from Security/Logins.
- Close the SQL Server Management Studio.
This concludes part one of the vSphere 5.5 upgrade process. In this part we upgraded the Single Sign-On, vSphere Web Client, vCenter Inventory Service and vCenter Server components using Simple Installer. In the next part we will upgrade the remaining components of vSphere 5.5.
Cheers!
– Marek.Z
Reblogged this on Sutoprise Avenue, A SutoCom Source.
Sir, I want to know that can I upgrade 5.1 to 5.5 without loosing my Licence please inform me ASP Thank You
You’ll need a vSphere 5.5 license but please check with your VMware sales representatieve just to be sure.
Hope this helps.