Following up from the previous post on how to deploy a multi-NIC / multi-vDS workload domain in VMware Cloud Foundation, this article will show you how to add a host to multi-nNIC / multi-vDS workload domain using API. The reason for using the API is because at the time of this writing, VCF does not support doing it via UI.
This procedure is based on the example scenario from my previous post.
Prerequisites
- Before you proceed, verify all prerequisites in the VCF online documentation.
- Open you favorite IDE, I am using Visual Studio Code.
- Open a JSON format verification tool, I am using JSON Formatter & Validator.
- ESXi host(s) that will be used to expand the workload domain are provisioned in the SDDC Manager.
Expand Workload Domain cluster using API
Get host ID
First, we need the host ID for the ESXi host that will be added to the cluster.
- Navigate to the SDDC Manager and log in as the administrator.
- Go to the Developer Center and select the API Explorer
- Open the GET /v1/hosts API and on the Status parameter, enter UNASSIGNED_USEABLE as the value.
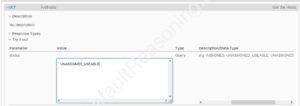
- Scroll down a bit and hit the Execute button.
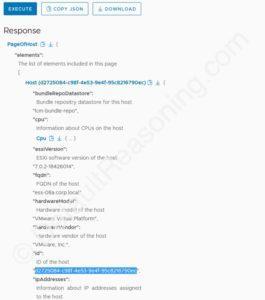
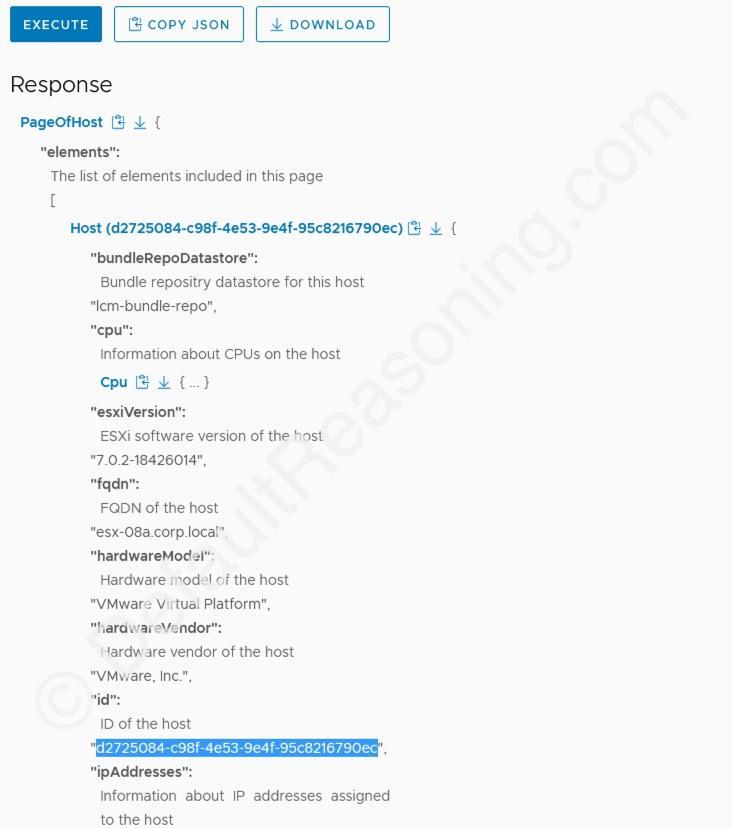
- Under the Response page, open the PageOfHost and expand the Host ID.
- Make a note of the “id” of the host for later use. Note that this is the same as you will see in your browser URL window if you look at the details of the host in the SDDC Manager.

Get cluster ID
Next, we need the ID of the cluster that needs to be expanded with the additional host.
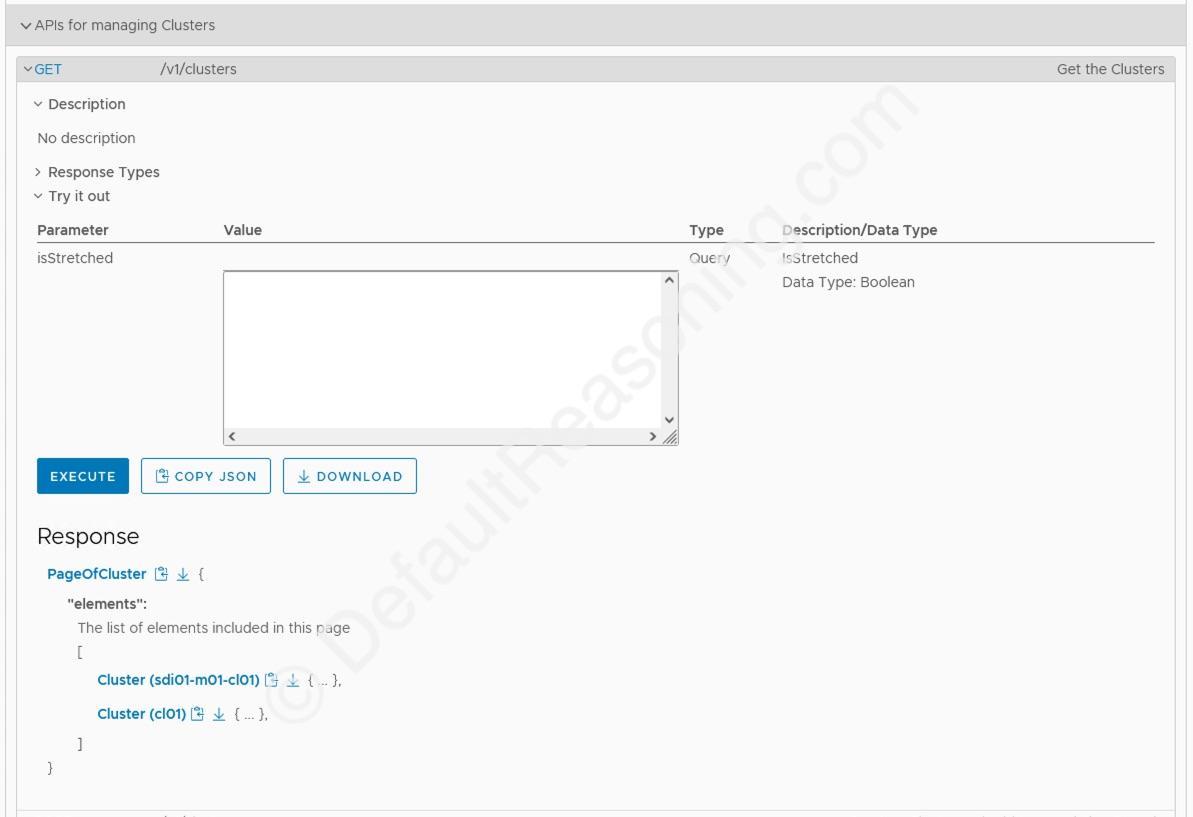
- On the API Explorer, open the APIs for managing Clusters.
- Open the GET /v1/clusters API and hit the Execute
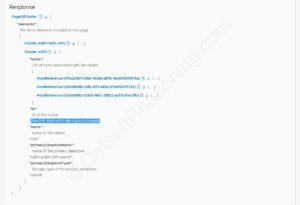
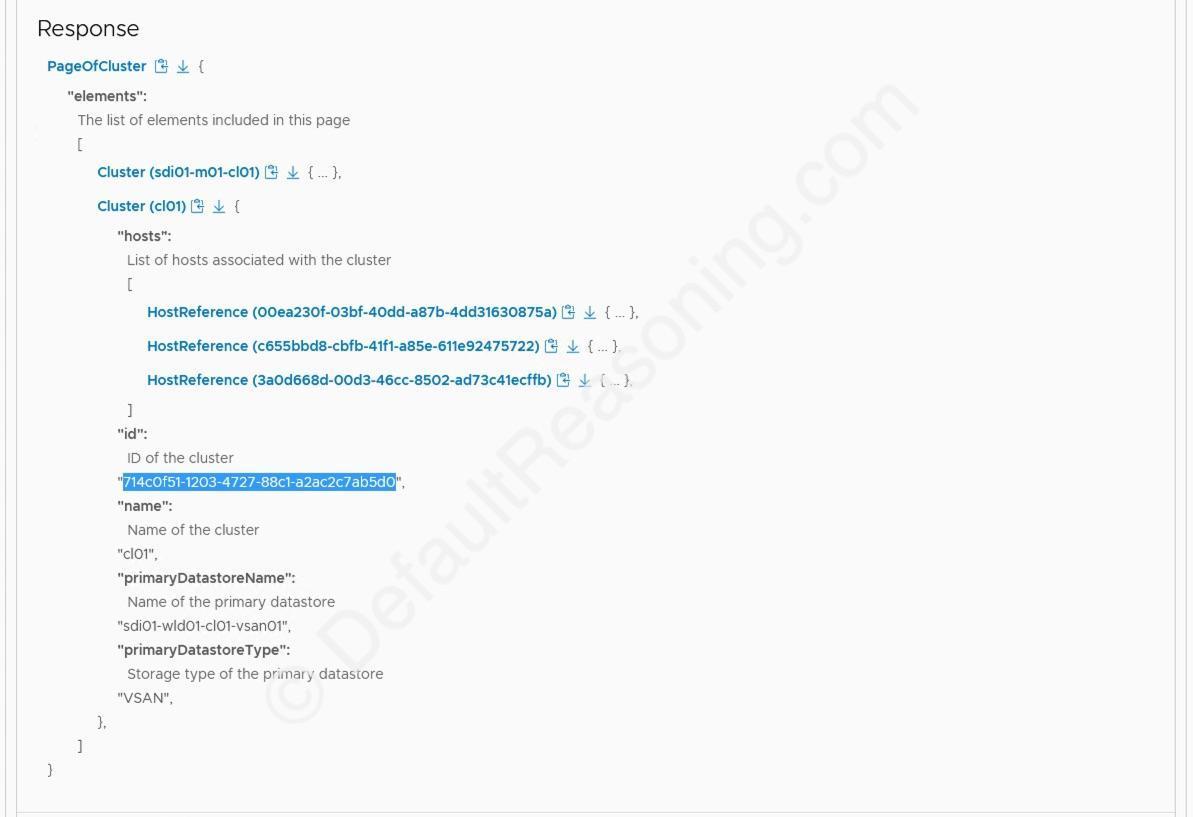
- Under the Response page, open the PageOfClusters and expand the appropriate cluster. In this case, cl01.
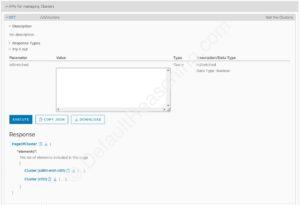
- Scroll down and make note of the “id” of the cluster.
Create JSON specification
Now we have the host id and cluster id, we can create the JSON specification for expanding the workload domain cluster.
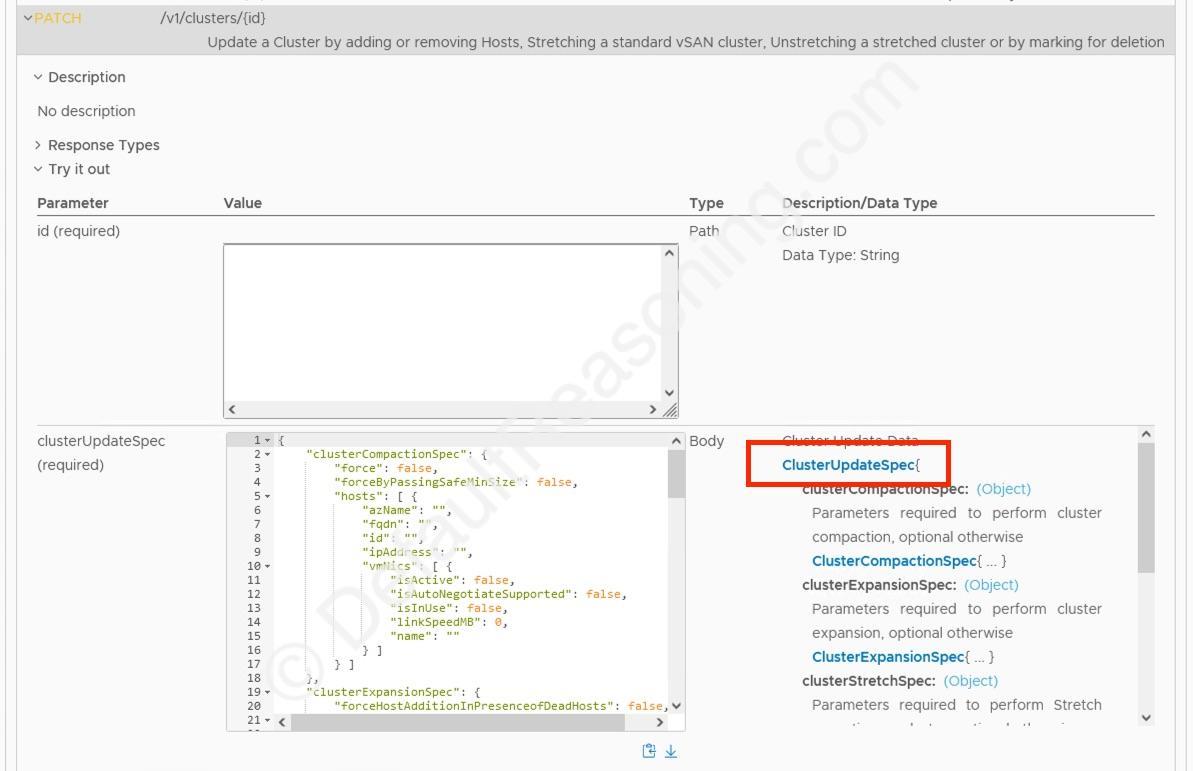
- With the APIs for managing Clusters still open under the API Explorer, expand the PATCH /v1/clusters/{id} API and click the ClusterUpdateSpec data type.
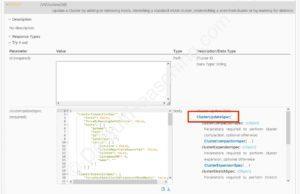
- Copy the clusterUpdateSpec body into your IDE for editing.
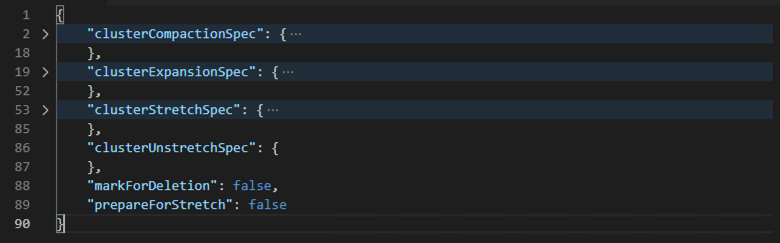
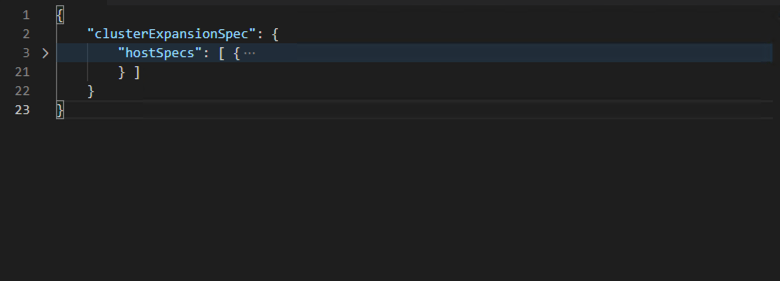
- This JSON specification contains a lot of parameters but not all are required to expand the workload domain with additional ESXi host. Let’s break it down into smaller parts. In your IDE close all specification so you only see the following:
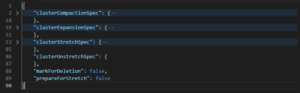
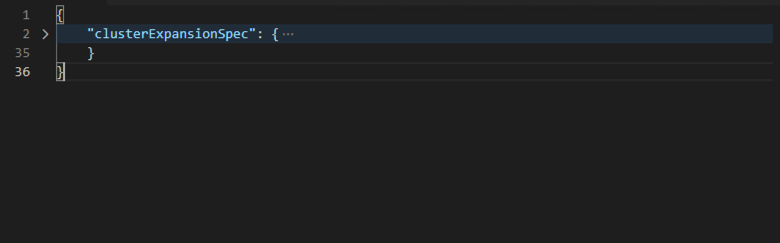
- Remove all sub sections except the clusterExpansionSpec. Make sure that JSON format is correct.

- Expand the clusterExpansionSpec and close all sub sections.
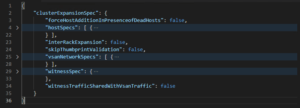
- Remove all sub sections except hostSpec. Again, make sure that JSON format is correct.
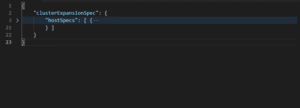
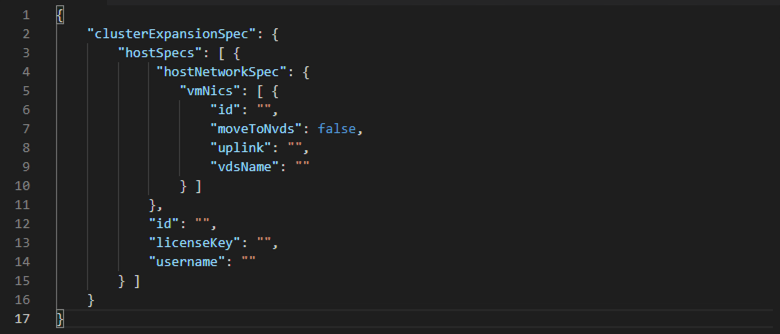
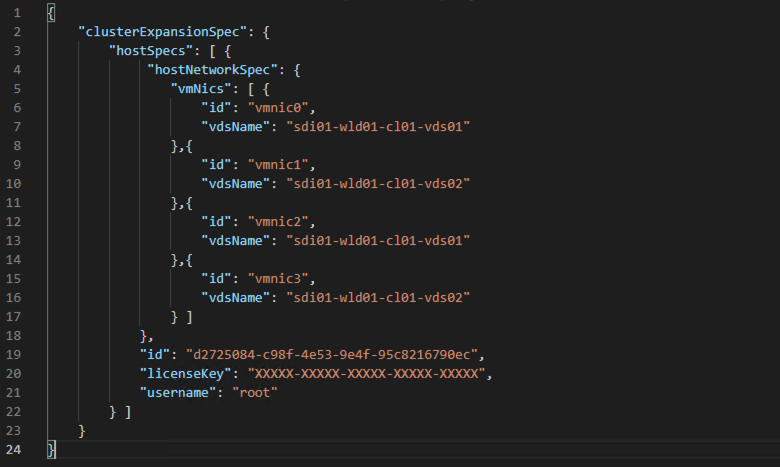
- Expand the hostSpec part and remove the following parameters: azName, hostName, ipAddress, password, serialNumber, sshThumbprint. Your JSON specification should now look as below.

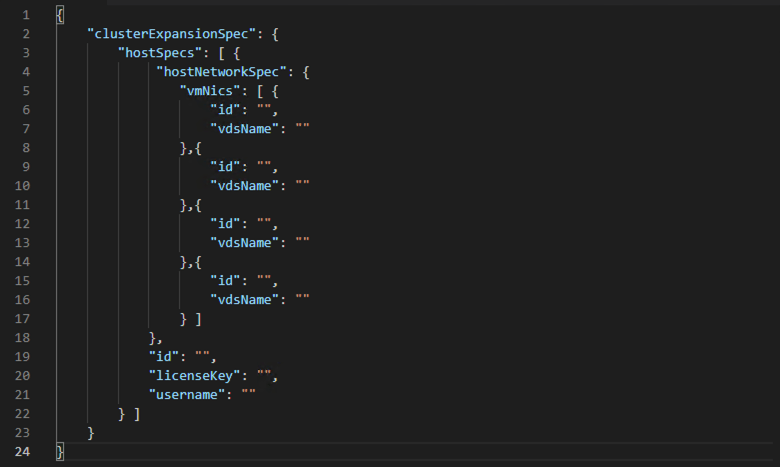
- Since the host is using 4 physical NIC’s, we need to duplicate the parameters under vmNics section. First, remove the moveToNvds and uplink parameters, then create 3 copies of id and vdsName parameters. Make sure the JSON syntax is correct.
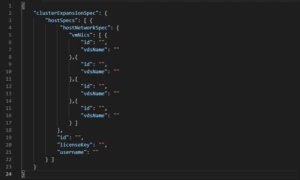
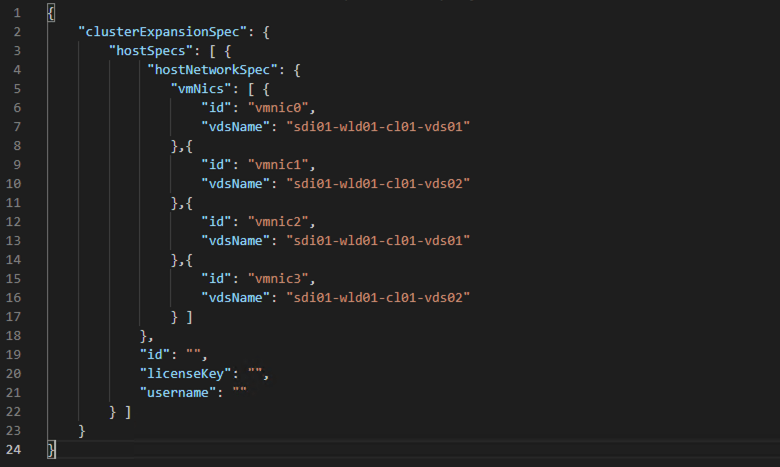
- Populate the parameter values according to your environment. In this case, vmnic0 & 2 are on the first vDS, and vmnic1 & 3 on the second.
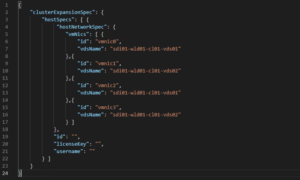
- Finally, enter the host id, licenseKey, and the username (root) in the specification.

- Save the JSON specification file.

Validate JSON specification
The JSON specification is now ready to be validated by the SDDC Manager.
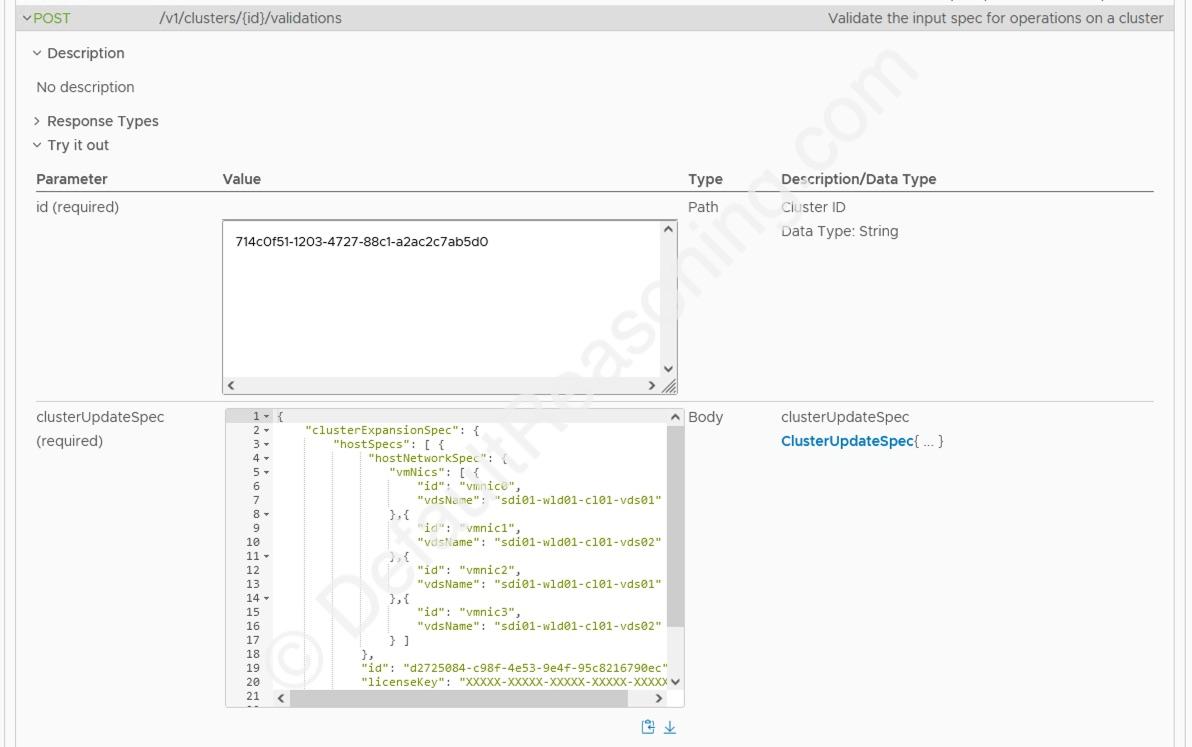
- With the API Explorer still open, navigate to APIs for managing Clusters and open the POST /v1/clusters{id}/validations
- Enter the cluster id from previous step in the id field. Copy/paste the JSON specification in the clusterUpdateSpec field.
- Click Execute. Acknowledged the warning. This API will only do the validation. It will not perform any changes to the environment.
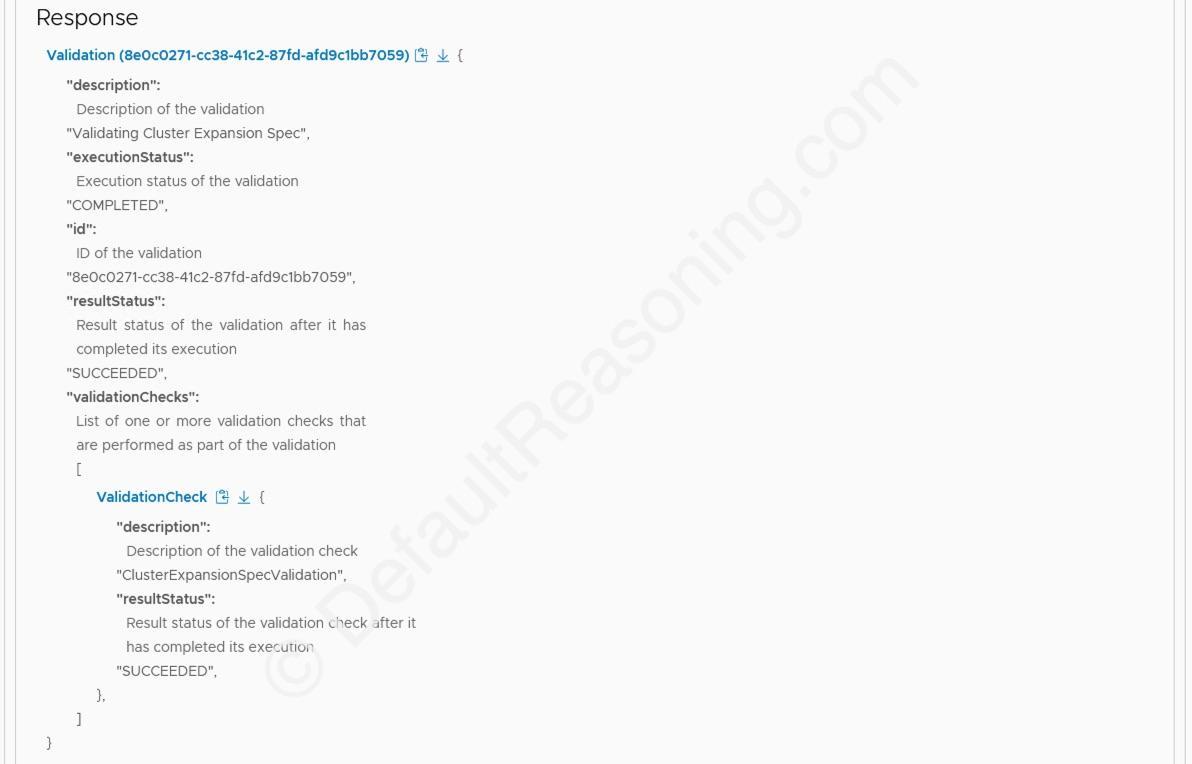
- Open the Response page and verify that results are successful. Fix errors if any.

Execute JSON specification
Now the JSON specification is validated by the SDDC Manager, it can be executed.
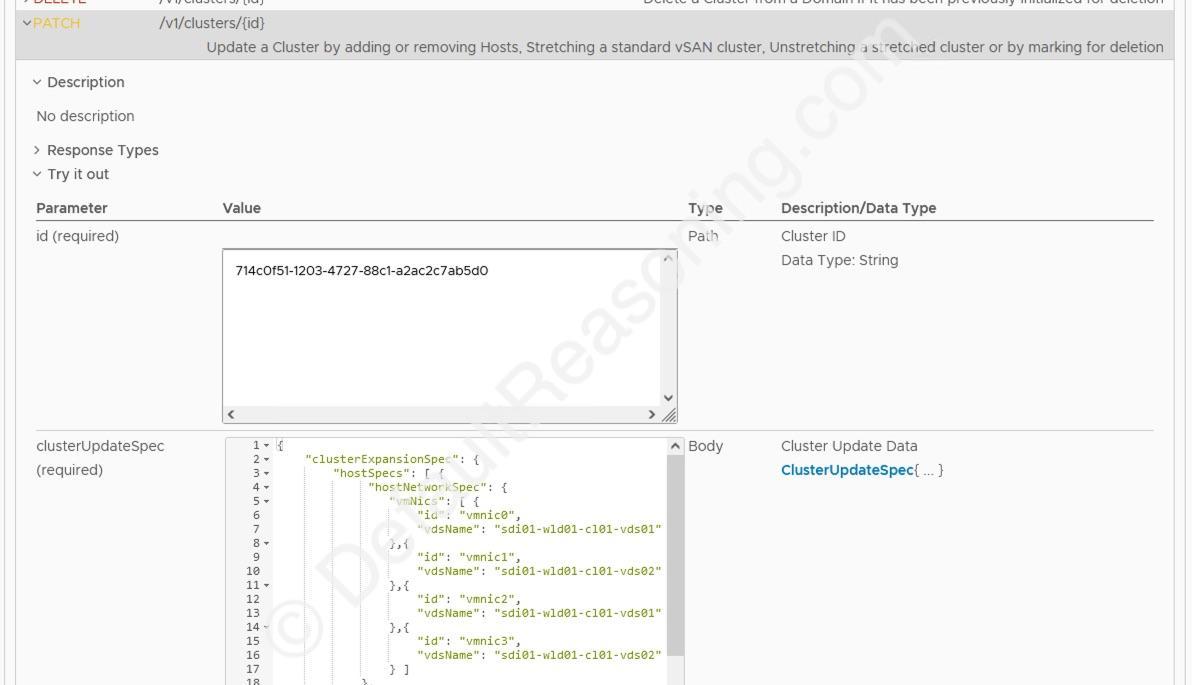
- Under the APIs for managing Clusters, open the PATCH /v1/clusters/{id} API.
- Just like in the previous step, enter the cluster id the id field. Copy/paste the JSON specification in the clusterUpdateSpec field.

- Click Execute and acknowledge the warning.
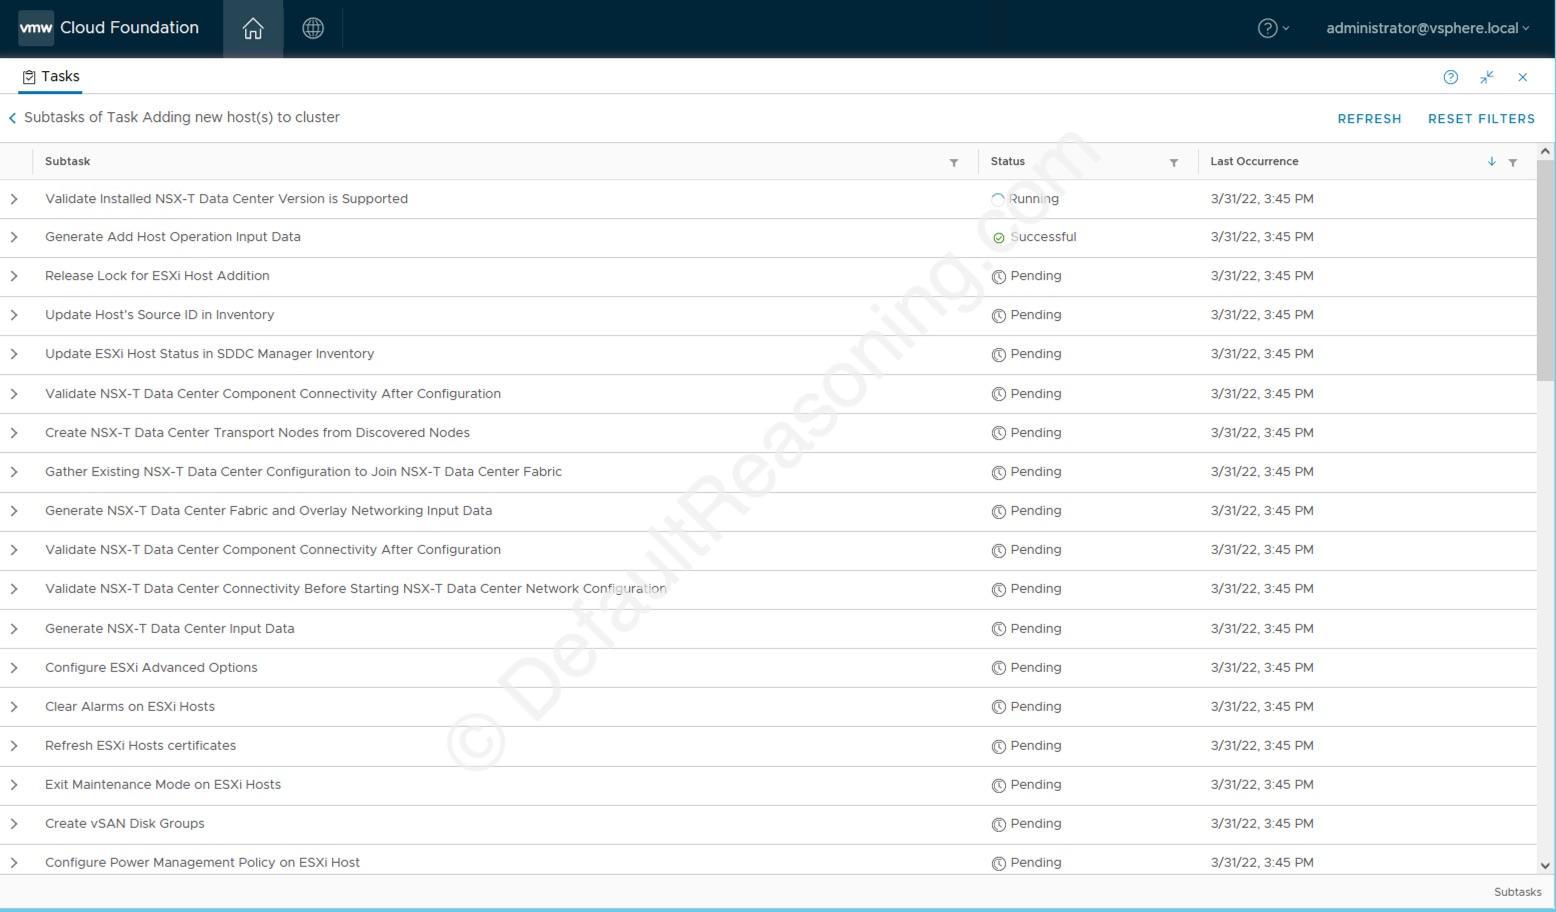
- The Response page will start a new task.
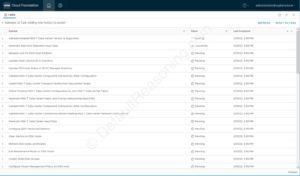
- You can monitor the progress of this procedure from the Tasks pane on the SDDC Manager.
This concludes the expansion of a cluster with additional ESXi host in a multi-NIC / multi-vDS Workload Domain in VMware Cloud Foundation.
Be the first to comment