Before we begin, let’s define what a Provider vDC is.
Provider virtual datacenter (vDC) combines the compute and memory resources of a single vCenter Server resource pool with the storage resources of one or more datastores connected to that resource pool.
Source: vCloud Director Administrator’s Guide
In other words, a Provider vDC is a collection of CPU, memory and storage resources from a vCenter Server that gives the vCloud Director the ability to manage, distribute and utilize those resources.
Create Provider vDC
- Open the vCloud Director URL and login with the administrator account.
- Click Create a Provider vDC under the Quick Start section.
- Enter a name, description, leave the vDC enabled and select the highest hardware version you want to use. In my case I used hardware version 9 since I’m running ESXi 5.1 hosts only.
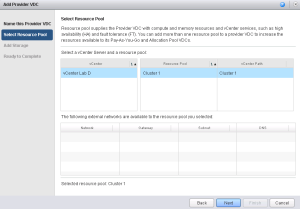
- Next, select the vCenter Server and the cluster you want to use.
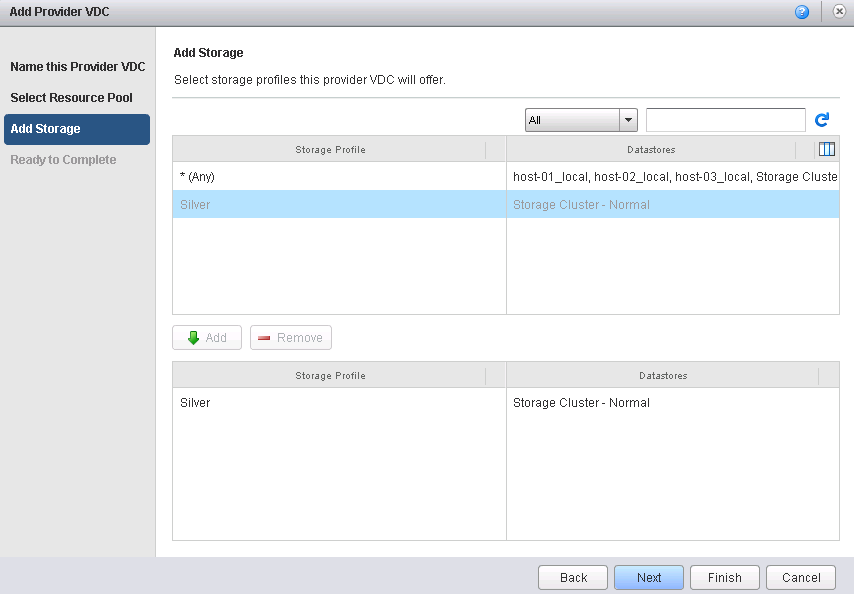
- In the Add Storage section, select a storage profile for the vDC and click the Add button. If a storage profile from vCenter Server is not visible, make sure each datastore in the storage DRS cluster has the same storage capability listed.

- Review the specification for the new Provider vDC and click Finish.

Create External Network
Next, the Provider vDC must be configured with an external network. The external network is used to provide a connection outside the cloud environment and uses portgroups defined on a standard or distributed switch for the connection to the outside world. Physical connection to the Internet is not required, the external network in vCloud Director is just external to the organizations running in the vCloud Director.
- Click Create an External Network link from the Quick Start section.
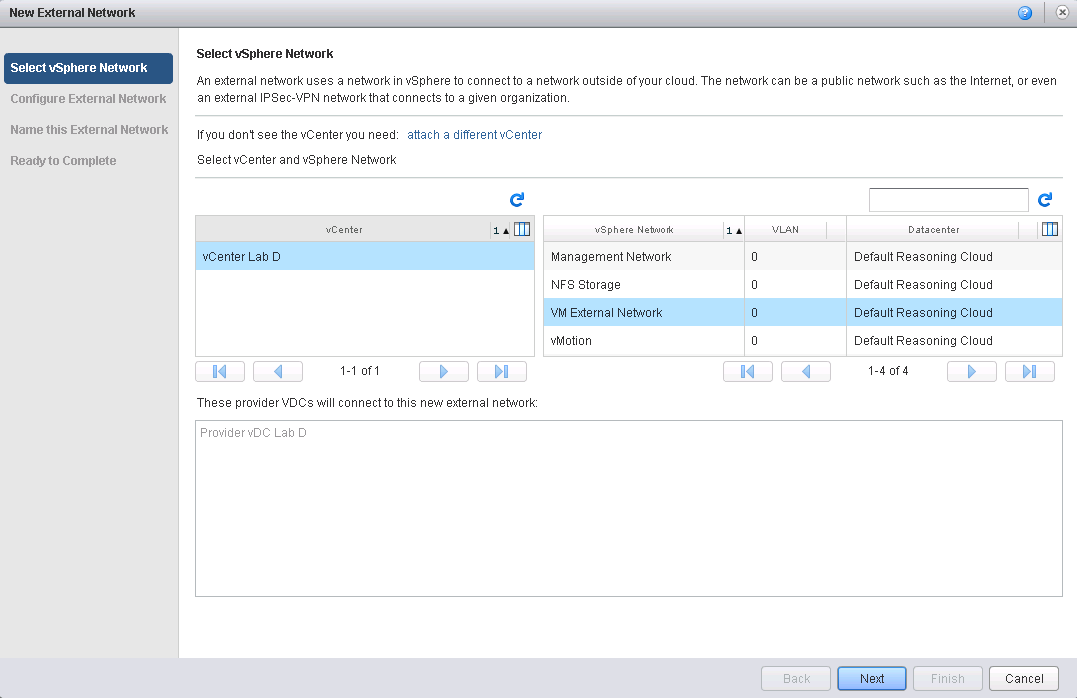
- Select the vCenter Server and the portgroup from the list. Note that the Provider vDC created in previous steps is automatically listed. Click Next.

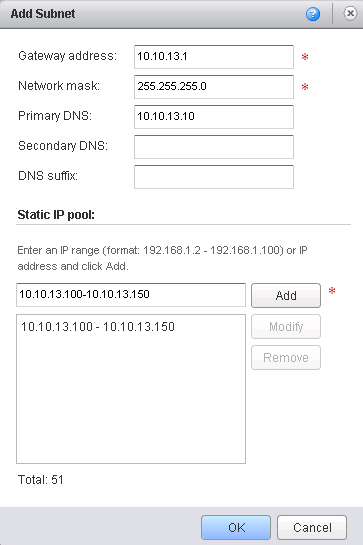
- In the Configure the External Network click the Add button and the default gateway, network mask, primary/secondary DNS and an address pool of static IP addresses which will be assigned to virtual machines that are given direct access to the external network.

- Click Next and enter a suggestive network name and description. Click Next.
- Review the settings and click Finish.
Add Network Pool
The final step before deploying a new organization is creating a network pool which will be used by an organization vDC to create vApp networks. There are 3 network pool types that you can deploy.
- VLAN backed
- Network Isolation backed
- vSphere portgroup backed
In my case, I will use the Network Isolation backed network pool type since I don’t have any VLANs and extra portgroups configured. A good explanation of all network pool types can be found in the vCloud Director Administrator’s Guide.
- Click the Create another network pool link under the Quick Start section. Note that is does not state “Create a new network pool”. This is because a VXLAN network pool was automatically created during the creation of the Provider vDC.
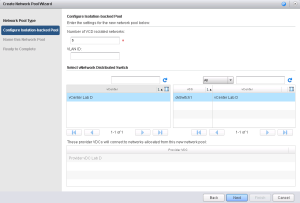
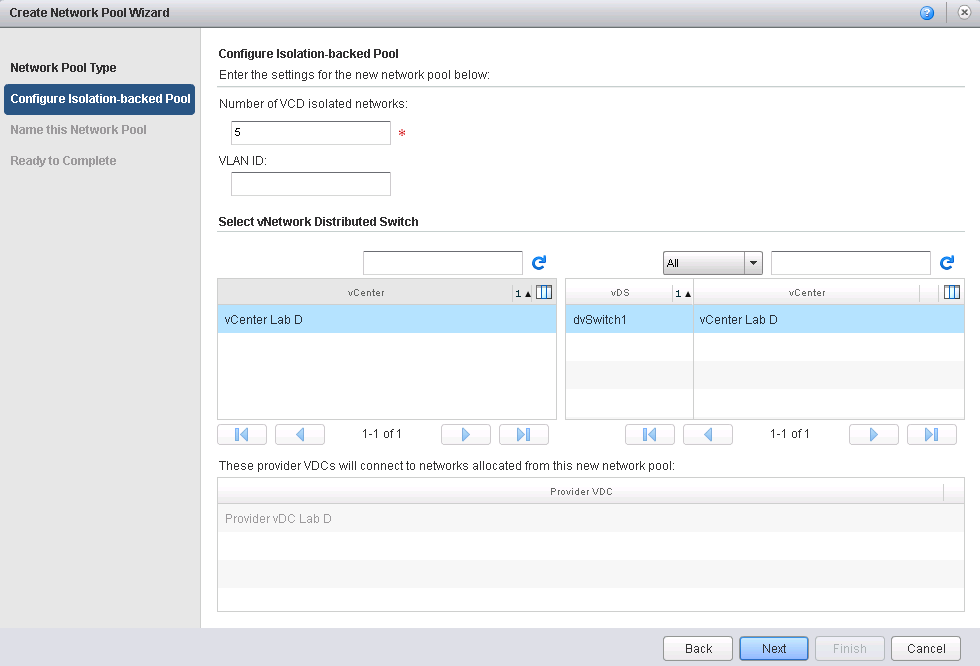
- Select Network Isolation-backed option and click Next.
- Type the number of vDC isolated networks to create, provide VLAN ID, select the vCenter Server and the distributed virtual switch.
- Next, provide a suggestive name and a description. Click Next.
- Review the settings and click Finish.
At this point the deployment of a Provider vDC is finished.
Proceed to part 5 where we will deploy a new Organization.
Cheers!
– Marek.Z
Be the first to comment