


In the previous part we created, configured and tested a recovery plan. In this part we will perform a planned migration and a disaster recovery from the Protected Site to the Recovery Site to simulate a disaster recovery scenario. But first, let’s define both scenarios once again.
What is a planned migration?
“Planned migration enables you to migrate the workloads from the protected site to the recovery site with minimal risk of data loss. A planned migration will stop if there is an error in the workflow giving you an opportunity to fix it.”
What is a disaster recovery?
“Disaster recovery event is an unplanned migration where the connection between the sites has been lost. Unplanned failover will not stop if any errors are encountered in the workflow. This provides the quickest recovery time during a disaster event.”
Planned Migration
- On the Protected Site, open the vSphere Web Client and log in with the administrator account.
- On the left pane, under Home, go to Site Recovery.
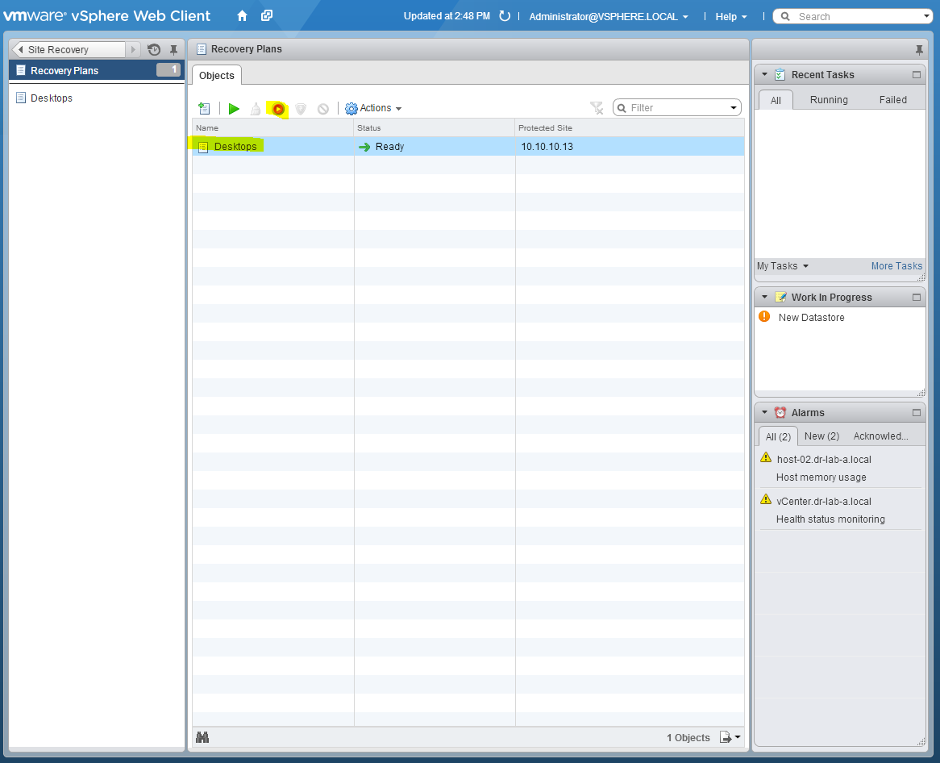
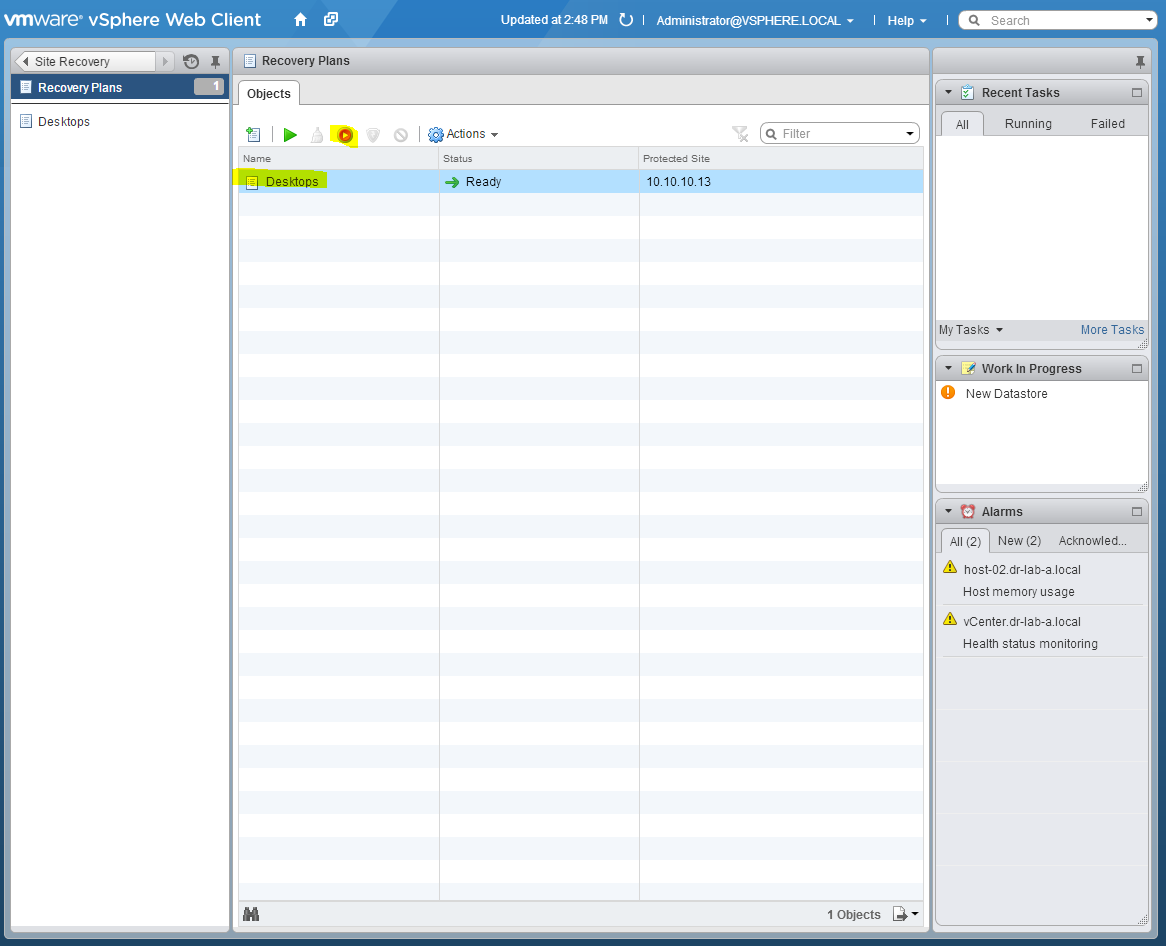
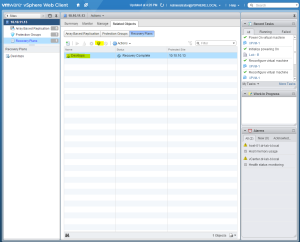
- Next, select Recovery Plans to open the configured recovery plans.
- Select your recovery plan and click the Run recovery plan.
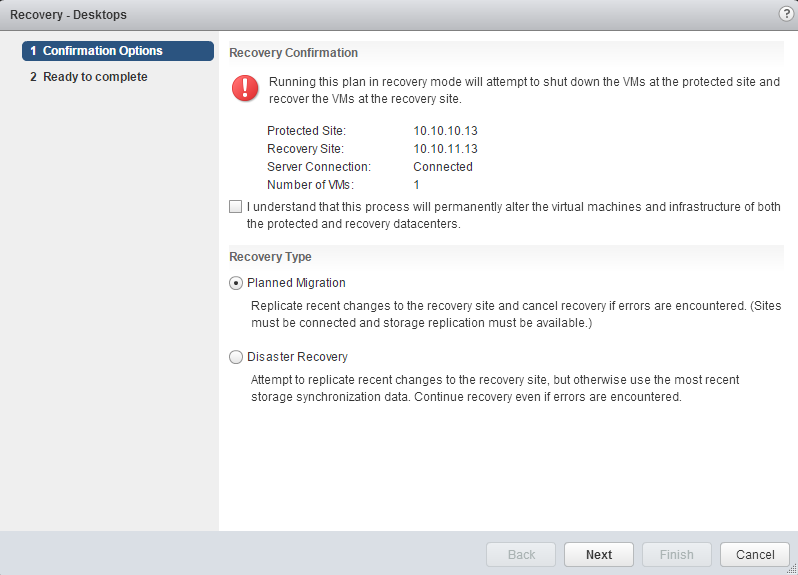
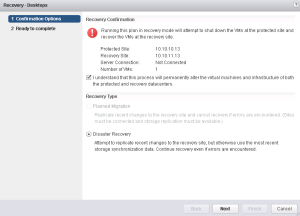
- In the recovery confirmation window, select the “I understand that this process will permanently alter the virtual machines and infrastructure of both the protected and recovery datacenters” check-box. Make sure you select Planned Migration as the recovery type. Click Next to continue.

- Review the settings and click Finish to start the planned migration process.
Depending on the amount of virtual machines configured in the recovery plan, this step can take a while. When it is finished, you should see the virtual machines running on the recovery site.
At this point your application admins should check if all apps are working correctly. When done, it is advisable to reprotect the virtual machines using the same recovery plan so you can return to your primary datacenter later.
- Select the recovery plan and click the Reprotect recovery plan.
- Select the “I understand that this operation cannot be undone” check-box and click Next.
- Click Finish to start the reprotection process.

Disaster Recovery
This process is very similar to the one performed with the Planned Migration but in this case the Protected Site is not available. So, on the Protected Site, simulate a disaster by powering off the vCenter Server and the ESXi hosts containing the protected virtual machines.
- On the Recovery Site, go to Site Recovery and then to Recovery Plans.
- Select your recovery plan and click the red Run recovery plan.
- Notice that the Planned Migration option is grayed out since the connection with the Protected site has been broken. Select the “I understand that this process will permanently alter the virtual machines and infrastructure of both the protected and recovery datacenters” checkbox and click Next.
- Review the settings and click Finish to start the recovery process.

You can monitor the progress on the Monitor tab when the recovery plan is executed. You will see a lot of errors but that’s normal in this scenario since there is no connection with the protected site and Site Recovery Manager tries to recover the most recent up-to-date data of virtual machines. When your virtual machines are up and running, make sure that the application admins check the data consistency.
Note: one more thing, see comment on REPROTECT as commented by my good friend Mike!
This concludes the Site Recovery Manager mini-series based on the vSphere Web Client. In my opinion, the installation and configuration is a lot easier and faster in this version. Replication and recovery steps are also much faster than the previous version.
Cheers!
– Marek.Z
- Back to Basics – SRM – Part 1: Site Pairing
- Back to Basics – SRM – Part 2: vSphere Replication
- Back to Basics – SRM – Part 3: VM Replication
- Back to Basics – SRM – Part 4: Inventory Mappings
- Back to Basics – SRM – Part 5: Protection Groups
- Back to Basics – SRM – Part 6: Recovery Plans