In the previous part we’ve created and configured protection groups in Site Recovery Manager. In this part of the SRM mini-series we will have a closer look at the recovery plans that can be configured through the vSphere Web Client in the Site Recovery Manager.
Create Recovery Plans
- On the Protected Site, open the vSphere Web Client and log in with the administrator account.
- On the left pane, under Home, go to Site Recovery.
- Next, select Sites to open the sites configured earlier.
- Select the Protected Site and provide the administrator login credentials for the Recovery Site.
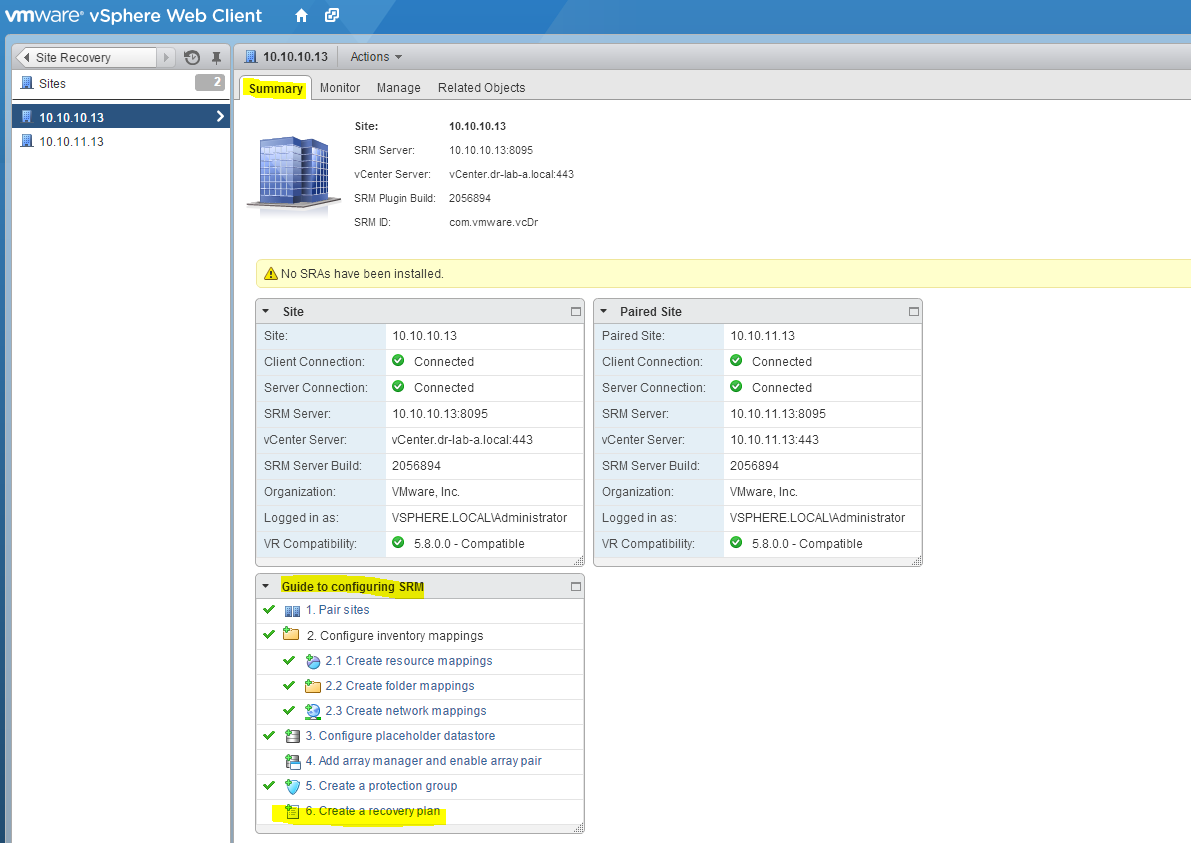
- Go to Related Objects tab and select Recovery Plans. You can also select the Create a recovery plan shortcut from the Summary page, under Guide to configuring SRM. It is listed as number 6.

- In the Create Recovery Plan wizard, enter a name for the recovery plan.
- Next, select your recovery site.
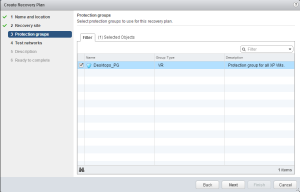
- Select the protection group that will be used in this recovery plan and click Next.
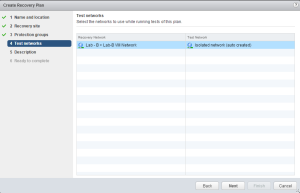
- Select a test network. This network will be used while running the recovery tests at the recovery site.
- Optionally, enter a description for the recovery plan and click Next.
- Review the settings and click Finish to create the recovery plan.


At this point the recovery plan is created.
Modify Recovery Plans
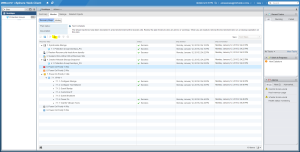
You can always modify the recovery plans from the Recovery Plans tab under the Related Objects tab.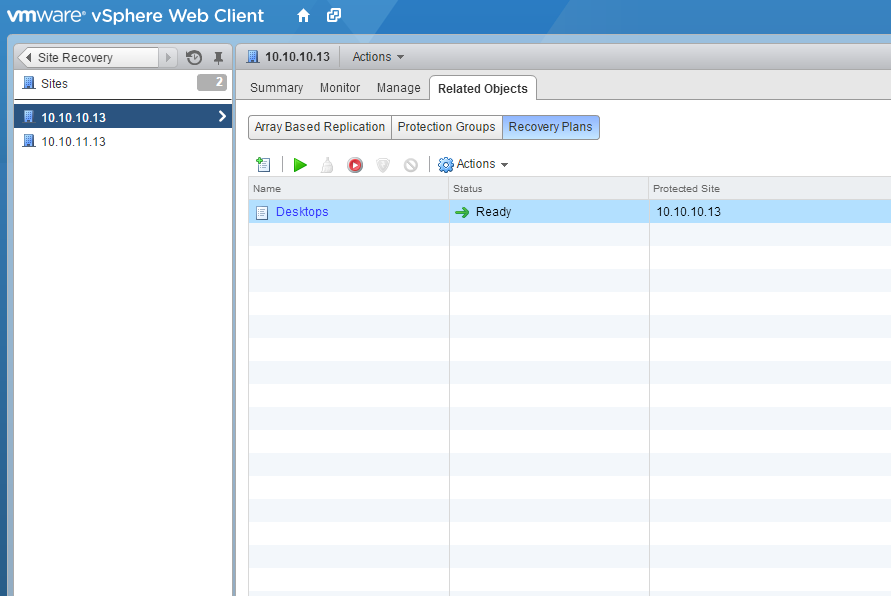
Select the recovery plan that you want to edit and select Edit Plan from the Actions menu.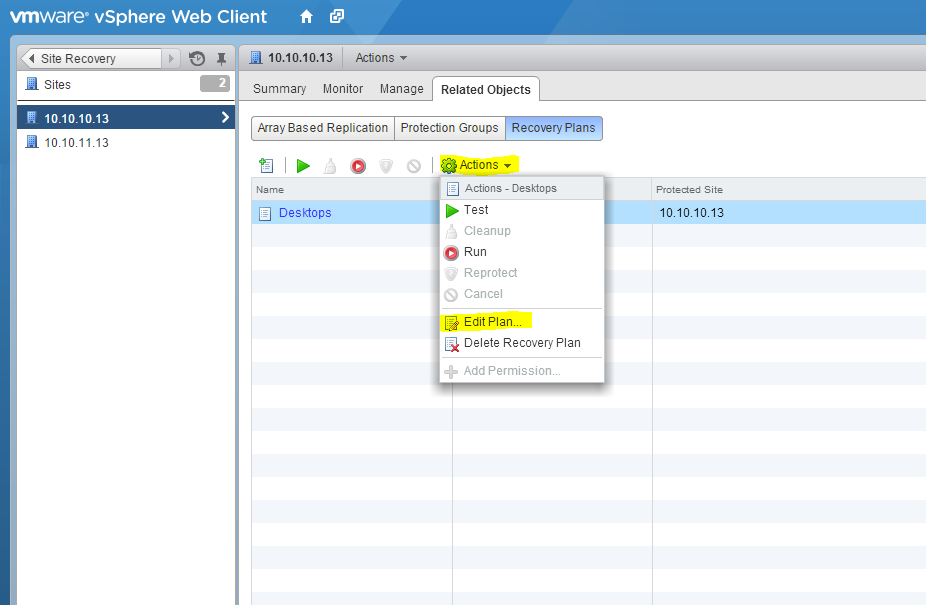
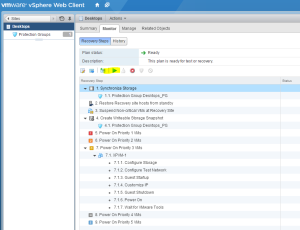
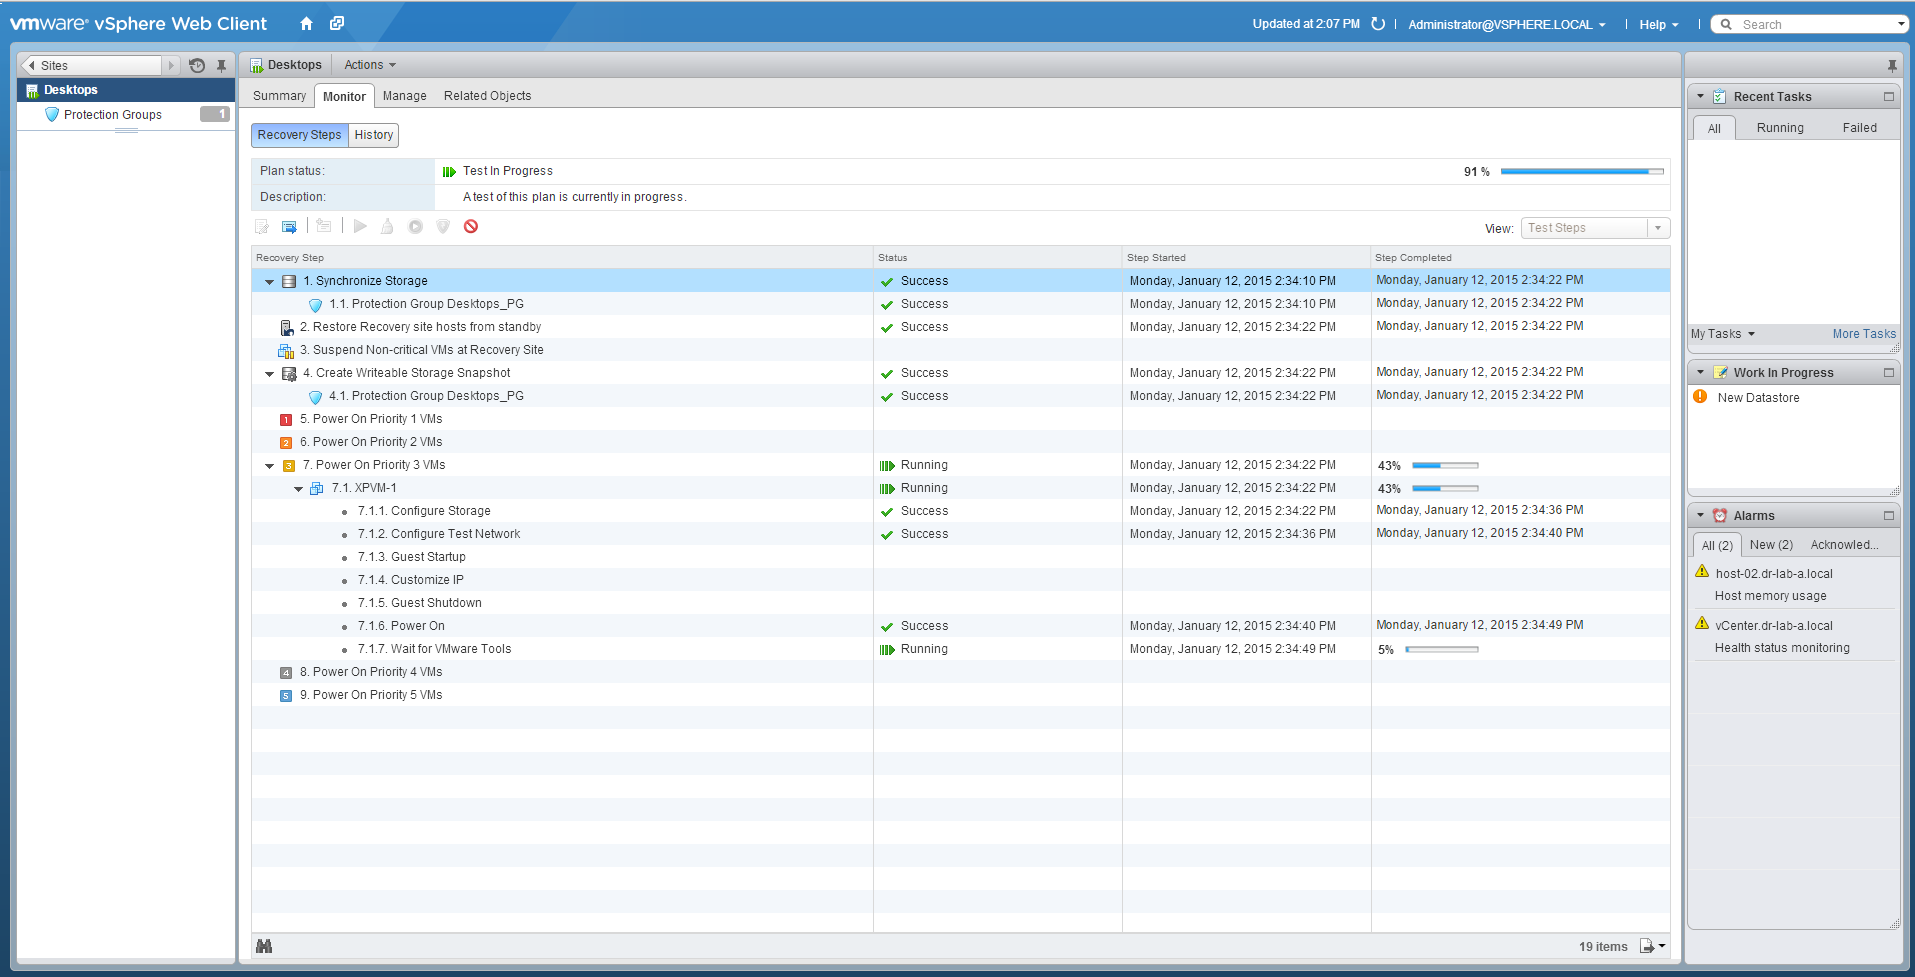
If you want to see the recovery steps that will be executed when a recovery plan is started, click on the name of the recovery plan, select the Monitor tab and then select Recovery Steps button. You can expand the pre-configured recovery steps and add your own by right-clicking a step and then selecting Add Step option.
Test Recovery Plans
The final part of creating and configuring of a recovery plan is to run a test.
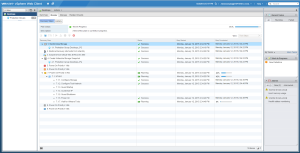
- With the recovery steps window still open, click the green arrow button to start a test of the recovery plan.
- Confirm the test by reviewing the test settings and click on Next.
- Click Finish to start the recovery plan test.
- You can monitor the progress of the recovery plan in the Status.
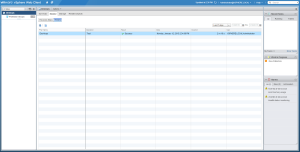
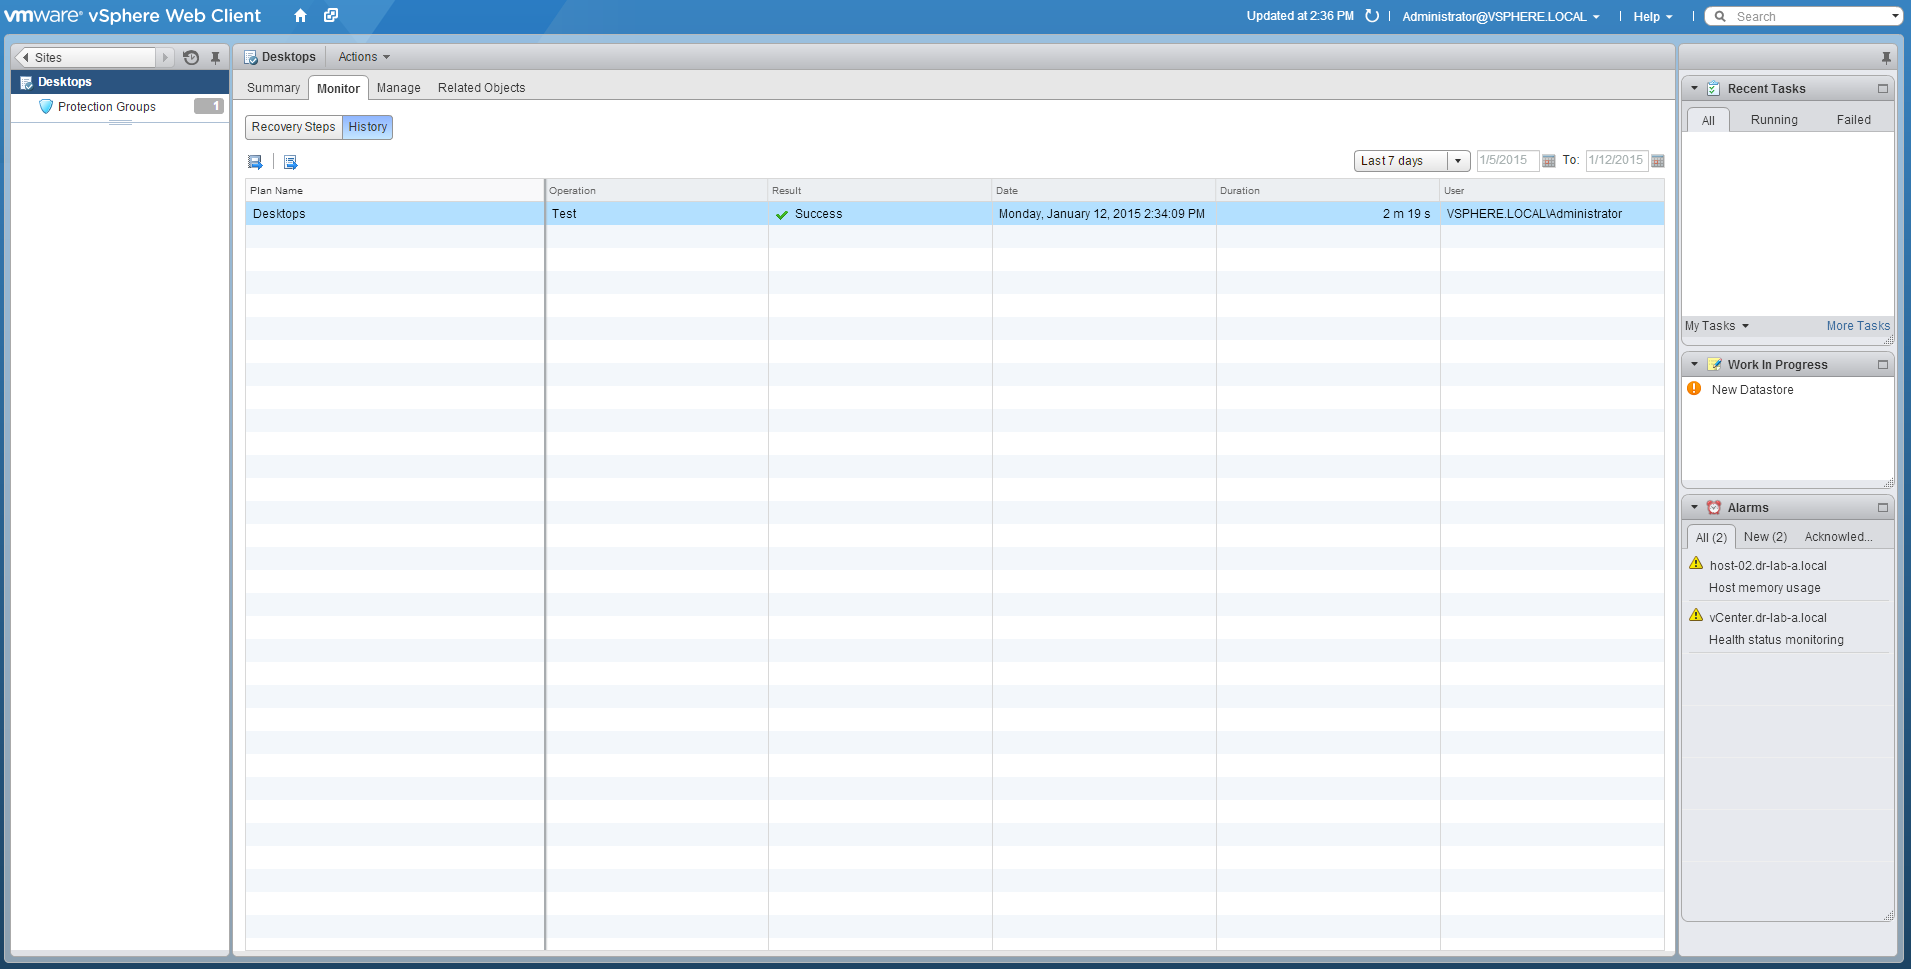
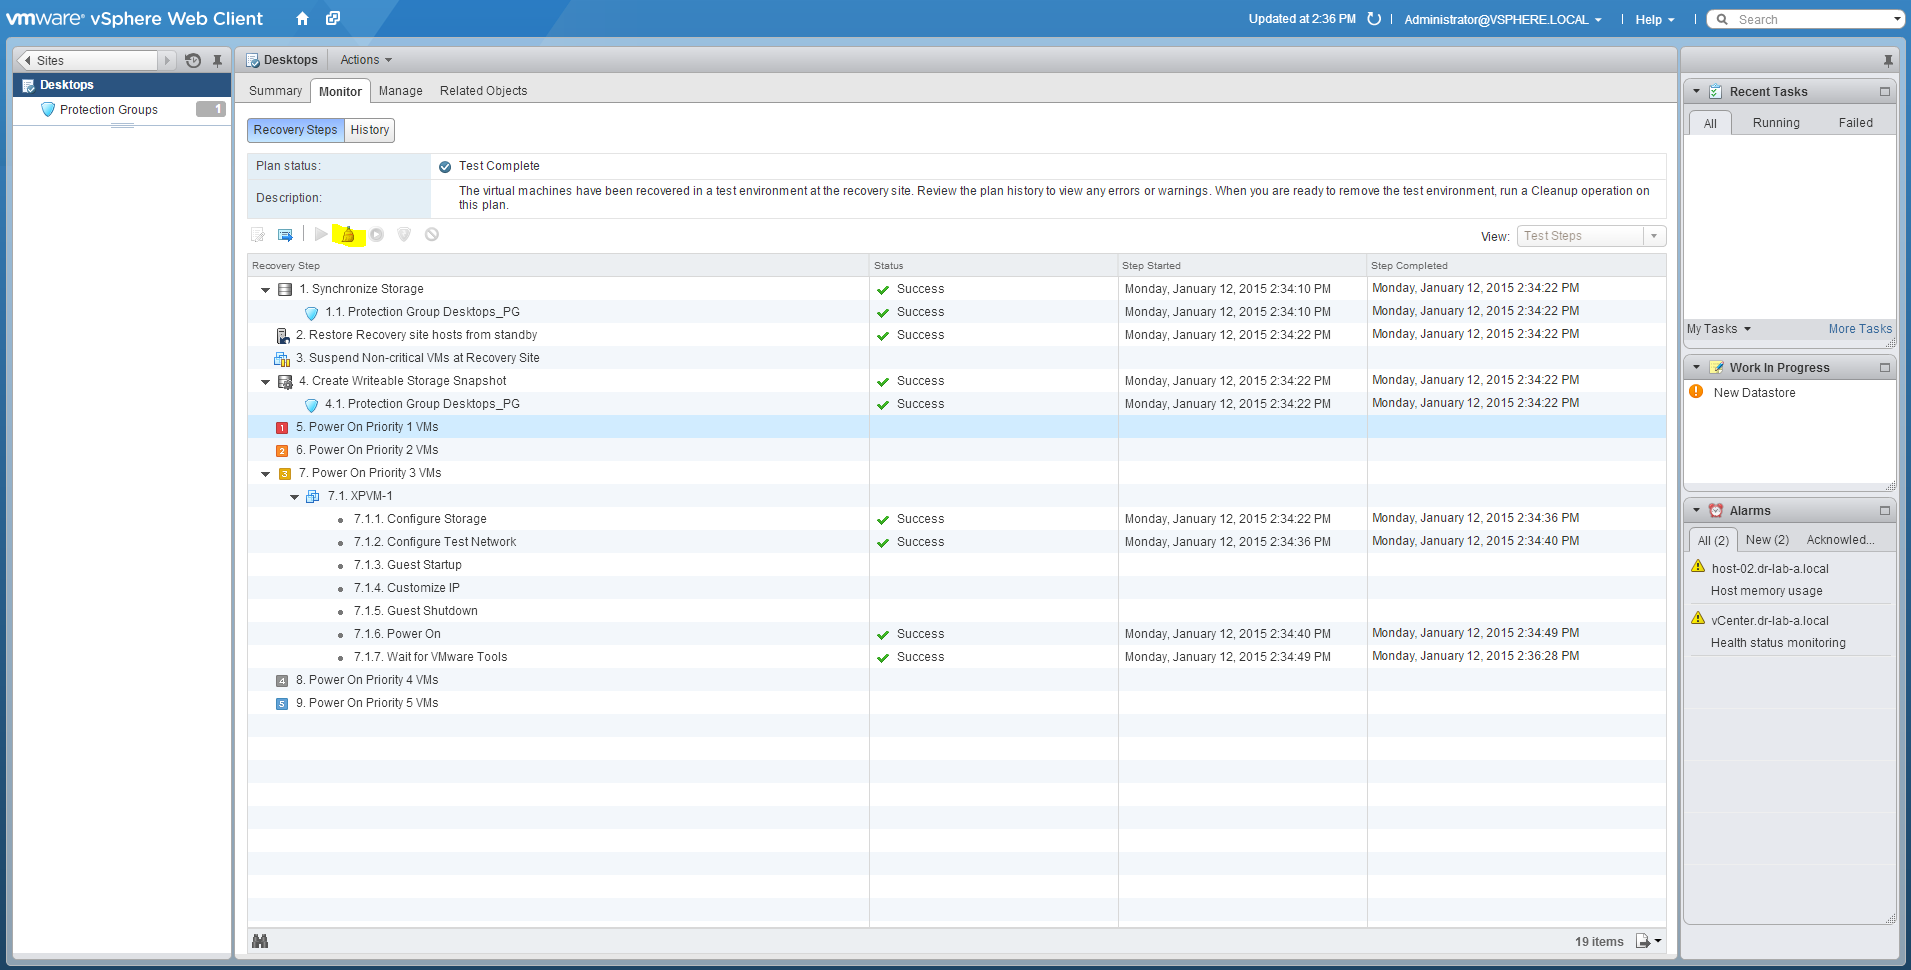
- When the test completes, select the History button to see the result and to view any warnings or errors.
- Now is time to perform a cleanup so select the Recovery Steps button once again, and click on the Cleanup Recovery Plan.
- Review the cleanup information and click Next.
- Click Finish to start the cleanup process.

This concludes the configuration of the recovery plans in this part of the SRM mini-series. In the next part we will take a closer look at planned migration and at failover process during a disaster recovery scenario.
Cheers!
– Marek.Z
- Back to Basics – SRM – Part 1: Site Pairing
- Back to Basics – SRM – Part 2: vSphere Replication
- Back to Basics – SRM – Part 3: VM Replication
- Back to Basics – SRM – Part 4: Inventory Mappings
- Back to Basics – SRM – Part 5: Protection Groups
Marek, this blog series is simply fantastic. I read both the original and this updated one this morning. Tremendously helpful. Very clear. Easy to follow. Many thanks!
Thanks! 🙂
Cheers!