The final step in the initial vCloud Director deployment is creating a catalog where vApp templates and media files will be stored and made available to other organizations. Before the catalogs can be published, the catalog publishing must be enabled first.
Enable Catalog Publishing
- Open the vCloud Director home URL and login with the administrator account.
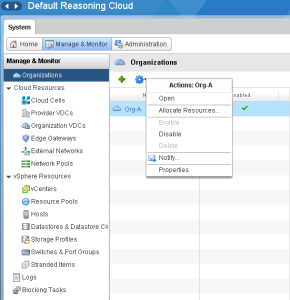
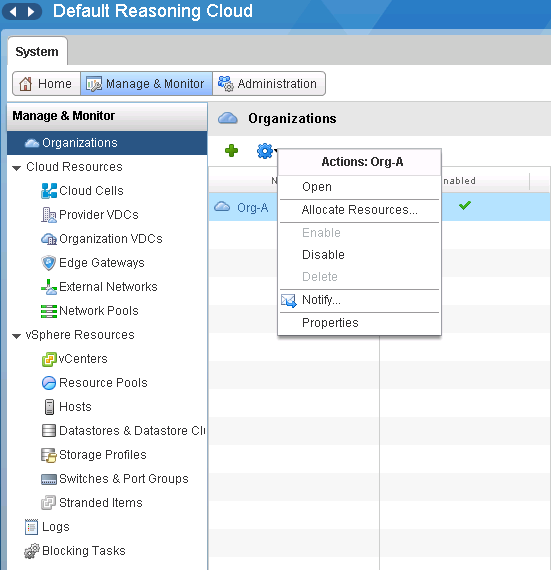
- Click the Manage & Monitor button, next to Home.
- Select the organization, click the blue gear icon and click Properties.
- In the organization properties window, select the Catalog Publishing tab and select the “Allow publishing catalogs to all organizations” option. Click OK.
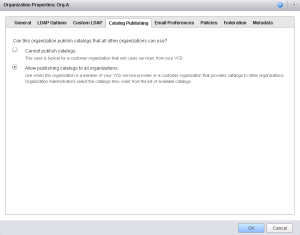
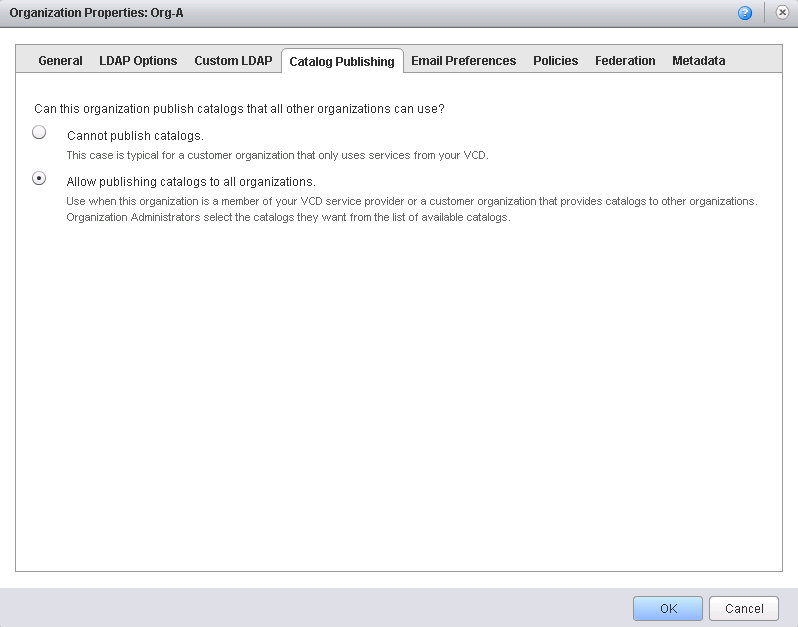
Catalog Publishing is now enabled.
Create Public Catalog
Now that the catalog publishing is enabled, a new public catalog can be created.
- From the Manage & Monitor tab, select Organizations and click on the organization created earlier. A new tab next to the System tab will open where you can manage the organization.
- Select the Catalogs tab, make sure the My Organization’s Catalogs are selected and click the green plus sign to add a new catalog.
- In the New Catalog wizard, provide a name and description. Click Next.
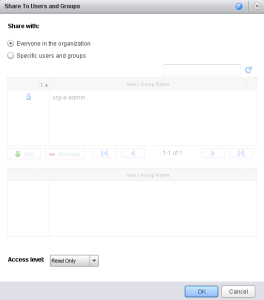
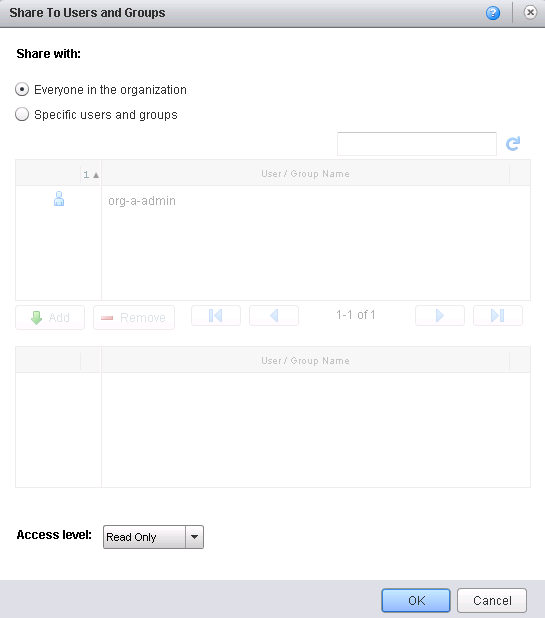
- Click the Add Members button and select users or groups that will have access to this catalog. In my case, I added a group Everyone with read only privileges. Click OK.
- Next, select the “Publish to all organizations” options since this catalog will be shared as a public catalog.
- Review the settings and click Finish to create the catalog.
The catalog is created, it is time to populate it. Notice that the catalog now also appears under the Public Catalogs.
Upload Media
In order to populate the catalog, vApp templates or media files must be added to the catalog. In this example I will use a Windows XP ISO image. Make sure you have Java plug-in installed on the system where you upload the media files.
- Select the catalog created in previous step and open it.
- Select the Media tab and click the Upload button.
- Click the Browse button and navigate to the ISO file.
- Provide a name and description. Click Upload.

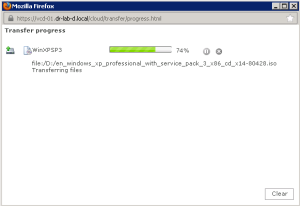
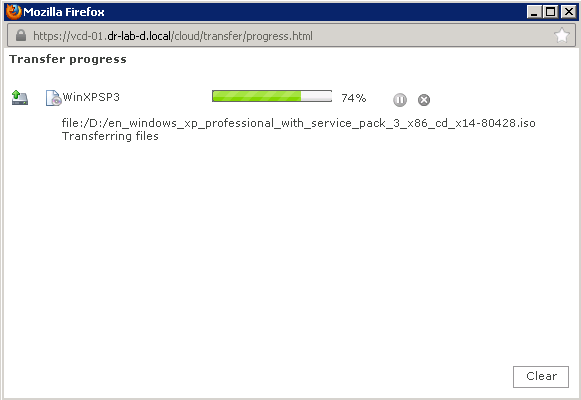
- You can click the Uploads and Downloads Transfer button to watch the upload progress.
- When the file is uploaded, wait until it is imported in vCloud Director. When it is done the status will read: stopped.

The ISO file is now added to the catalog and can be used to provision new VMs. There is one more thing in case of Windows XP/2000/2003. Before vCloud Director can perform guest customization a Microsoft Sysprep deployment package for each Windows version mentioned must be configured on the vCloud Director Cell.
Create Sysprep Deployment Package
First, download the sysprep package for each Windows OS from Microsoft and unpack it to a directory.
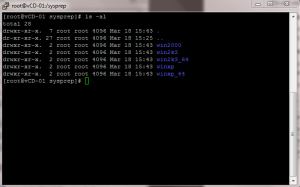
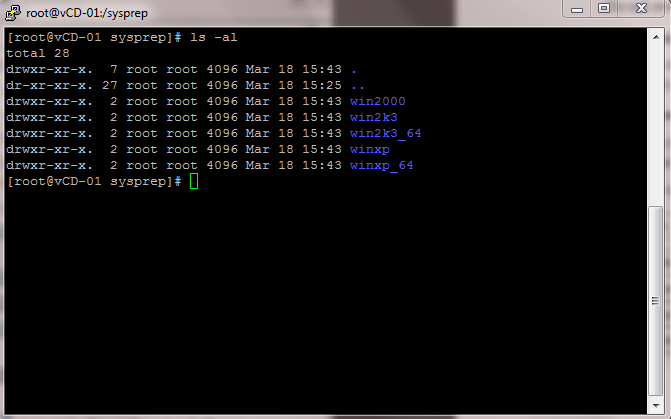
- Create a folder structure for the sysprep packages on the vCloud Director Cell. Make sure each version has its own folder. I ended up with something like this.
- Copy the extracted Sysprep files to its OS directory.
- Run the createSysprepPackage.sh script which is located in the /opt/vmware/vcloud-director/deploymentPackageCreator to create the sysprep deployment package. For example: # /opt/vmware/vclouddirector/deploymentPackageCreator/createSysprepPackage.sh /sysprep
- Next, restart the vCloud Director Cell: # service vmware-vcd restart
Done. The vCloud Director can now perform guest customization for the OS when deploying a new VM within a vApp.
At this point the vCloud Director part of the vCloud Suite deployment is finished. Continue to part 7 where we will create a new vApp.
Cheers!
– Marek.Z
Be the first to comment