Now the vCloud Director is up and running, new vApps can be created and populated with VMs. Before we begin, let’s define what a vApp actually is.
A vApp is a virtual system that contains one or more individual virtual machines, along with parameters that define operational details.
Source: vCloud Director Administrator’s Guide
So, let’s build a new vApp in the vCloud Director.
Build new vApp
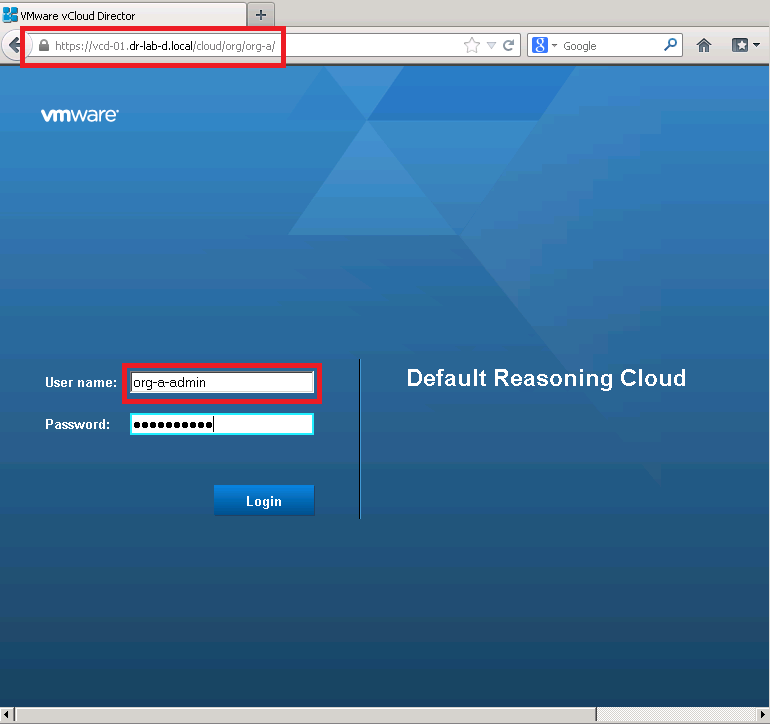
- Open the organization URL created earlier in a web browser and log in with the organization administrator account. Be aware, this is not the system-wide administrator account!

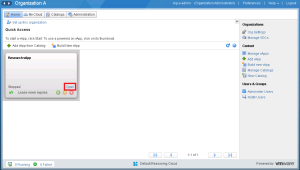
- On the Home page, click Build New vApp.
- Enter a name and description for the vApp. Click Next.
- At this point you can add new VMs. I skipped this part as I will create a new VM later. Click Next.
- In the Configure Resources part, click Next as we don’t have any VMs at the moment.
- Click Next on the Configure Virtual Machines part.
- And click Next once again on the Configure Networking part.
- Review the settings and click Finish to create the vApp.
- Wait until the vApp is created.
The vApp is now ready and can be populated with VMs.
Create vApp Network
- Open the vApp that was just created.
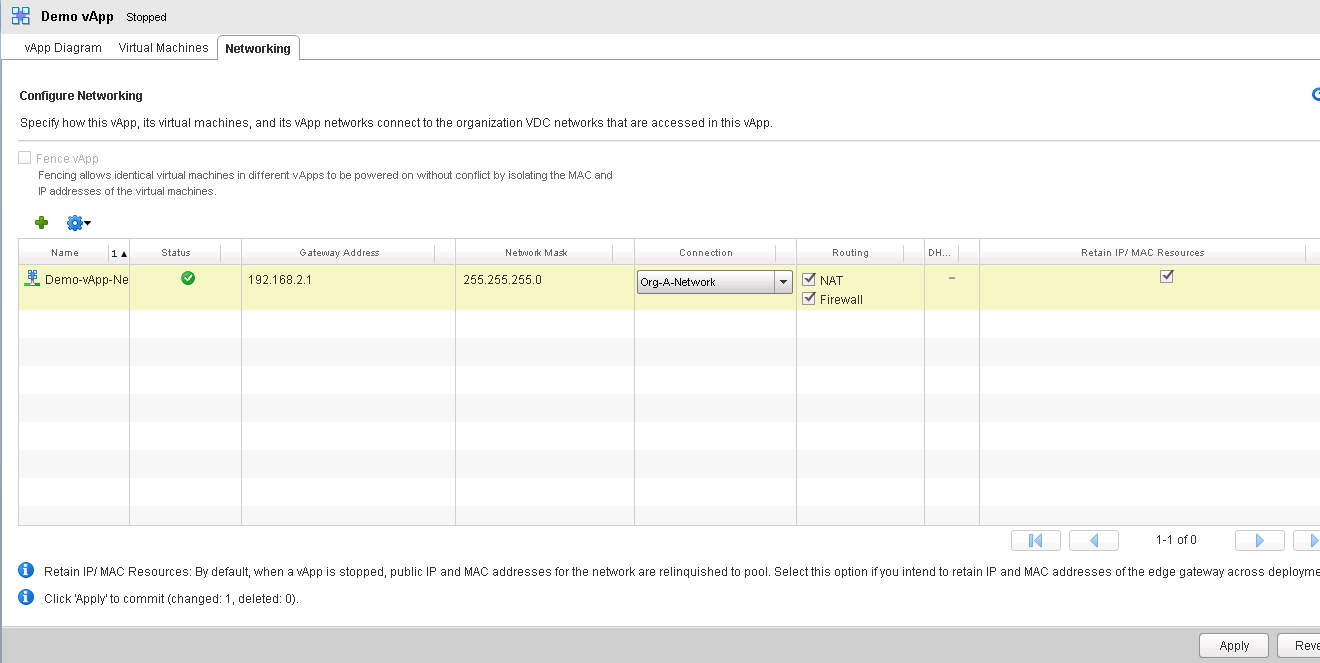
- Select the Networking tab and click the green cross icon to add a vApp network.
- In the New vApp Network Wizard, select vApp Network and click Next.
- Provide the necessary network information and click Next.
- In the General section, provide a name and description.
- Review the settings and click Finish to create the vApp network.
- When the vApp network is created, it will be shown in the network summary.
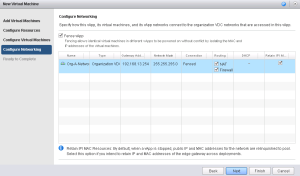
- Next, connect the vApp network to the Organization network by selecting it from the drop down menu.
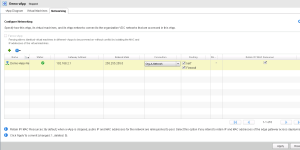
- Also, make sure you check the Retain IP/MAC Resources setting.
- Don’t forget to click the Apply button on the right bottom of the page to save the changes.
Add VM to vApp
- First, open the vApp.
- Select the Virtual Manchines tab and click the green plus sign to add a new VM.
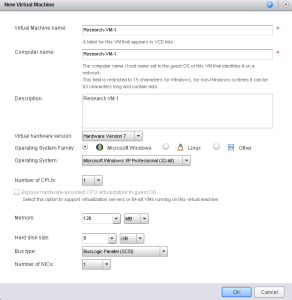
- In the New Virtual Machine wizard, click the New Virtual Machine button and enter a name, description, select virtual hardware version, OS, number of CPUs, memory, hard disk size, bus type (IDE for Windows XP) and number of NICs. Click OK and click Next.
- Select the storage profile and click Next.
- Select the “Show network adapter type” option, choose the NIC type, connect to the organization network and assign an IP address. In my case I used the static IP pool option. Click Next.
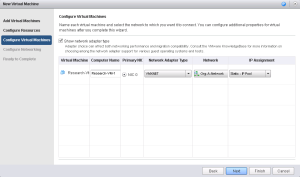
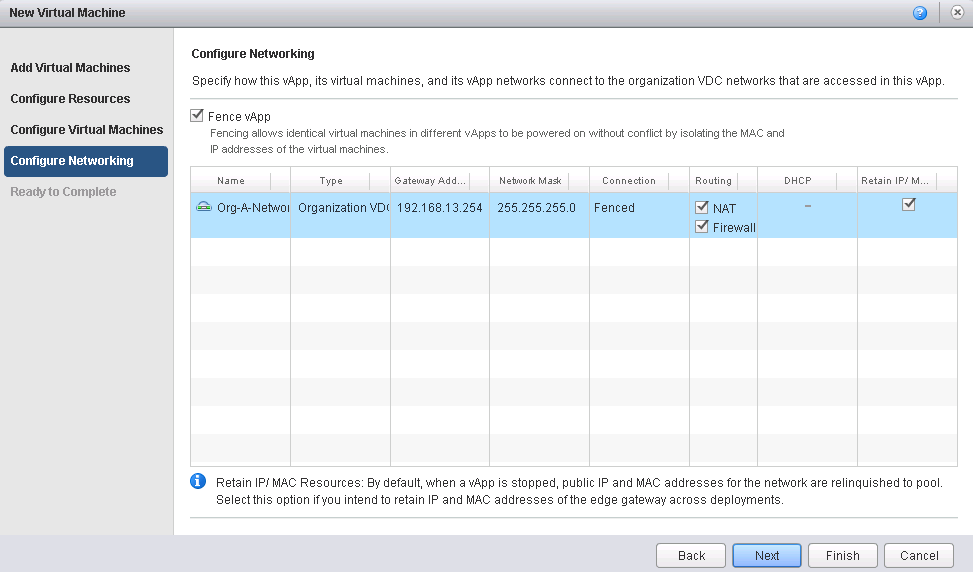
- In the Configure Networking part I choose to fence the vApp which will allow me to run identical VMs in different vApps in this organization.
- Next, review the settings and click Finish to complete.
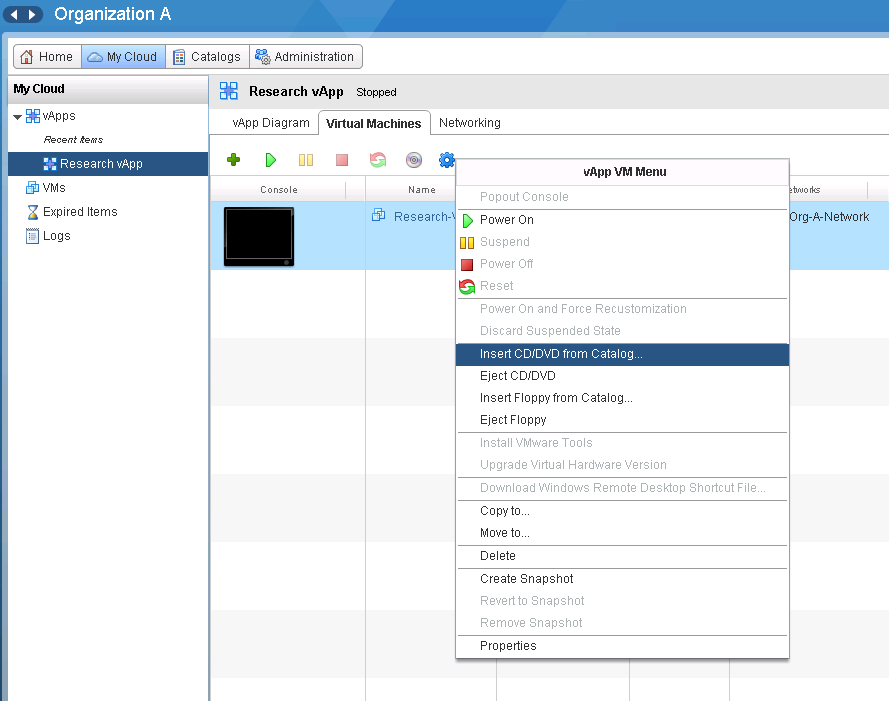
- When the new VM is created, select the blue gear icon and click Insert CD/DVD from Catalog.
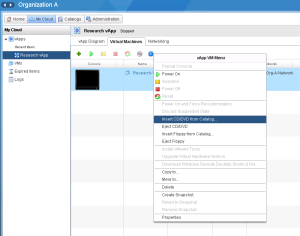
- Select the Windows XP ISO image added earlier to the catalog and click Insert.
- Power on the VM and install the OS as you would normally do.


At this point, the basic vApp and vCloud Director environment is up and running.
Continue to part 8 where we will install the vCloud Connector and import more VMs to the vApp.
Cheers!
– Marek.Z
- vCloud Suite POC Part 1: Introduction
- vCloud Suite POC Part 2: Installing vCloud Director Cell
- vCloud Suite POC Part 3: vCloud Director Configuration
- vCloud Suite POC Part 4: Creating a new Provider vDC
- vCloud Suite POC Part 5: Creating new Organization
- vCloud Suite POC Part 6: Add and Publish Catalogs
Be the first to comment