Before we begin let’s define what vCloud Connector actually is.
vCloud Connector is an enterprise product that provides a single user interface for overseeing multiple public and private clouds and for transferring cloud content from one cloud to another. It allows you to connect multiple clouds, both internal and external, in a single user interface.
Source: Installing and Configuring vCloud Connector
The vCloud Connector consist of three components:
- vCloud Connector UI – This is a user interface which can be used from the vSphere Client.
- vCloud Connector Server – This is a virtual appliance that manages the activity of vCloud Connector and controls the vCloud Connector nodes.
- vCloud Connector Node(s) – This is also a virtual appliance that handles the content transfer from one cloud to another.
I assume the appropriate software is already downloaded from VMware (Server and Node).
Deploy vCloud Connector Server
- Extract the vCloud Connector Server zip file to a directory.
- Open the vSphere Client (or vSphere Web Client) and connect to the vCenter Server you want the vCloud Connector Server to be deployed.
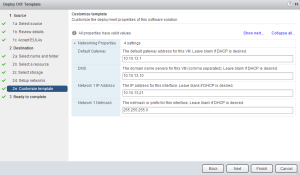
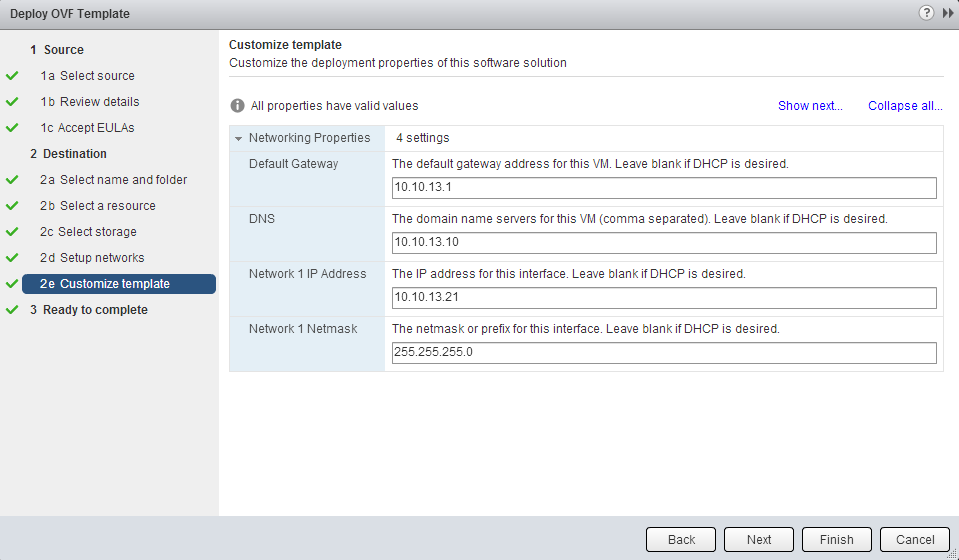
- Deploy the OVF template. During the wizard, select name and folder, resource, storage and network.
- In the customization section, enter default gateway, DNS, IP address and subnet mask information.
- Review the settings, check the “Power on after deployment” option and click Finish.
When the vCloud Connector Server is deployed and powered on, proceed with the configuration.
Configure vCloud Connector Server
- Open your internet browser and navigate to the vCloud Connector Server page. For example: https://10.10.13.25:5480 or via FQDN if the IP address is registered in the DNS.
- Log in with user admin and password vmware.
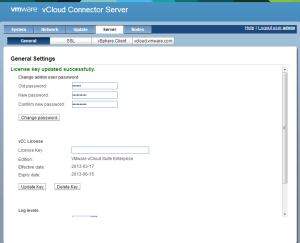
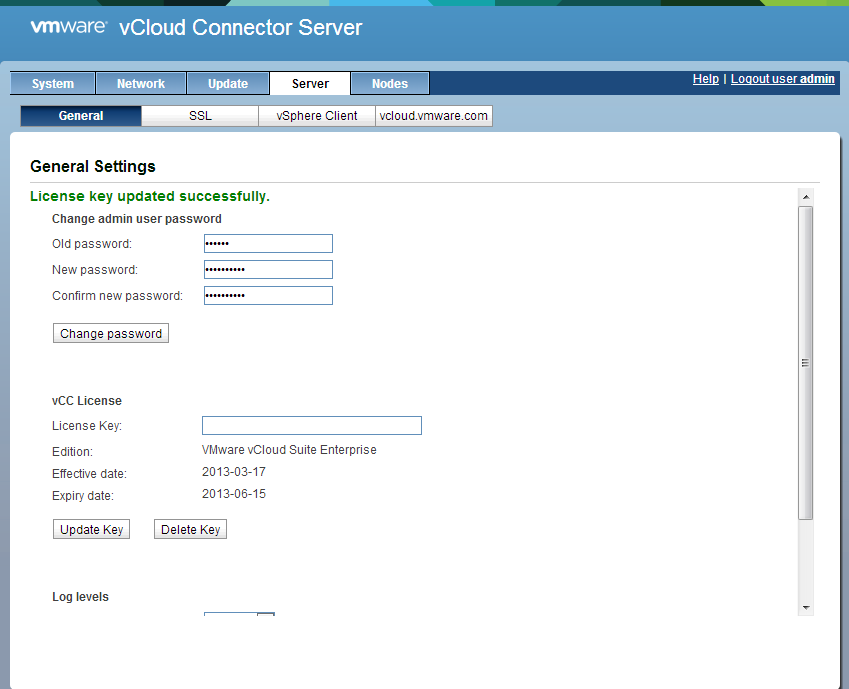
- Click the Server tab and change the admin user password and enter a valid vCloud Connector Server license key if you want to make use of the features available in the advanced edition.
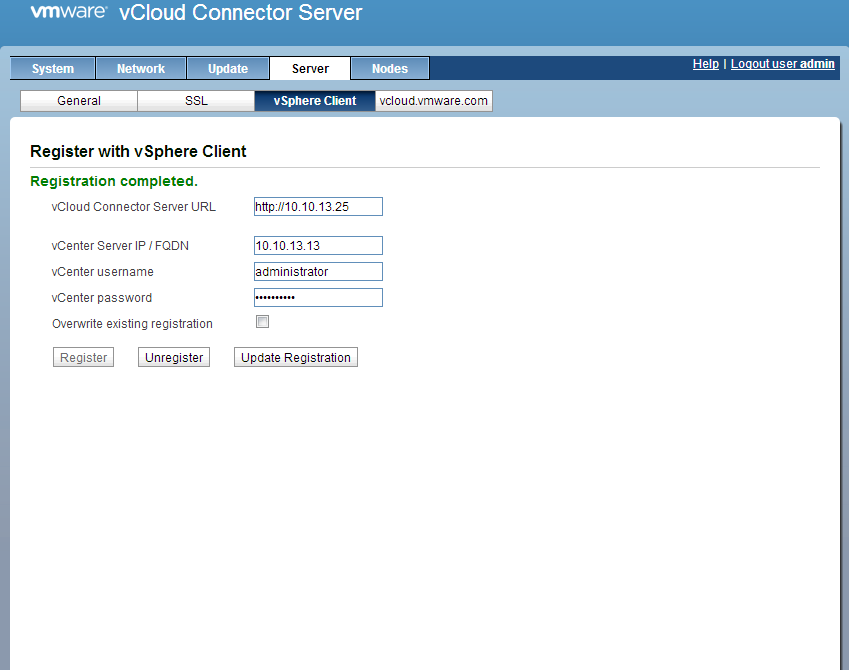
- Next, click the vSphere Client tab. Enter the vCenter Server IP address or FQDN, user name and password and click Register.

- Log out from the vCloud Connector Server.
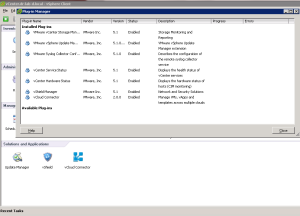
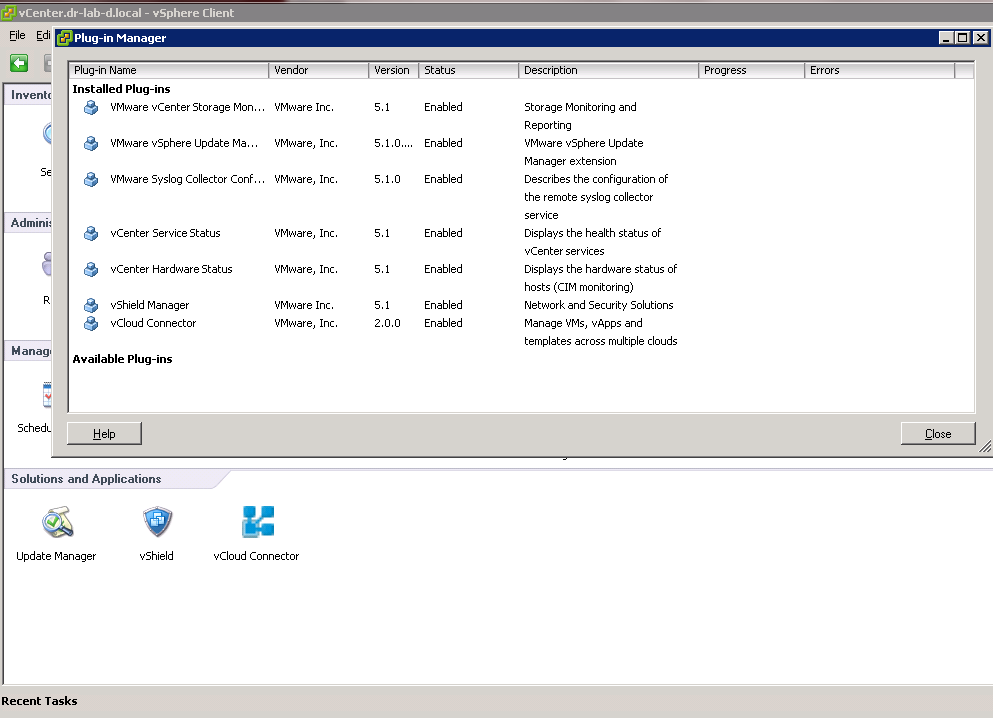
- If you open the vSphere Client, connect to the vCenter Server and navigate to the Home page, you should now see the vCloud Connector plug-in enabled and registered under the Solutions and Applications section.
Deploy vCloud Connector Node
You must install a vCloud Connector Node in every cloud environment you want to connect and manage using the vCloud Connector Server.
- Extract the vCloud Connector Node zip file to a directory.
- Open the vSphere Client (or vSphere Web Client) and connect to the vCenter Server you want the vCloud Connector Node to be deployed.
- Deploy the OVF template. During the wizard, provide a name, location, storage, network, default gateway, DNS, IP Address and subnet mask.
- Review the settings, check the “Power on after deployment” box and click Finish.
When the vCloud Connector Node is deployed and powered on, proceed with the configuration.
Configure vCloud Connector Node
- Open your internet browser and navigate to the vCloud Connector Node page. For example: https://10.10.13.26:5480 or via FQDN if the IP address is registered in the DNS.
- Log in with user admin and password vmware.
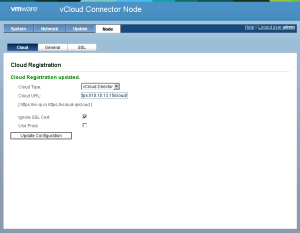
- Click the Node tab and on the Cloud tab, select if this vCloud Connector Node is connected to either a vSphere or vCloud Director instance. Since I’m connecting to my vCloud Director, I have selected the vCloud Director option.
- Select “Ignore SSL Cert” and click Update Configuration.
- Next, navigate to the General tab and change the admin user password.
- Log out from the vCloud Connector Node.

The vCloud Connector Node is registered with the instance on which it is installed. Next, deploy and configure the vCloud Director Node on the environment where you want to move the VMs from.
Register vCloud Connector Node with vCloud Connector Server
The registration of the Nodes will allow the Server to manage the nodes.
- Open the vCloud Connector Server home page and log in with the admin account.
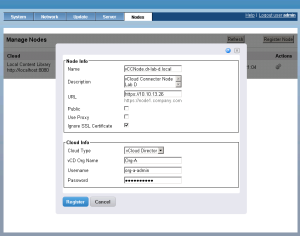
- Open the Nodes tab and click Register Node.
- In the Node Info enter a name and description. Provide the URL to the Node and check “Ignore SSL Certificate”.
- Under the Cloud Info section, select cloud type (vSphere or vCloud Director), enter the Organization name, user name and password.
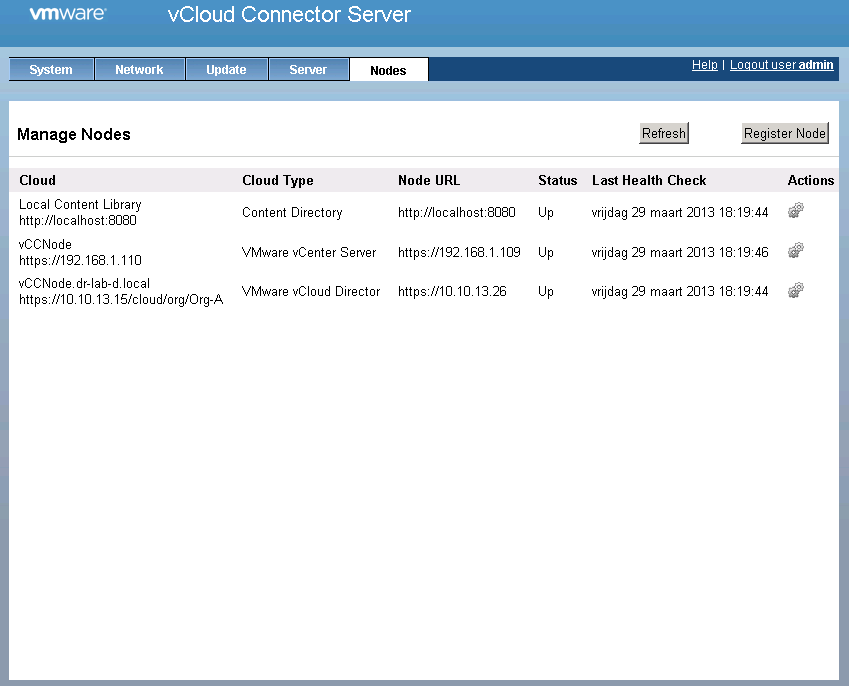
- Repeat the process for the other Node.
- When you finish, the summary page will show all nodes managed by the vCloud Connector Server.


The vCloud Connector Server and the Nodes are now ready for use.
Continue to part 9 where we will move a virtual machine from vSphere environment to the vCloud Director using the vCloud Connector.
Cheers!
– Marek.Z
- vCloud Suite POC Part 1: Introduction
- vCloud Suite POC Part 2: Installing vCloud Director Cell
- vCloud Suite POC Part 3: vCloud Director Configuration
- vCloud Suite POC Part 4: Creating a new Provider vDC
- vCloud Suite POC Part 5: Creating new Organization
- vCloud Suite POC Part 6: Add and Publish Catalogs
- vCloud Suite POC Part 7: Create New vApp
Be the first to comment