Now that the installation requirements are met, we can proceed with installation of the vCenter Chargeback Manager. In this case, I’ve created a dedicated virtual machine with default settings running Windows Server 2008 R2 with SP1. I assume you already downloaded the software and extracted it to a directory.
Install vCenter Chargeback Manager
- Start the executable and wait for the installation wizard.
- Click Next at the Introduction screen.
- Accept the EULA and click Next.
- Click Next if you accept the default installation folder, or choose another one.
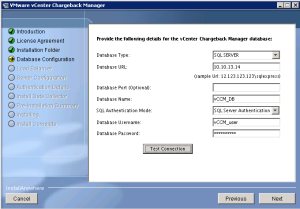
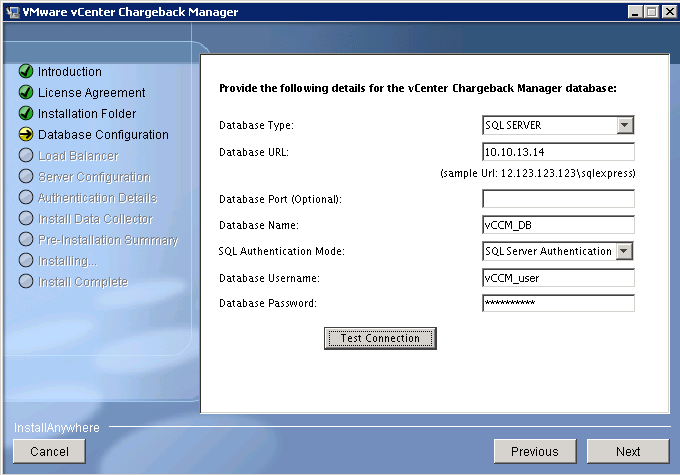
- In the vCenter Chargeback Manager Database Configuration section, provide the database type, the database URL, the database name, SQL Authentication Mode, the database username and password. Click Test Connection to verify if the settings are correct. If so, click Next.
- Accept the settings in the Load Balancer section. In my case, this is the first installation of vCenter Chargeback Manager so it automatically becomes the first load balancer instance.
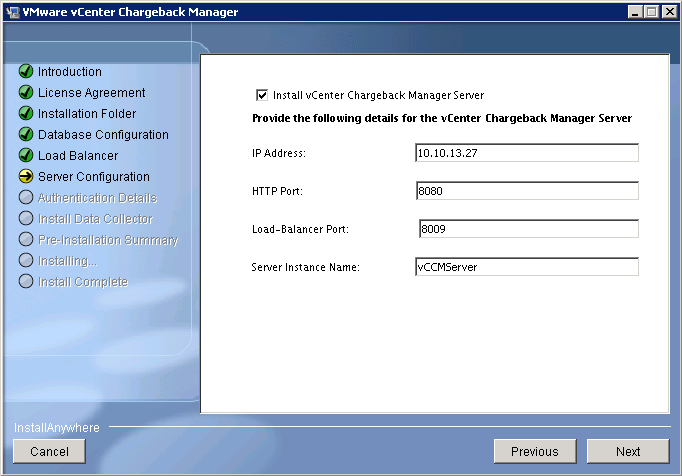
- In the Server Configuration, check “Install vCenter Chargeback Manager Server” and provide a server instance name. Click Next.

- In the Authentication Details section, provide a username and password for the vCenter Chargeback Manager installation.
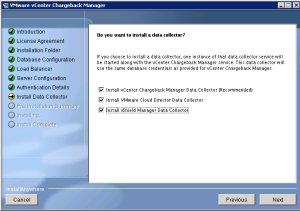
- Next, in the Data Collector section you have 3 options. I chose all 3 because this deployment is to monitor and collect resource usage in the cloud.
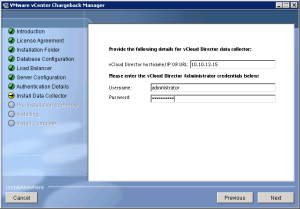
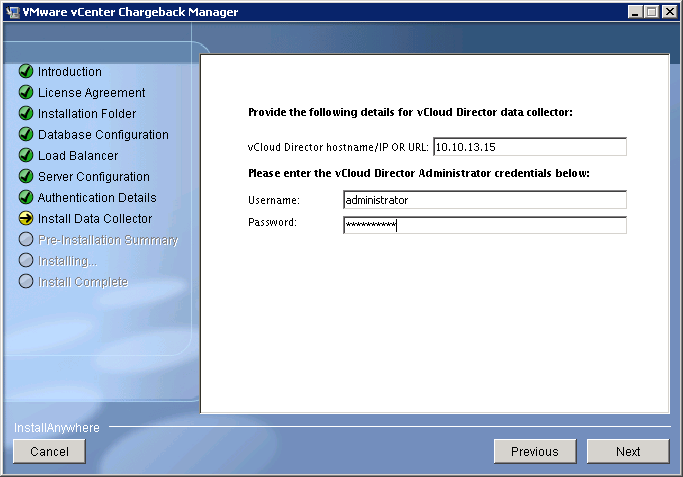
- If you chose the vCloud Director Data Collector you need to provide the vCloud Director URL or IP address and a username and password.
- Review the settings and click Install to start the installation process.
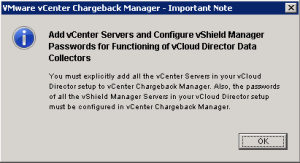
- When the installation is finished you should receive a message stating that you should add all the vCenter Servers in your vCloud Director to the vCenter Chargeback Manager. Also, the passwords for all vShield Manager Server in your vCloud Director must be configured in the vCenter Chargeback Manager.
- Click OK to close the message and click Done to close the installer.
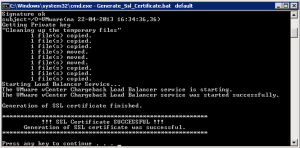
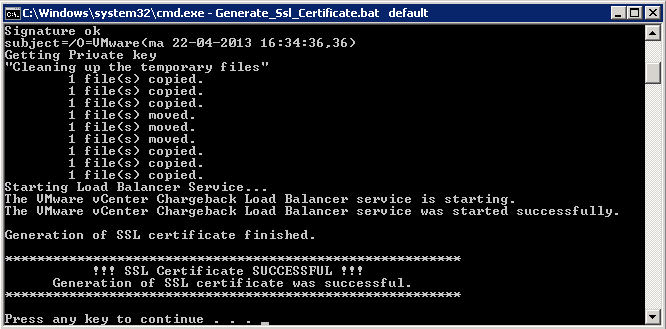
- Next, you must generate a SSL certificate for security reasons. You can choose to generate a default certificate or to generate your own. In this case, I chose the default option.
- When the generation of the SSL certificate is successful, you should see the following message. Press any key to close the window.


After installation, don’t forget to install vCenter Chargeback Manager 2.5 Patch 01 to resolve some issues in the previous version. Installation instructions and patches can be found in VMware KB 2041041.
Configure vCenter Chargeback Manager
Before you begin, make sure you have Adobe Flash player installed.
- Open Launch vCenter Chargeback Manager Homepage from Start > Programs > VMware > VMware vCenter Chargeback menu.
- First, enter a license key, username and password and click the Add button.
- Next, enter the admin user credentials and click OK to log in.
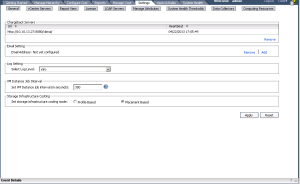
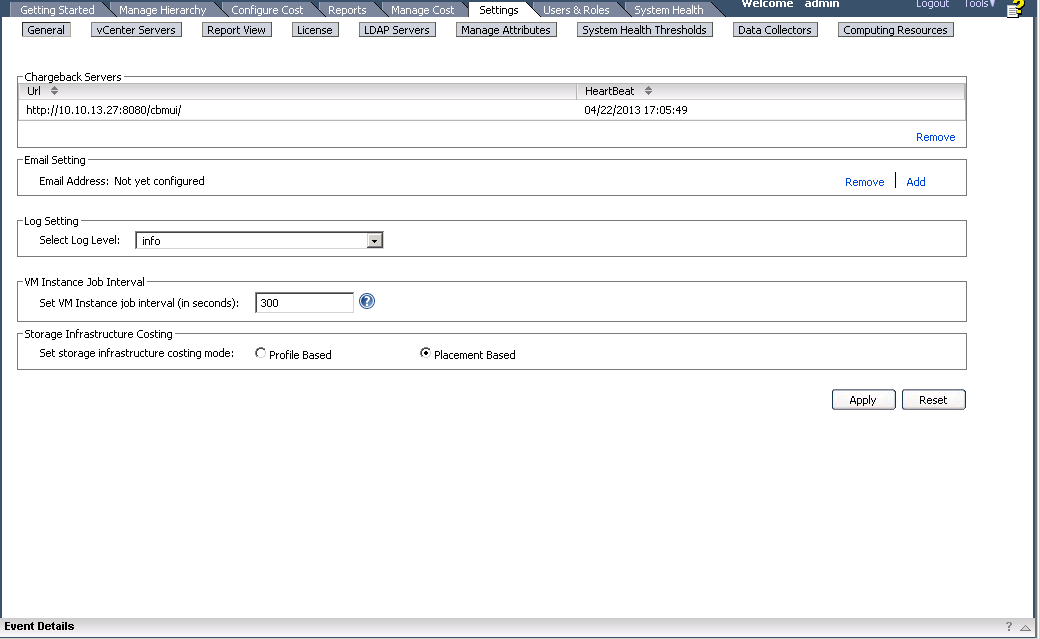
- Select the Settings tab and under the General section click Add under the Email Settings.
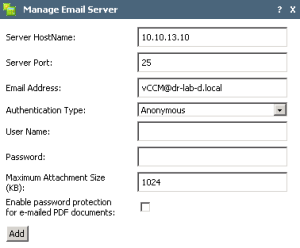
- Enter the settings for the SMTP server and click Add.
- Click the vCenter Server section under the Settings tab and click the Add button in the right bottom.
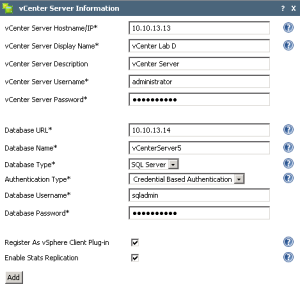
- Enter the connection information for the vCenter Server and the vCenter Server database.
- Check the “Register As vSphere Client Plug-in” option and click Add.
- Click Install when prompted if you want to install the vCenter Server certificate.
- The vCenter Server should now be added in the vCenter Chargeback Manager.
- Next, under the Settings tab, select the Data Collectors.
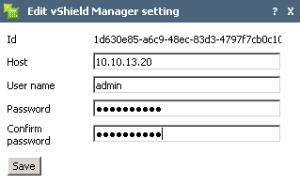
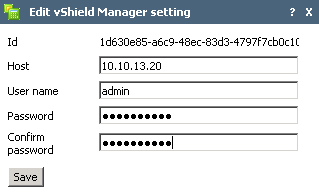
- Navigate to the vShield Manager tab and click the vShield Manager instance.
- Click the Edit button in the right bottom and provide the password for the vShield Manger.


At this point the installation and configuration of vCenter Chargeback Manager is completed. Navigate to the System Health tab and make sure that vCenter Chargeback Manager is running correctly.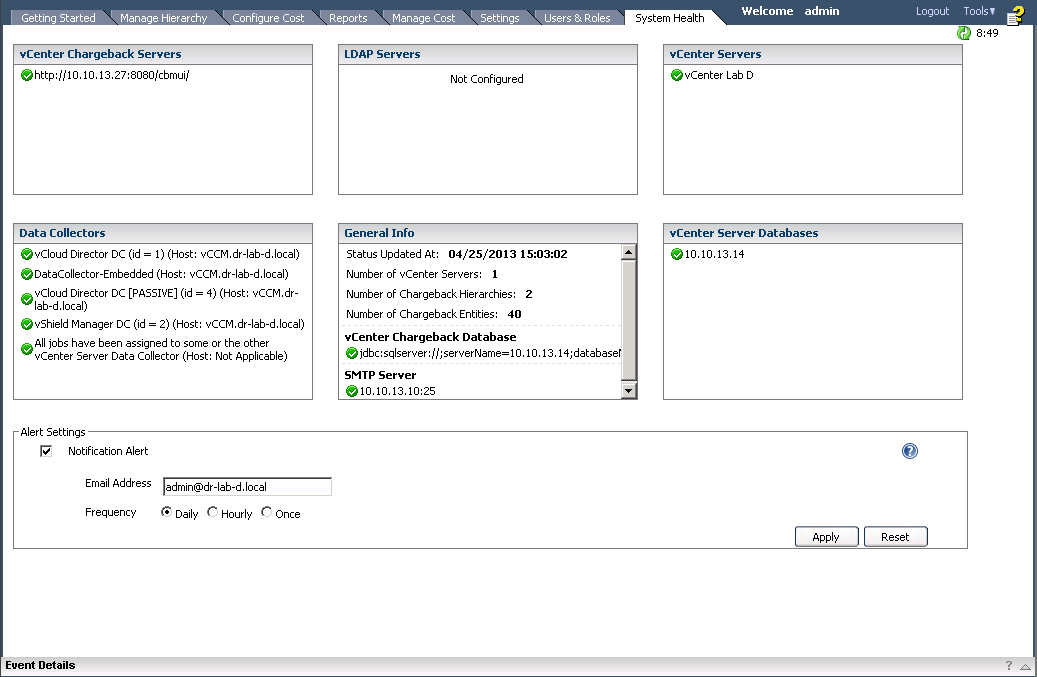
Continue to part 12 where we will create a new vCenter Chargeback Manager hierarchy and generate a cost report.
Cheers!
– Marek.Z
- vCloud Suite POC Part 1: Introduction
- vCloud Suite POC Part 2: Installing vCloud Director Cell
- vCloud Suite POC Part 3: vCloud Director Configuration
- vCloud Suite POC Part 4: Creating a new Provider vDC
- vCloud Suite POC Part 5: Creating new Organization
- vCloud Suite POC Part 6: Add and Publish Catalogs
- vCloud Suite POC Part 7: Create New vApp
- vCloud Suite POC Part 8: Add vCloud Connector
- vCloud Suite POC Part 9: Move VM to the Cloud
- vCloud Suite POC Part 10: Add vCenter Chargeback Manager
Be the first to comment